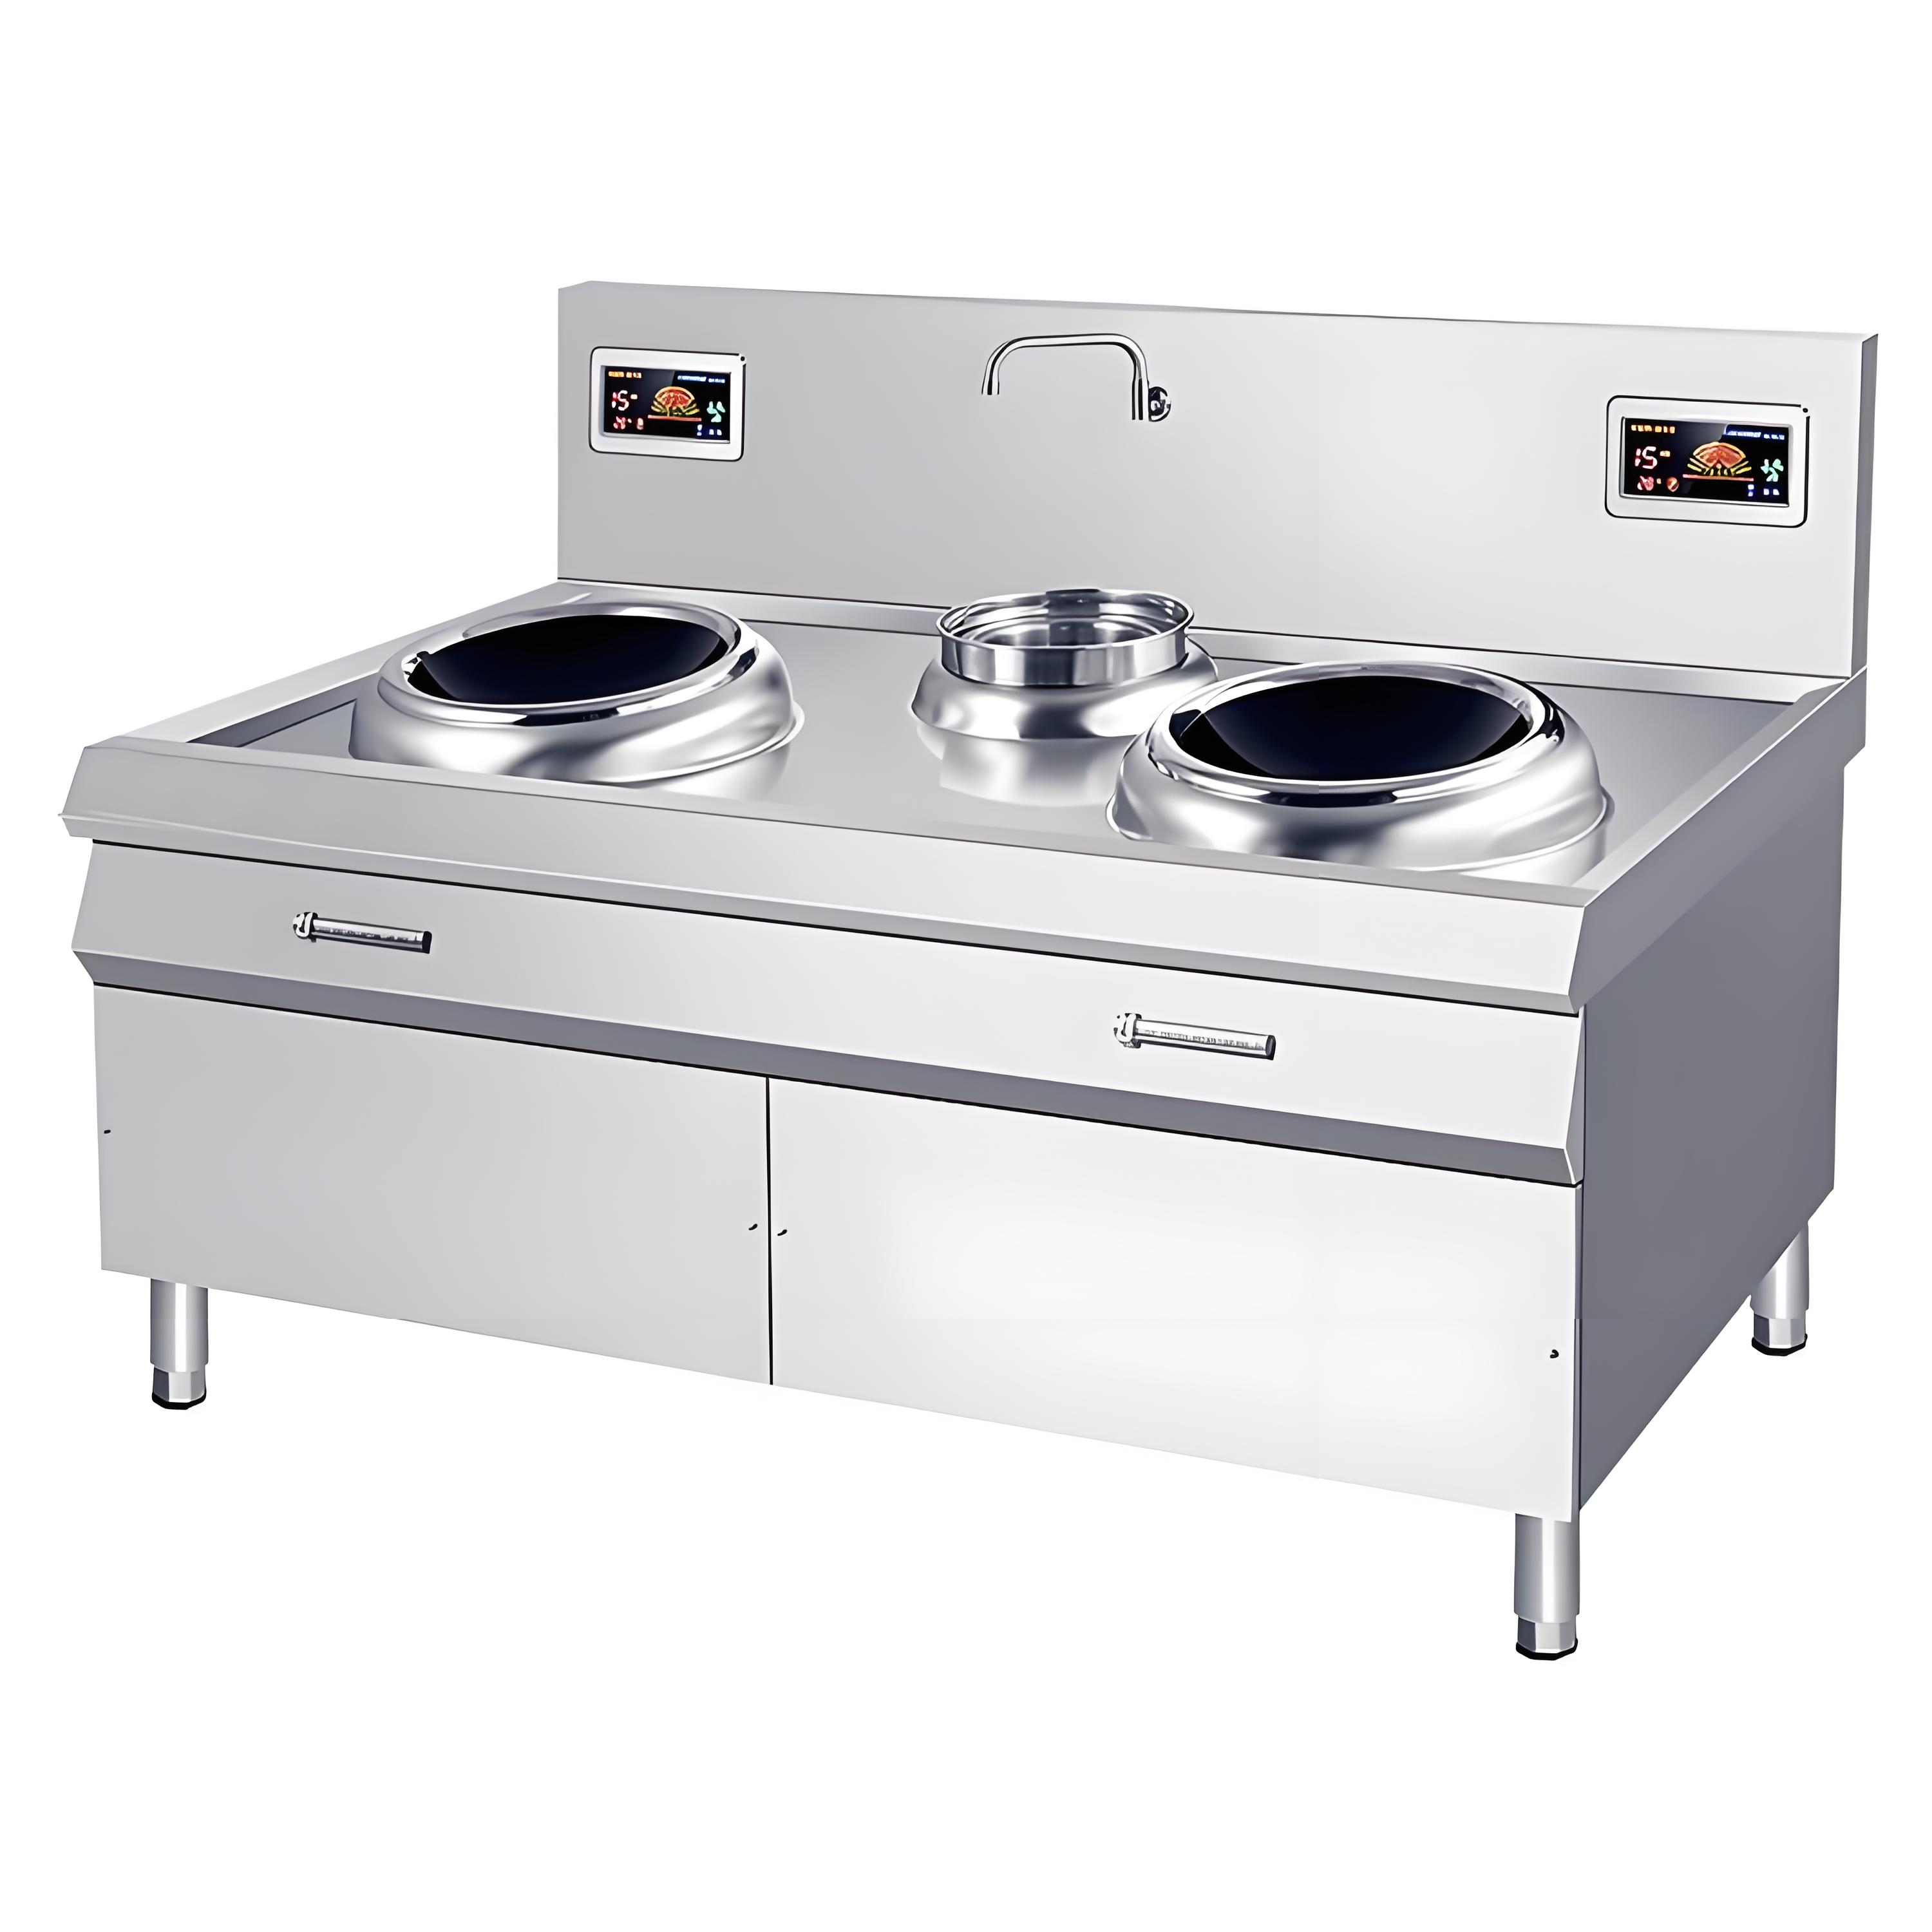
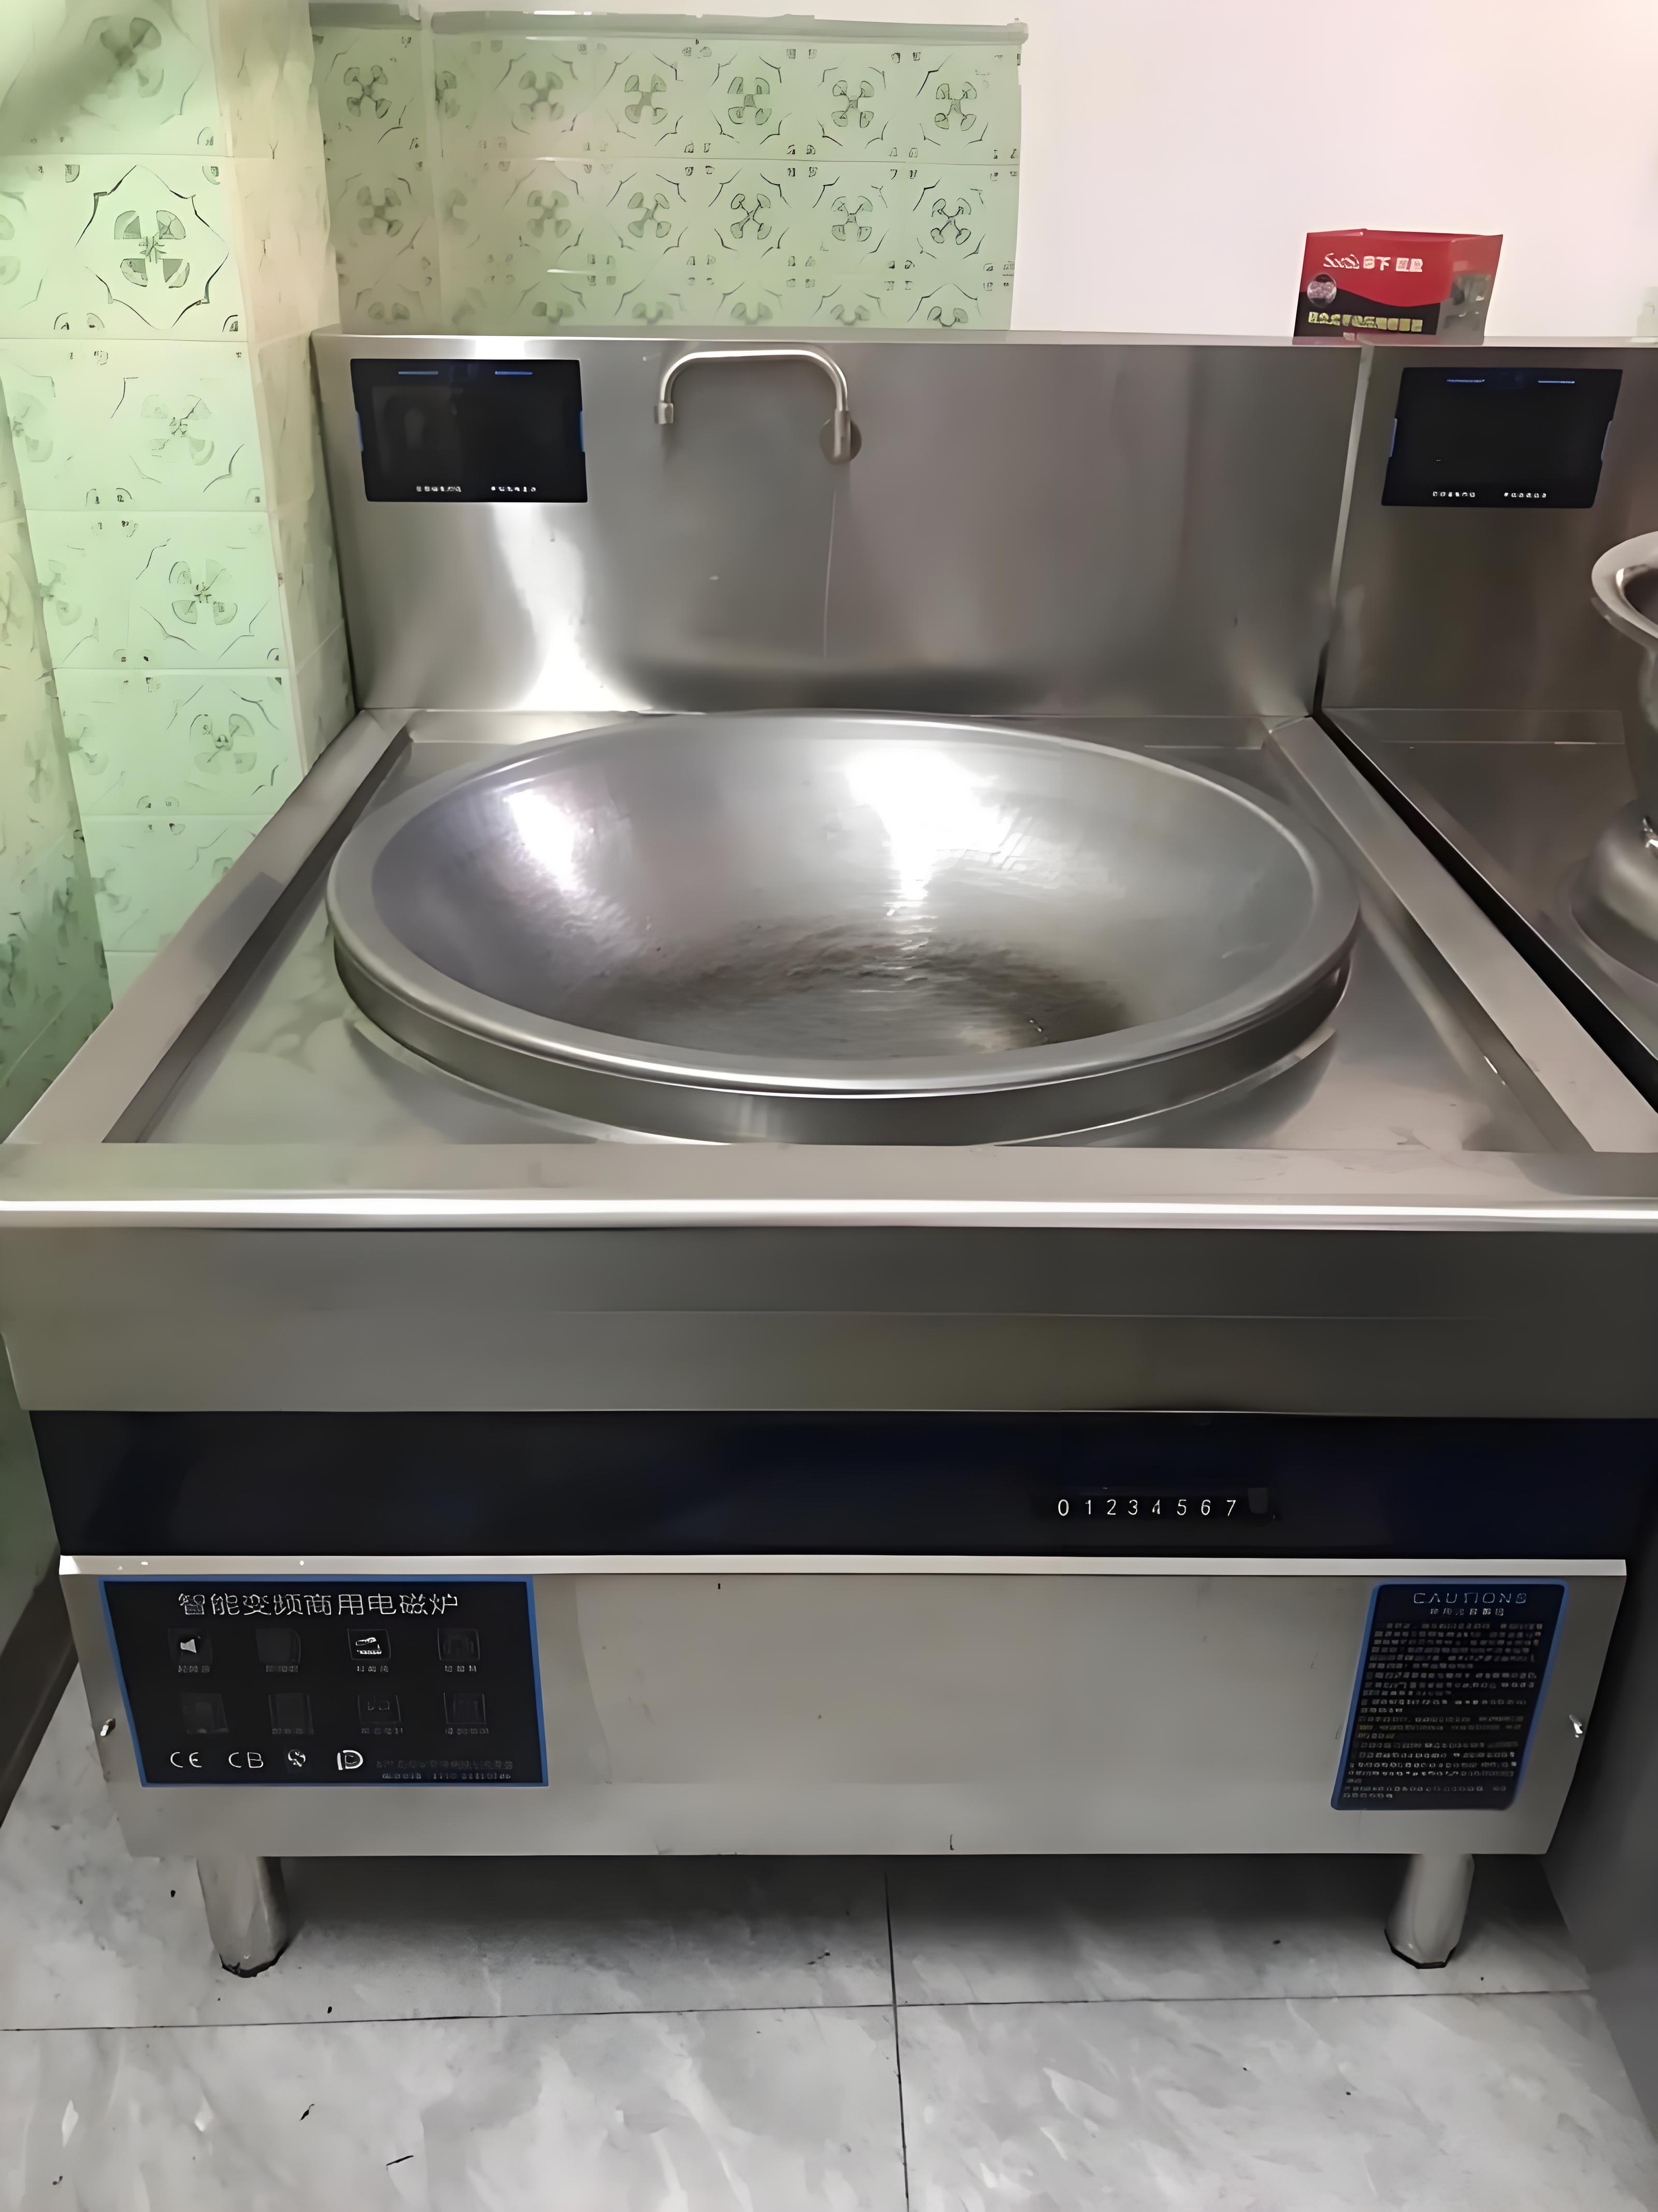
In the fast-paced world of commercial kitchens, where efficiency and performance are key, a commercial induction cooker that loses power over time can be a major headache. As someone who has spent years immersed in the commercial kitchen equipment industry, I’ve seen my fair share of these issues and have learned a thing or two about how to diagnose and fix them. In this article, I’ll walk you through the common causes of power loss in commercial induction cookers and provide you with practical solutions to get your cooker back to its full potential.
Understanding the Problem
Before diving into solutions, it’s important to understand why a commercial induction cooker’s power might decrease over time. There are several factors that can contribute to this issue:
Wear and Tear on Components: Over time, the internal components of an induction cooker, such as the power module, control board, and coils, can wear out due to constant use and exposure to high temperatures.
Accumulation of Debris: Food particles, grease, and other debris can accumulate on the cooktop and inside the cooker, blocking air vents and reducing the efficiency of the cooling system. This can lead to overheating and a decrease in power.
Voltage Fluctuations: Inconsistent voltage supply can cause the cooker’s power to fluctuate, leading to a decrease in overall performance. This is especially common in areas with unreliable power grids or during peak usage times.
Software or Firmware Issues: Modern induction cookers often rely on software or firmware to control their operations. Bugs, glitches, or outdated firmware can cause the cooker to underperform, including a decrease in power.
Improper Maintenance: Neglecting regular maintenance tasks, such as cleaning and calibration, can lead to a buildup of issues that eventually result in a decrease in power.

Step-by-Step Troubleshooting and Solutions
Now that we’ve identified some potential causes, let’s walk through a step-by-step process to diagnose and fix the issue of decreasing power in your commercial induction cooker.
Step 1: Perform a Visual Inspection
Action:
Check the Cooktop: Look for any signs of damage, such as cracks, scratches, or discoloration. These can indicate that the cooktop is not functioning properly and may need to be replaced.
Inspect the Air Vents: Ensure that the air vents on the cooker are not blocked by debris. Use a soft brush or vacuum cleaner to gently remove any dust or food particles that may have accumulated.
Look for Loose Connections: Check the electrical connections inside the cooker to ensure they’re tight and secure. Loose connections can cause power fluctuations and reduce the cooker’s performance.
Potential Outcomes:
If you find any damage to the cooktop, it will need to be replaced by a professional technician.
If the air vents are blocked, cleaning them should improve the cooker’s cooling efficiency and potentially restore some of its lost power.
Tightening loose connections may resolve power fluctuation issues and improve the cooker’s overall performance.
Step 2: Clean the Cooker Thoroughly
Action:
Clean the Cooktop: Use a non-abrasive cleaner and a soft cloth to wipe down the cooktop. Avoid using harsh chemicals or abrasive materials that could scratch the surface.
Clean the Interior: Open the cooker and use a vacuum cleaner or a soft brush to remove any debris that may have accumulated inside. Pay special attention to the fan blades and the area around the power module.
Check the Cooling System: Ensure that the cooling system, including the fan and heat sink, is functioning properly. If the fan is not spinning or making unusual noises, it may need to be replaced.
Potential Outcomes:
Cleaning the cooktop and interior should improve the cooker’s efficiency and potentially restore some of its lost power by removing any blockages that were reducing airflow.
If the cooling system is not functioning properly, replacing the fan or heat sink may resolve the issue and improve the cooker’s performance.

Step 3: Check the Voltage Supply
Action:
Use a Voltage Meter: Use a voltage meter to check the voltage supply to the cooker. Ensure that it’s within the range specified by the manufacturer.
Check for Voltage Fluctuations: Monitor the voltage over time to see if there are any fluctuations. If the voltage is inconsistent, it may be causing the cooker’s power to fluctuate as well.
Consider a Voltage Stabilizer: If the voltage supply is inconsistent, consider installing a voltage stabilizer to regulate the voltage and protect the cooker from damage.
Potential Outcomes:
If the voltage supply is within the specified range and consistent, voltage fluctuations are unlikely to be the cause of the power decrease.
If the voltage is inconsistent, installing a voltage stabilizer should resolve the issue and improve the cooker’s performance.
Step 4: Update Software or Firmware
Action:
Check for Updates: Visit the manufacturer’s website or contact their customer support to see if there are any software or firmware updates available for your cooker.
Follow the Update Instructions: If updates are available, follow the manufacturer’s instructions carefully to install them. This may involve connecting the cooker to a computer or using a USB drive to transfer the update files.
Test the Cooker: After updating the software or firmware, test the cooker to see if the power has improved.
Potential Outcomes:
Updating the software or firmware may resolve bugs or glitches that were causing the cooker to underperform, including a decrease in power.
If the updates do not resolve the issue, there may be other underlying problems that need to be addressed.

Step 5: Perform a Calibration Check
Action:
Consult the User Manual: Refer to the user manual for your cooker to see if there are any calibration procedures recommended by the manufacturer.
Follow the Calibration Steps: If calibration is recommended, follow the steps carefully to ensure that the cooker is calibrated correctly. This may involve adjusting the power settings or using a calibration tool.
Test the Cooker: After calibration, test the cooker to see if the power has improved.
Potential Outcomes:
Calibrating the cooker may improve its accuracy and performance, including restoring some of its lost power.
If calibration does not resolve the issue, there may be other underlying problems that need to be addressed.
Step 6: Contact a Professional Technician
Action:
Seek Professional Help: If you’ve followed all the above steps and the cooker’s power still hasn’t improved, it’s time to contact a professional technician. They have the expertise, tools, and experience to diagnose and repair complex issues with commercial induction cookers.
Provide Relevant Information: When contacting the technician, provide them with as much information as possible about the issue, including when it started, any error messages displayed, and any steps you’ve already taken to troubleshoot the problem.
Potential Outcomes:
The technician will be able to diagnose the issue accurately and provide you with a solution. This may involve repairing or replacing damaged components, updating software or firmware, or performing other necessary maintenance tasks.
Depending on the severity of the issue and the age of the cooker, the technician may recommend replacing the unit entirely if it’s more cost-effective to do so.

Preventive Maintenance Tips
To avoid similar issues in the future, here are some preventive maintenance tips to keep your commercial induction cooker in top condition:
Regular Cleaning: Clean the cooker regularly to prevent debris from accumulating on the cooktop and inside the unit. Use a non-abrasive cleaner and a soft cloth to wipe down the surfaces, and avoid using harsh chemicals or abrasive materials.
Check Electrical Connections: Periodically check the electrical connections to ensure they’re tight and secure. Loose connections can cause power fluctuations and reduce the cooker’s performance.
Monitor Voltage: Keep an eye on the voltage supply to the cooker to ensure it’s within the range specified by the manufacturer. If the voltage is inconsistent, consider installing a voltage stabilizer.
Update Software/Firmware: Regularly check for software or firmware updates and install them as recommended by the manufacturer. This can help resolve bugs, glitches, and security vulnerabilities that may affect the cooker’s performance.
Schedule Regular Maintenance: Consider scheduling regular maintenance checks with a professional technician to keep the cooker in optimal condition. They can perform routine inspections, cleanings, and repairs to prevent issues from occurring in the first place.
Common Issues and Solutions Table
To help you quickly identify and resolve common issues with commercial induction cookers, here’s a simplified table summarizing some of the most common problems and their solutions:
| Issue | Possible Cause | Solution |
|---|---|---|
| Decreasing power over time | Wear and tear on components, accumulation of debris, voltage fluctuations | Perform visual inspection, clean thoroughly, check voltage supply, update software/firmware, contact technician if necessary |
| Cooktop not heating evenly | Damaged cooktop, loose connections, calibration issues | Check cooktop for damage, tighten connections, perform calibration check, contact technician if necessary |
| Error messages displayed | Software/firmware glitches, sensor failures | Update software/firmware, inspect sensors, contact technician if necessary |
| Unusual noises or vibrations | Loose components, fan failure | Tighten loose components, check fan, contact technician |
| Overheating | Blocked air vents, cooling system failure | Clean air vents, check cooling system, contact technician if necessary |
Conclusion: Restoring Your Commercial Induction Cooker’s Full Power
Dealing with a commercial induction cooker that loses power over time can be a frustrating experience. However, by following the step-by-step troubleshooting and solutions outlined in this article, you can diagnose and resolve the issue efficiently and effectively. Remember to prioritize safety at all times and seek professional help if you’re unsure about any aspect of the repair process.
With proper maintenance and care, your commercial induction cooker can provide reliable and efficient performance for years to come. By staying vigilant and addressing issues promptly, you can minimize downtime and keep your kitchen operations running smoothly.

Related Questions and Answers
Q1: Can I repair a commercial induction cooker myself if it’s losing power?
A1: While some minor issues, like cleaning the cooker or tightening loose connections, can be done by yourself, it’s generally recommended to contact a professional technician for more complex repairs. Attempting to repair internal components without proper training and tools can be dangerous and may cause further damage to the cooker.
Q2: How often should I clean my commercial induction cooker to prevent power loss?
A2: It’s a good idea to clean your commercial induction cooker after each use to prevent debris from accumulating. Additionally, schedule a deep cleaning at least once a month to ensure that all components are free of grease, food particles, and other contaminants.
Q3: What should I do if my commercial induction cooker is still under warranty and it’s losing power?
A3: If your cooker is still under warranty, contact the manufacturer or authorized service center for assistance. Attempting to repair the cooker yourself or using non-authorized parts may void the warranty.
Q4: Can voltage fluctuations damage my commercial induction cooker?
A4: Yes, voltage fluctuations can damage the internal components of your commercial induction cooker, leading to a decrease in power or even complete failure. Consider installing a voltage stabilizer to protect your cooker from voltage fluctuations.
Q5: How can I tell if my commercial induction cooker needs calibration?
A5: If you notice that the cooker is not heating evenly, the power seems to fluctuate, or there are error messages displayed, it may be time to perform a calibration check. Refer to the user manual for your cooker to see if calibration is recommended and follow the steps carefully. If you’re unsure about how to perform the calibration, contact a professional technician for assistance.