As someone who’s spent years working with commercial kitchen equipment, I’ve wired more induction cookers than I can count. From bustling restaurant kitchens to catering setups, I’ve seen the challenges that come with installing these powerful, efficient machines. Wiring a commercial induction cooker isn’t just about connecting a few cables—it’s about ensuring safety, compliance, and optimal performance. If you’re a chef, restaurant owner, or electrician tackling this task, you’re likely wondering how to get it right without tripping breakers or frying circuits. Let me walk you through the process step-by-step, sharing practical insights from my experience to help you set up your cooker with confidence.

Why Proper Wiring Matters for Commercial Induction Cookers
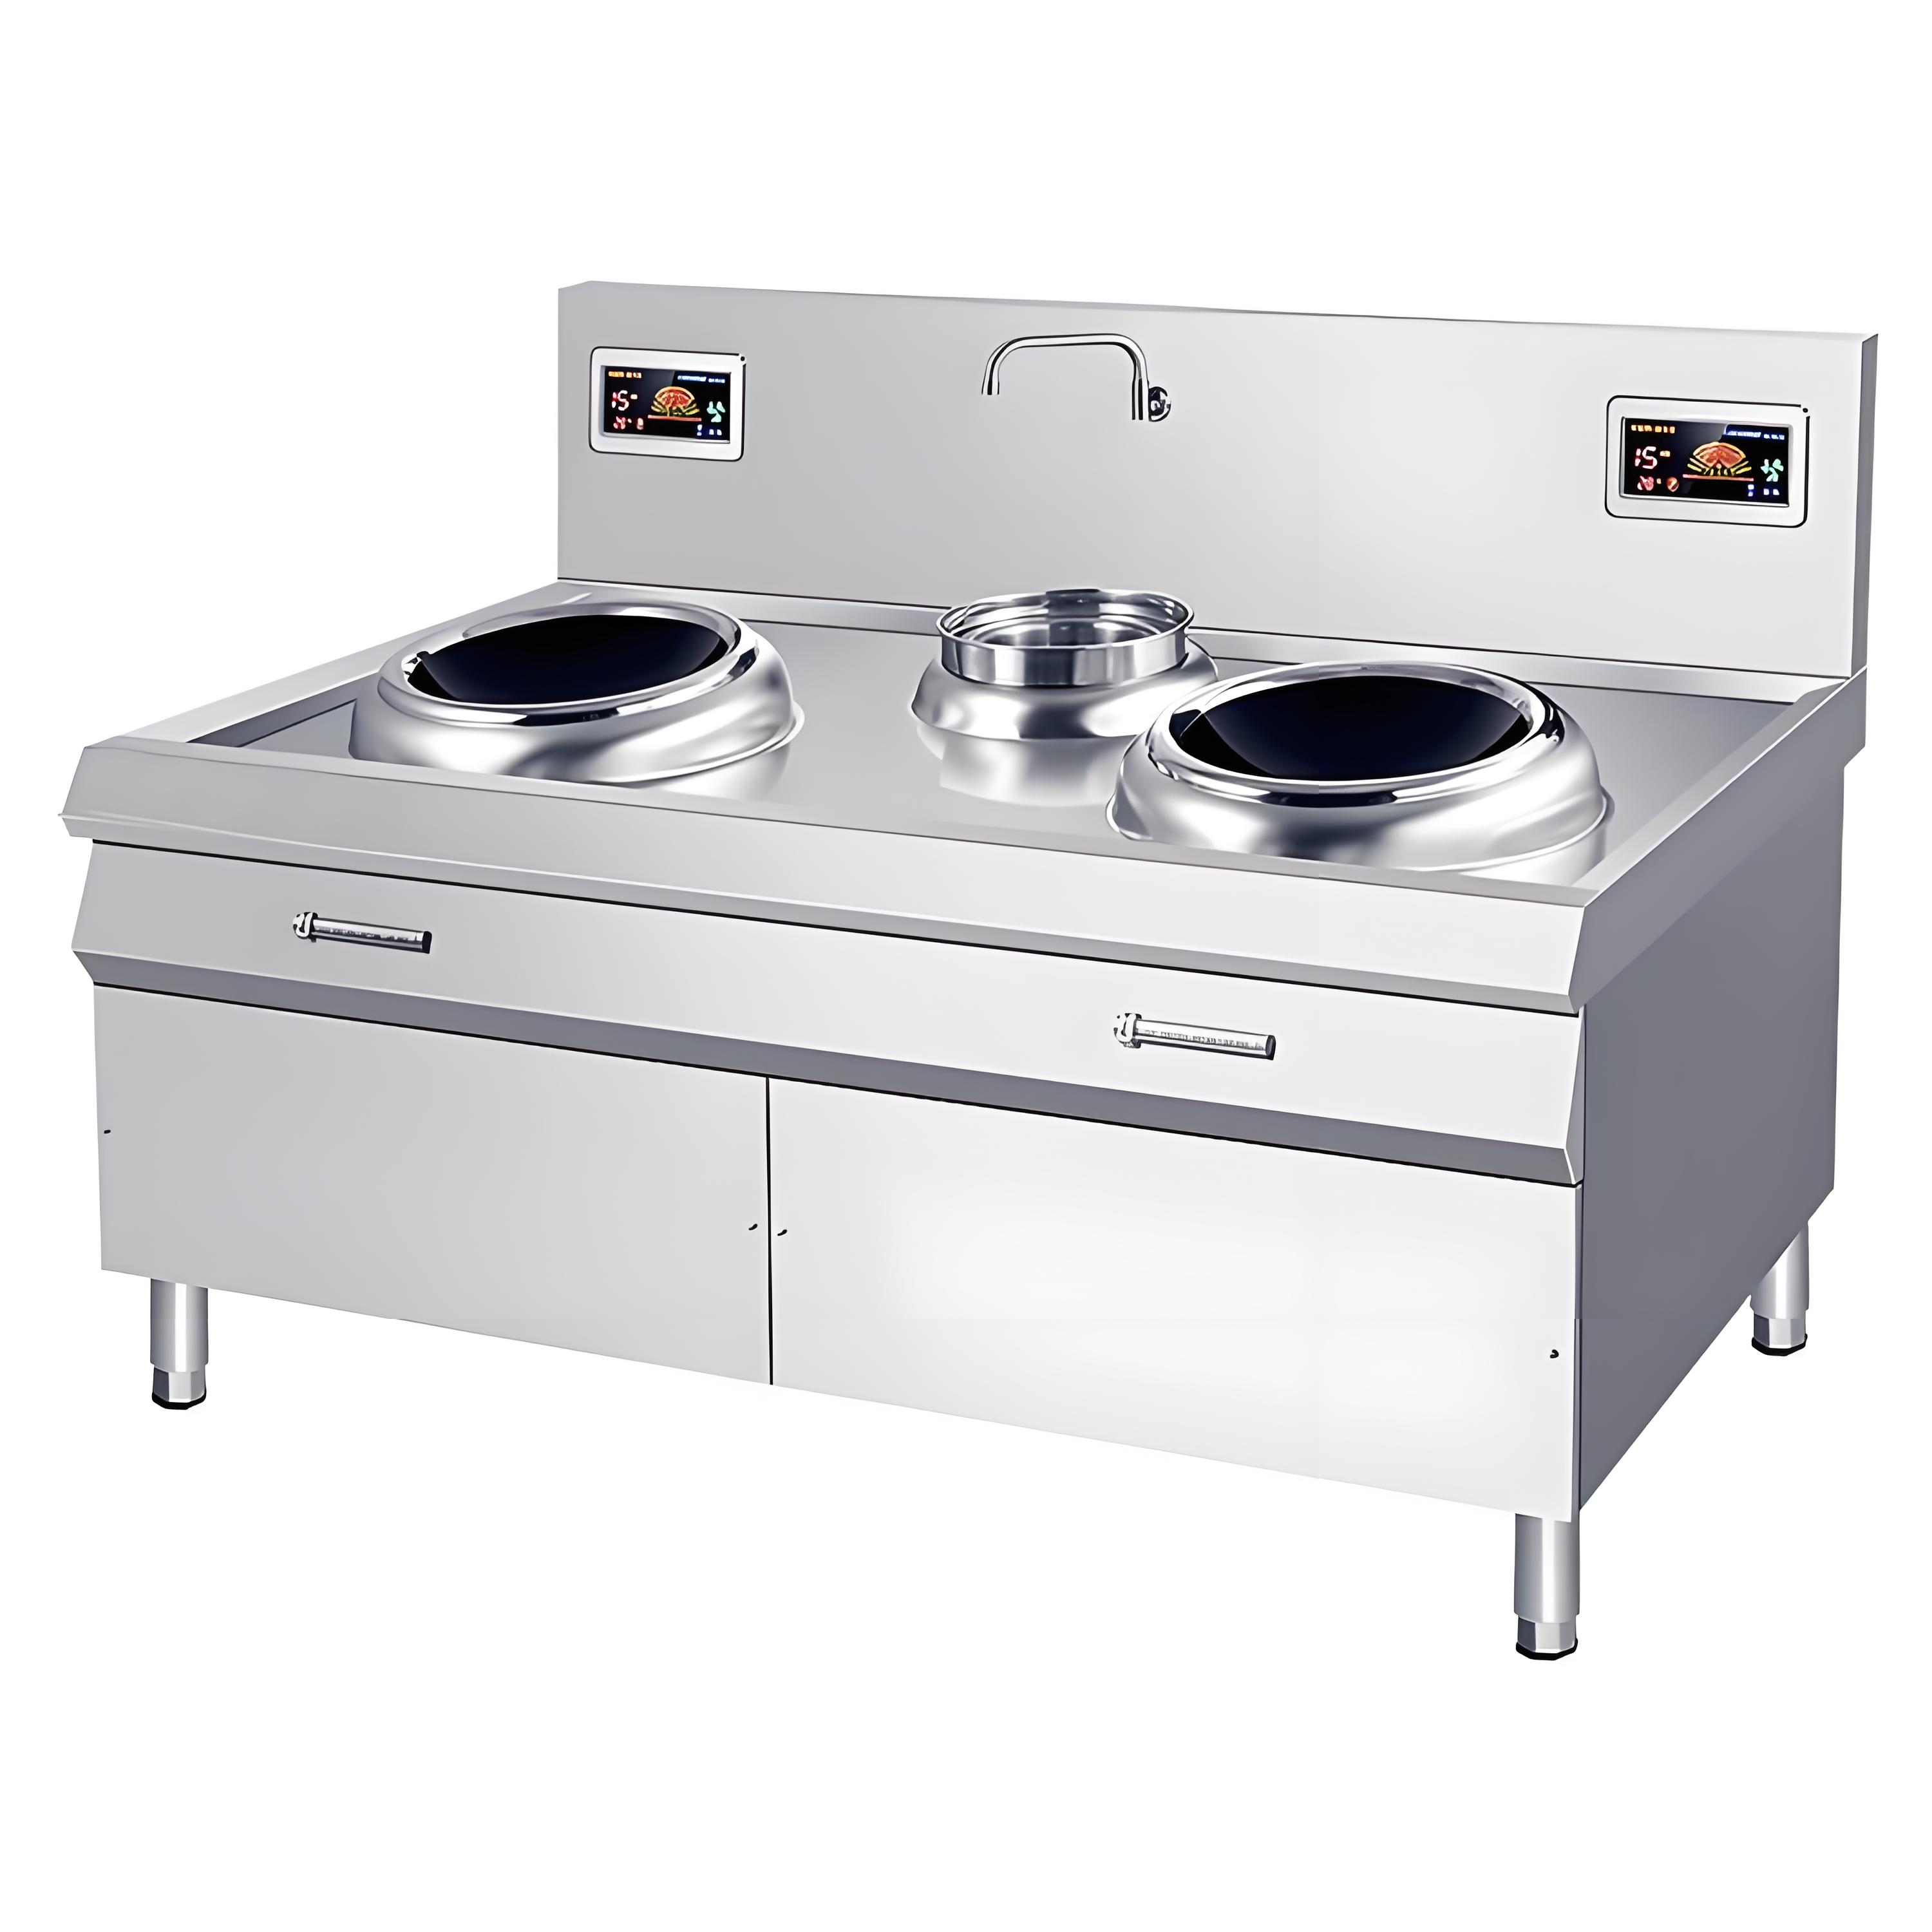
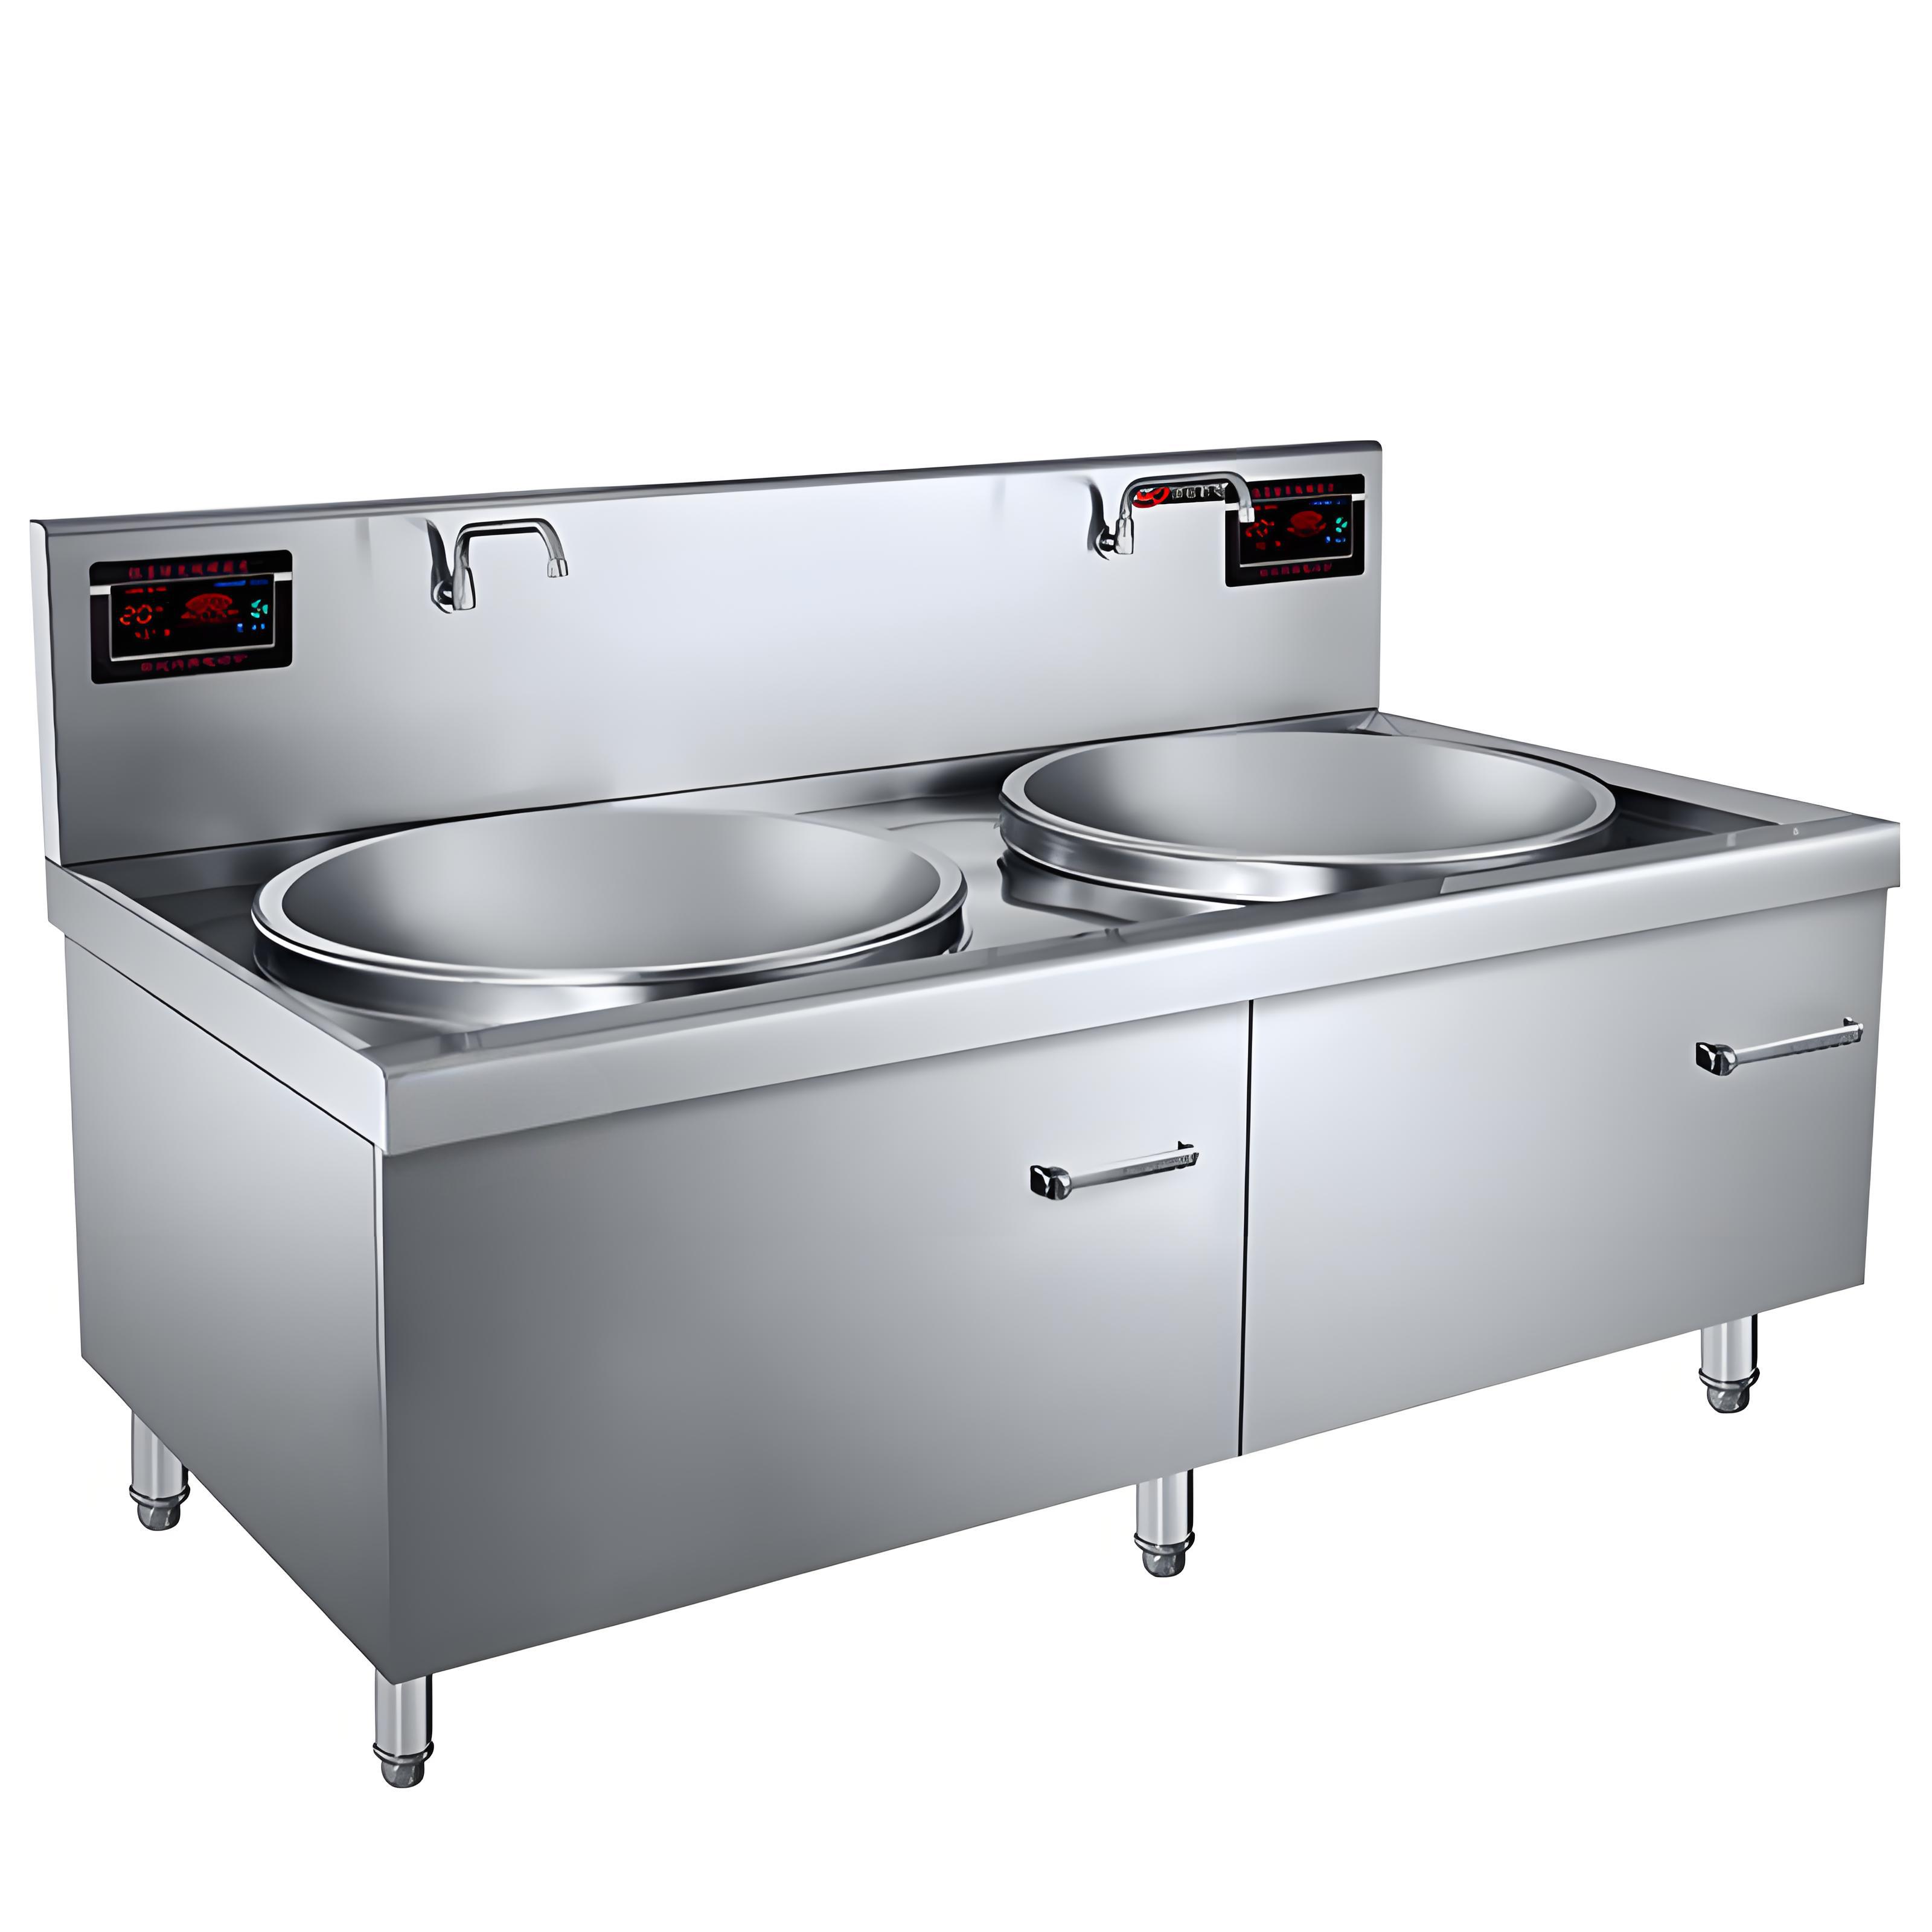
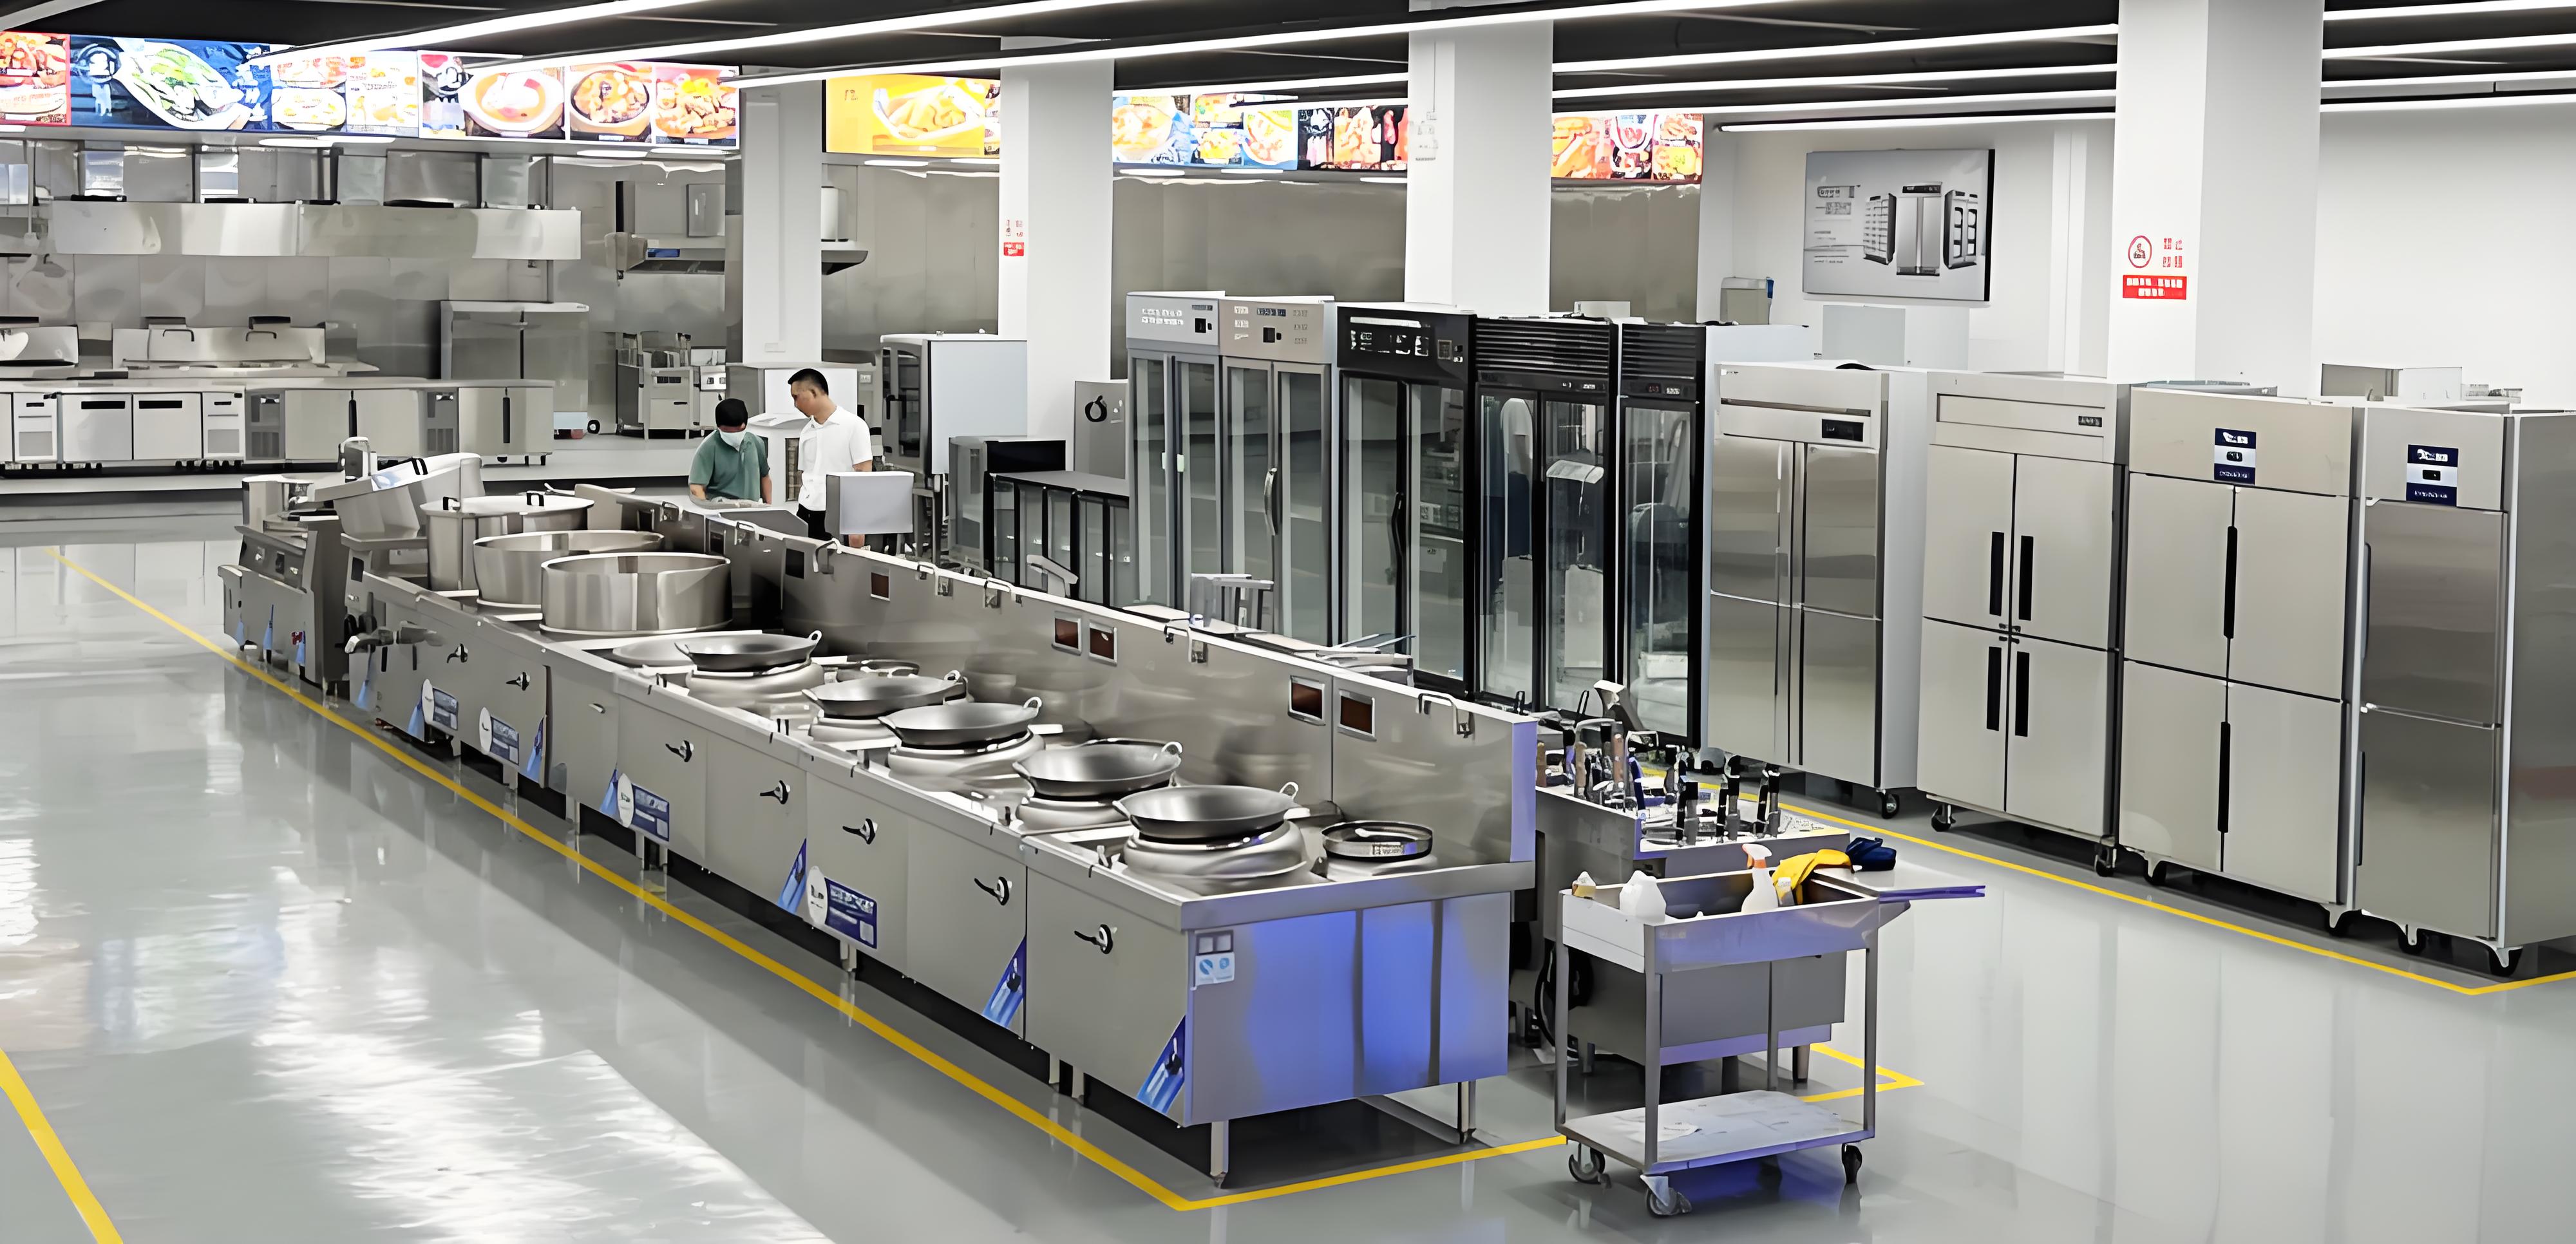
Commercial induction cookers are beasts when it comes to power. Unlike residential models, which might run on a standard 120V outlet for smaller units, commercial versions often demand 240V or three-phase power and can draw anywhere from 7kW to 12kW or more, depending on the model. A poorly wired cooker can lead to frequent circuit trips, equipment damage, or even fire hazards. Getting the wiring right ensures your kitchen runs smoothly, your food cooks perfectly, and you stay compliant with local electrical codes.
In my early days as an electrician, I once saw a restaurant try to cut corners by using an undersized cable for a high-powered induction range. The result? Overheated wires, tripped breakers, and a kitchen that went dark during peak dinner service. Trust me—you don’t want to be that restaurant. Let’s dive into how to wire your commercial induction cooker properly.
Step 1: Understand Your Cooker’s Electrical Requirements
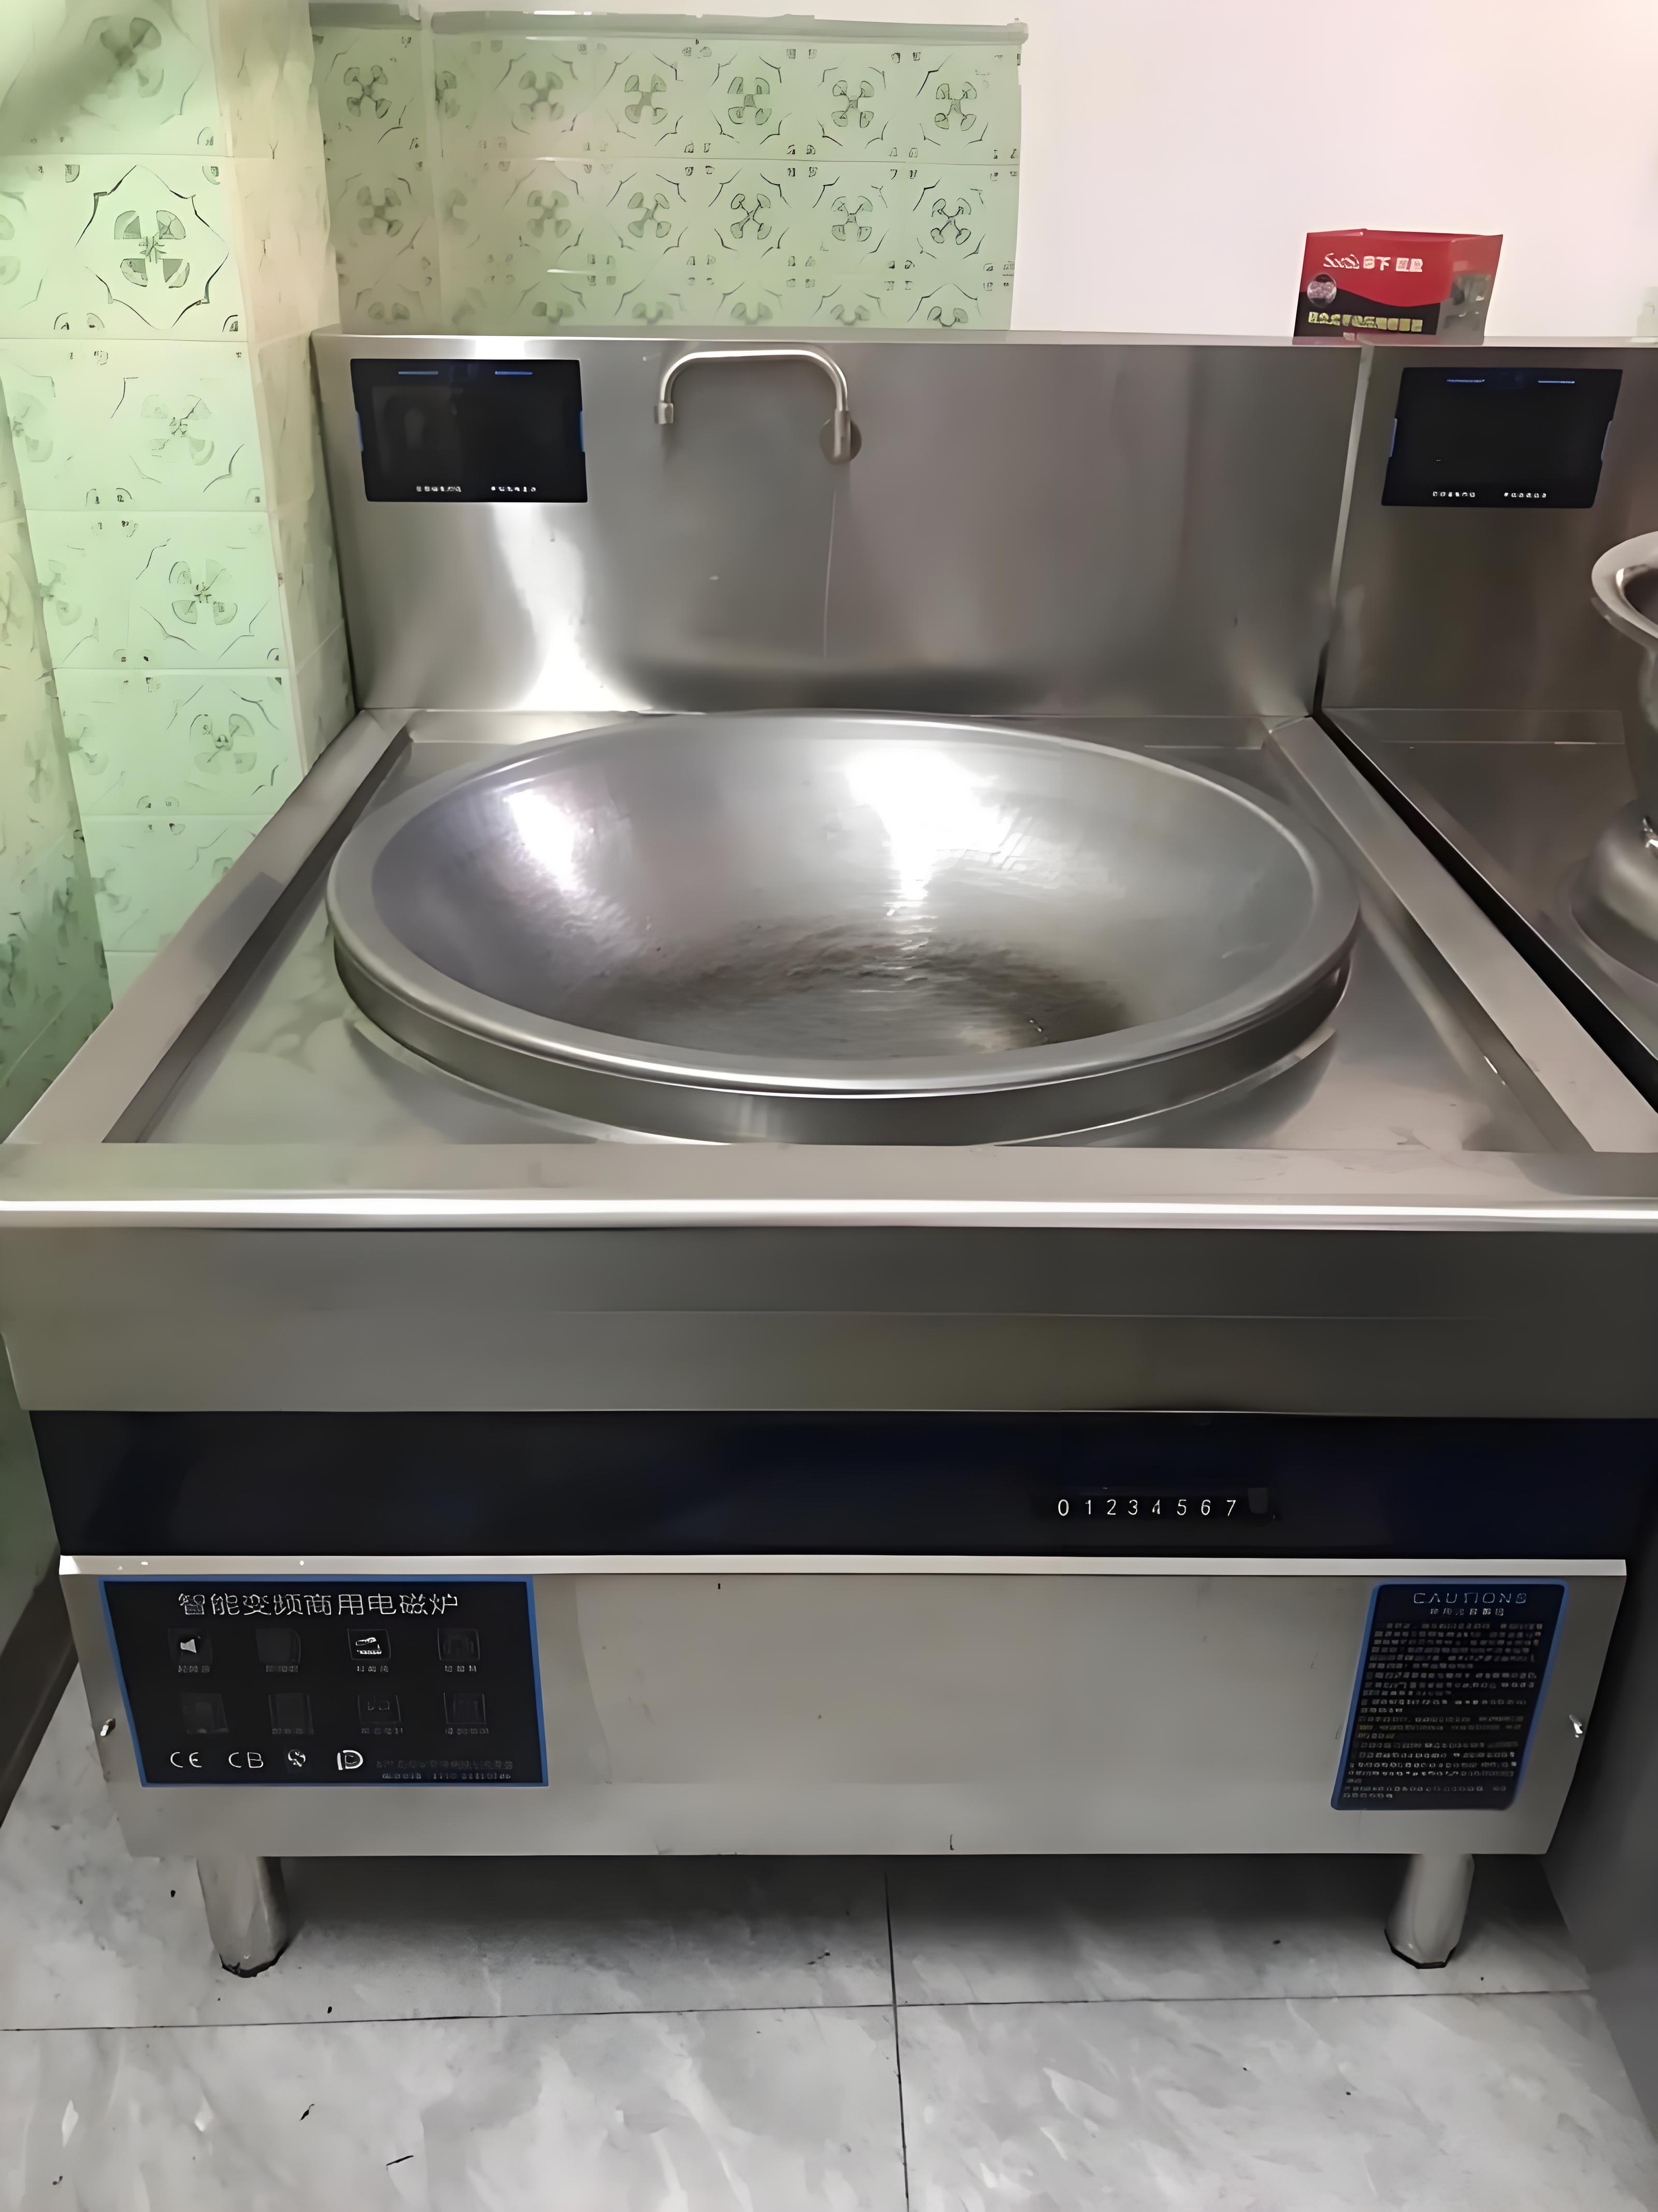
Before you touch a single wire, check the cooker’s specifications. Every commercial induction cooker comes with a manual or a nameplate that lists its voltage, amperage, wattage, and phase requirements. These are non-negotiable. For example, a typical 30-inch commercial induction cooktop might require a 240V, 40A or 50A circuit, while larger ranges could need a three-phase 208V or 400V supply for heavy-duty use.
Here’s a quick table to give you a sense of common requirements for commercial induction cookers:
|
Cooker Size |
Voltage |
Amperage |
Power (kW) |
|---|---|---|---|
|
30-inch, 4 burners |
240V, Single-phase |
40-50A |
7.2-10.8 |
|
36-inch, 5 burners |
240V/208V, Single or Three-phase |
50A |
10.8-12 |
|
Commercial Range (48-inch) |
208V/400V, Three-phase |
50-60A |
12-15 |
Pro Tip: Always check the manufacturer’s installation guide. Some brands, like Bosch or Wolf, include specific wiring diagrams that make your life easier. If you’re dealing with a European model, it might list specs for 230V or 400V, so confirm compatibility with your local power supply.
Step 2: Verify Your Electrical Supply
Once you know your cooker’s needs, assess your kitchen’s electrical setup. Commercial kitchens often have dedicated circuits for high-power appliances, but older buildings might not. Here’s what to check:
Voltage and Phase: Does your building have single-phase 240V or three-phase 208V/400V? Three-phase systems are common in commercial settings, but you might need an electrician to confirm.
Breaker Capacity: Ensure your circuit breaker matches the cooker’s amperage. A 40A cooker needs a 40A double-pole breaker, while a 50A model needs a 50A breaker.
Existing Wiring: Check the gauge of the existing wires. For a 40A circuit, you’ll typically need 8 AWG copper wire, while a 50A circuit might require 6 AWG. Three-phase systems may need thicker cables depending on the load.
In one of my projects, a client had a 32A breaker for a 7.4kW induction hob, which seemed fine until they ran all burners on high during a busy service. The breaker tripped repeatedly. We upgraded to a 40A breaker with 6mm² cable, and the problem vanished. Always size your circuit for the maximum load, not the minimum.
Step 3: Choose the Right Cable and Conduit
The cable you use is critical. Commercial induction cookers generate significant heat, and undersized or low-quality wires can overheat, posing a fire risk. Here’s what to consider:
Cable Type: Use copper wire for better conductivity and durability. Aluminum is cheaper but less efficient and may require a larger gauge.
Wire Gauge: For single-phase 240V systems, 8 AWG is typically sufficient for 40A, while 6 AWG is better for 50A. For three-phase systems, consult the electrician’s code or manufacturer’s specs, as the gauge depends on the total load and distance from the panel.
Conduit: In commercial kitchens, wires must be protected in a metal conduit to meet safety codes. Flexible metal conduit or rigid steel conduit is common. Ensure the conduit is properly grounded.

Here’s a table summarizing wire gauge requirements for common setups:
|
Circuit Amperage |
Wire Gauge (Copper) |
Conduit Type |
Typical Use |
|---|---|---|---|
|
40A |
8 AWG |
Flexible Metal |
30-inch cooktop |
|
50A |
6 AWG |
Rigid Steel |
36-inch cooktop |
|
60A |
4 AWG |
Rigid Steel |
Large commercial range |
Pro Tip: If the wire run is long (over 50 feet), you may need a thicker gauge to account for voltage drop. Consult an electrician to calculate the exact size.
Step 4: Install a Dedicated Circuit
Commercial induction cookers require a dedicated, grounded circuit. Sharing a circuit with other appliances is a recipe for disaster—trust me, I’ve seen it. Here’s how to set it up:
Turn Off Power: Before starting, switch off the main power at the breaker panel to avoid electrocution. Use a voltage tester to confirm the circuit is dead.
Run the Cable: Route the cable from the breaker panel to a junction box near the cooker. The junction box should be about 16 inches below the countertop to avoid heat exposure, as recommended by manufacturers like GE.
Connect the Breaker: Install a double-pole breaker (for single-phase) or a three-pole breaker (for three-phase) in the panel. Connect the hot wires (black and red, or black, red, and blue for three-phase) to the breaker terminals, and the ground wire (green or bare) to the ground bar.
Grounding: Ensure the cooker is properly grounded. In some older setups, I’ve seen improper grounding cause erratic performance or safety issues. The green wire from the cooker connects to the ground bar in the panel or a grounded junction box.
Step 5: Connect the Cooker
Now it’s time to wire the cooker itself. Most commercial induction cookers come with a power cord or terminal block for hardwiring. Here’s how to do it:
For Hardwired Models:
Open the cooker’s terminal block cover (usually on the underside).
Connect the black wire (L1) and red/white wire (L2) to the corresponding terminals. For three-phase models, connect the third wire (blue or another color) to L3.
Connect the green wire (GND) to the ground terminal.
Secure the cable with a strain-relief clamp to prevent pulling.
For Plug-in Models:
Ensure the outlet matches the cooker’s plug (e.g., NEMA 14-50R for 50A).
Plug in the cooker and test the outlet with a multimeter to confirm 240V across the hot terminals.
Pro Tip: If your cooker has a white wire but your supply has no neutral, cap off the neutral wire with a wire nut, as many induction cookers don’t use it. Check the manual to confirm.

Step 6: Test and Secure the Installation
Once wired, don’t rush to fire up the burners. Follow these steps to ensure everything’s safe:
Double-Check Connections: Verify all wires are tightly secured and there’s no exposed copper.
Test the Circuit: Turn on the breaker and use a multimeter to check for 240V (or 208V/400V for three-phase) at the junction box or outlet.
Power On the Cooker: Turn on the cooker and run each burner briefly to confirm it heats properly. Watch for error codes or flickering displays, which could indicate a wiring issue.
Secure the Cooker: Fasten the cooker to the countertop using the provided clamps, but don’t overtighten, especially on stone surfaces.
Step 7: Comply with Local Codes and Safety Standards
Every region has its own electrical codes, and commercial kitchens are subject to stricter regulations than homes. In the U.S., the National Electrical Code (NEC) requires a dedicated, grounded circuit for induction cookers. In the UK, BS 7671 governs wiring, and diversity calculations may allow smaller cables for certain setups.
I once worked on a project where the local inspector rejected an installation because the junction box wasn’t properly labeled. To avoid headaches, ensure your setup includes:
A dedicated isolation switch near the cooker for emergency shutoff.
Proper labeling of the circuit at the breaker panel and junction box.
Compliance with maximum demand calculations (e.g., diversity rules in the UK, where you take 100% of the first 10A and 30% of the remaining load).
If you’re not a licensed electrician, hire one to handle the final connections and inspections. It’s worth the cost to avoid legal or safety issues.
Common Mistakes to Avoid
Over the years, I’ve seen some recurring errors that can derail an induction cooker installation:
Undersized Wiring: Using 2.5mm² cable for a 7.4kW hob might seem fine with diversity calculations, but it’s risky for continuous heavy use. Stick to 6mm² or larger for commercial settings.
Shared Circuits: Never connect your cooker to a circuit with other appliances. A client once tried running a 7.35kW hob and a 3.2kW oven on a 32A circuit, and it tripped constantly.
Improper Grounding: Failing to ground the cooker properly can lead to shocks or equipment failure. Always connect the green wire to a grounded terminal.
Ignoring Manufacturer Specs: Some cookers have unique requirements, like specific wire colors or terminal configurations. Follow the manual to the letter.
Why Induction Cookers Are Worth the Effort
After wiring dozens of these units, I can tell you that induction cookers are a game-changer. They’re 90% energy-efficient compared to 75% for electric and 40% for gas, and they heat up twice as fast. In a commercial kitchen, that means faster prep times, lower utility bills, and happier chefs. Plus, the precise control (some models offer 100 power levels) lets you perfect everything from simmering sauces to searing steaks.
One of my favorite moments was watching a chef test a newly installed induction range. He boiled water in half the time it took on his old gas stove and couldn’t stop raving about the control. That’s the kind of payoff you get when the wiring is done right.

Final Thoughts
Wiring a commercial induction cooker isn’t a small task, but it’s manageable with the right knowledge and preparation. By understanding your cooker’s requirements, choosing the correct cables, and following safety codes, you’ll have a reliable, high-performing kitchen setup. If you’re ever in doubt, call a professional electrician—better safe than sorry. With your new induction cooker properly wired, you’ll be ready to cook up a storm and keep your kitchen running like a well-oiled machine.
Frequently Asked Questions
Q: Can I use an existing circuit for my commercial induction cooker?
A: It depends. If the circuit is dedicated, properly sized (e.g., 40A or 50A for most commercial cookers), and meets the voltage and phase requirements, you might reuse it. However, older circuits may have undersized wires or breakers, so have an electrician check.
Q: Do I need a neutral wire for my induction cooker?
A: Many commercial induction cookers don’t use a neutral wire, especially 240V or three-phase models. If your supply has a neutral, cap it off with a wire nut unless the manual specifies otherwise.
Q: What’s the difference between single-phase and three-phase wiring for induction cookers?
A: Single-phase (240V) is common for smaller commercial cooktops and uses two hot wires (L1, L2) and a ground. Three-phase (208V/400V) is used for larger ranges, with three hot wires (L1, L2, L3) and a ground, distributing power more efficiently for high-demand kitchens. Check your cooker’s specs to confirm.
Q: How much does it cost to install a new circuit for an induction cooker?
A: Costs vary by region and complexity, but expect $300-$1,000 for a new dedicated circuit, including labor and materials. Long wire runs or switchboard upgrades can increase the price.
Q: Can I wire the cooker myself?
A: Unless you’re a licensed electrician, I strongly recommend hiring a professional. Commercial installations must comply with strict codes, and mistakes can be dangerous or costly. Always prioritize safety.