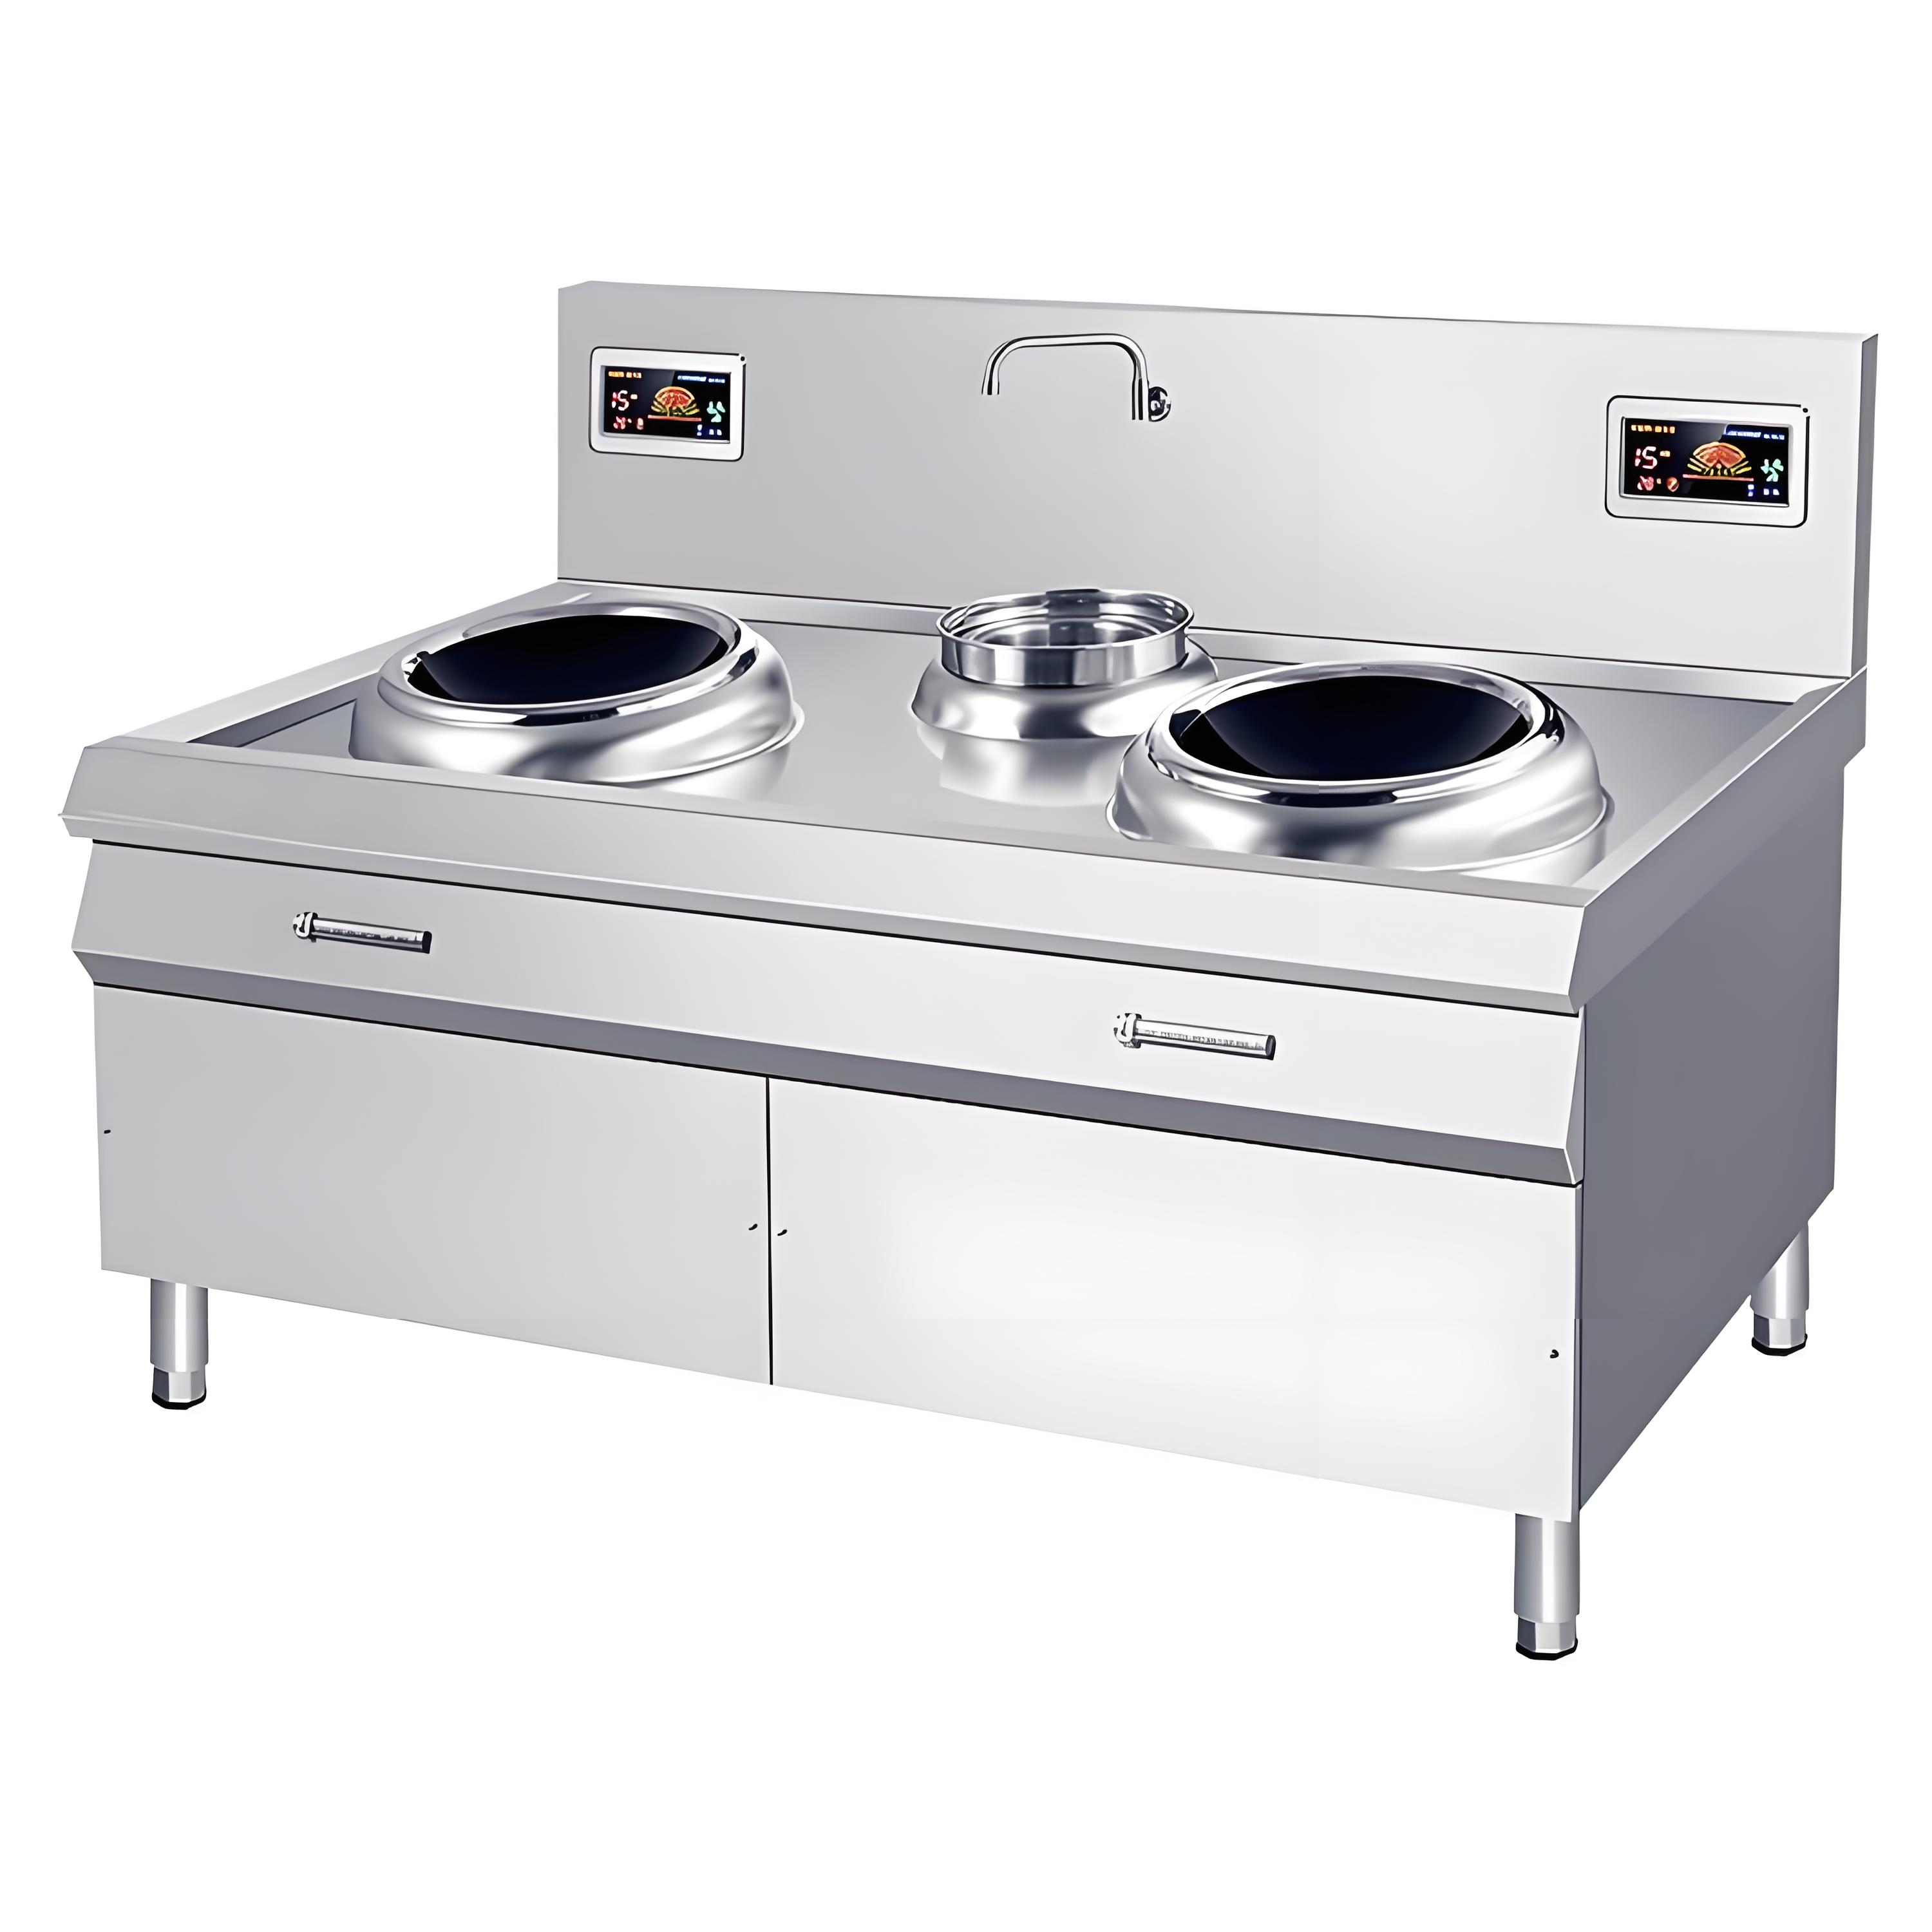
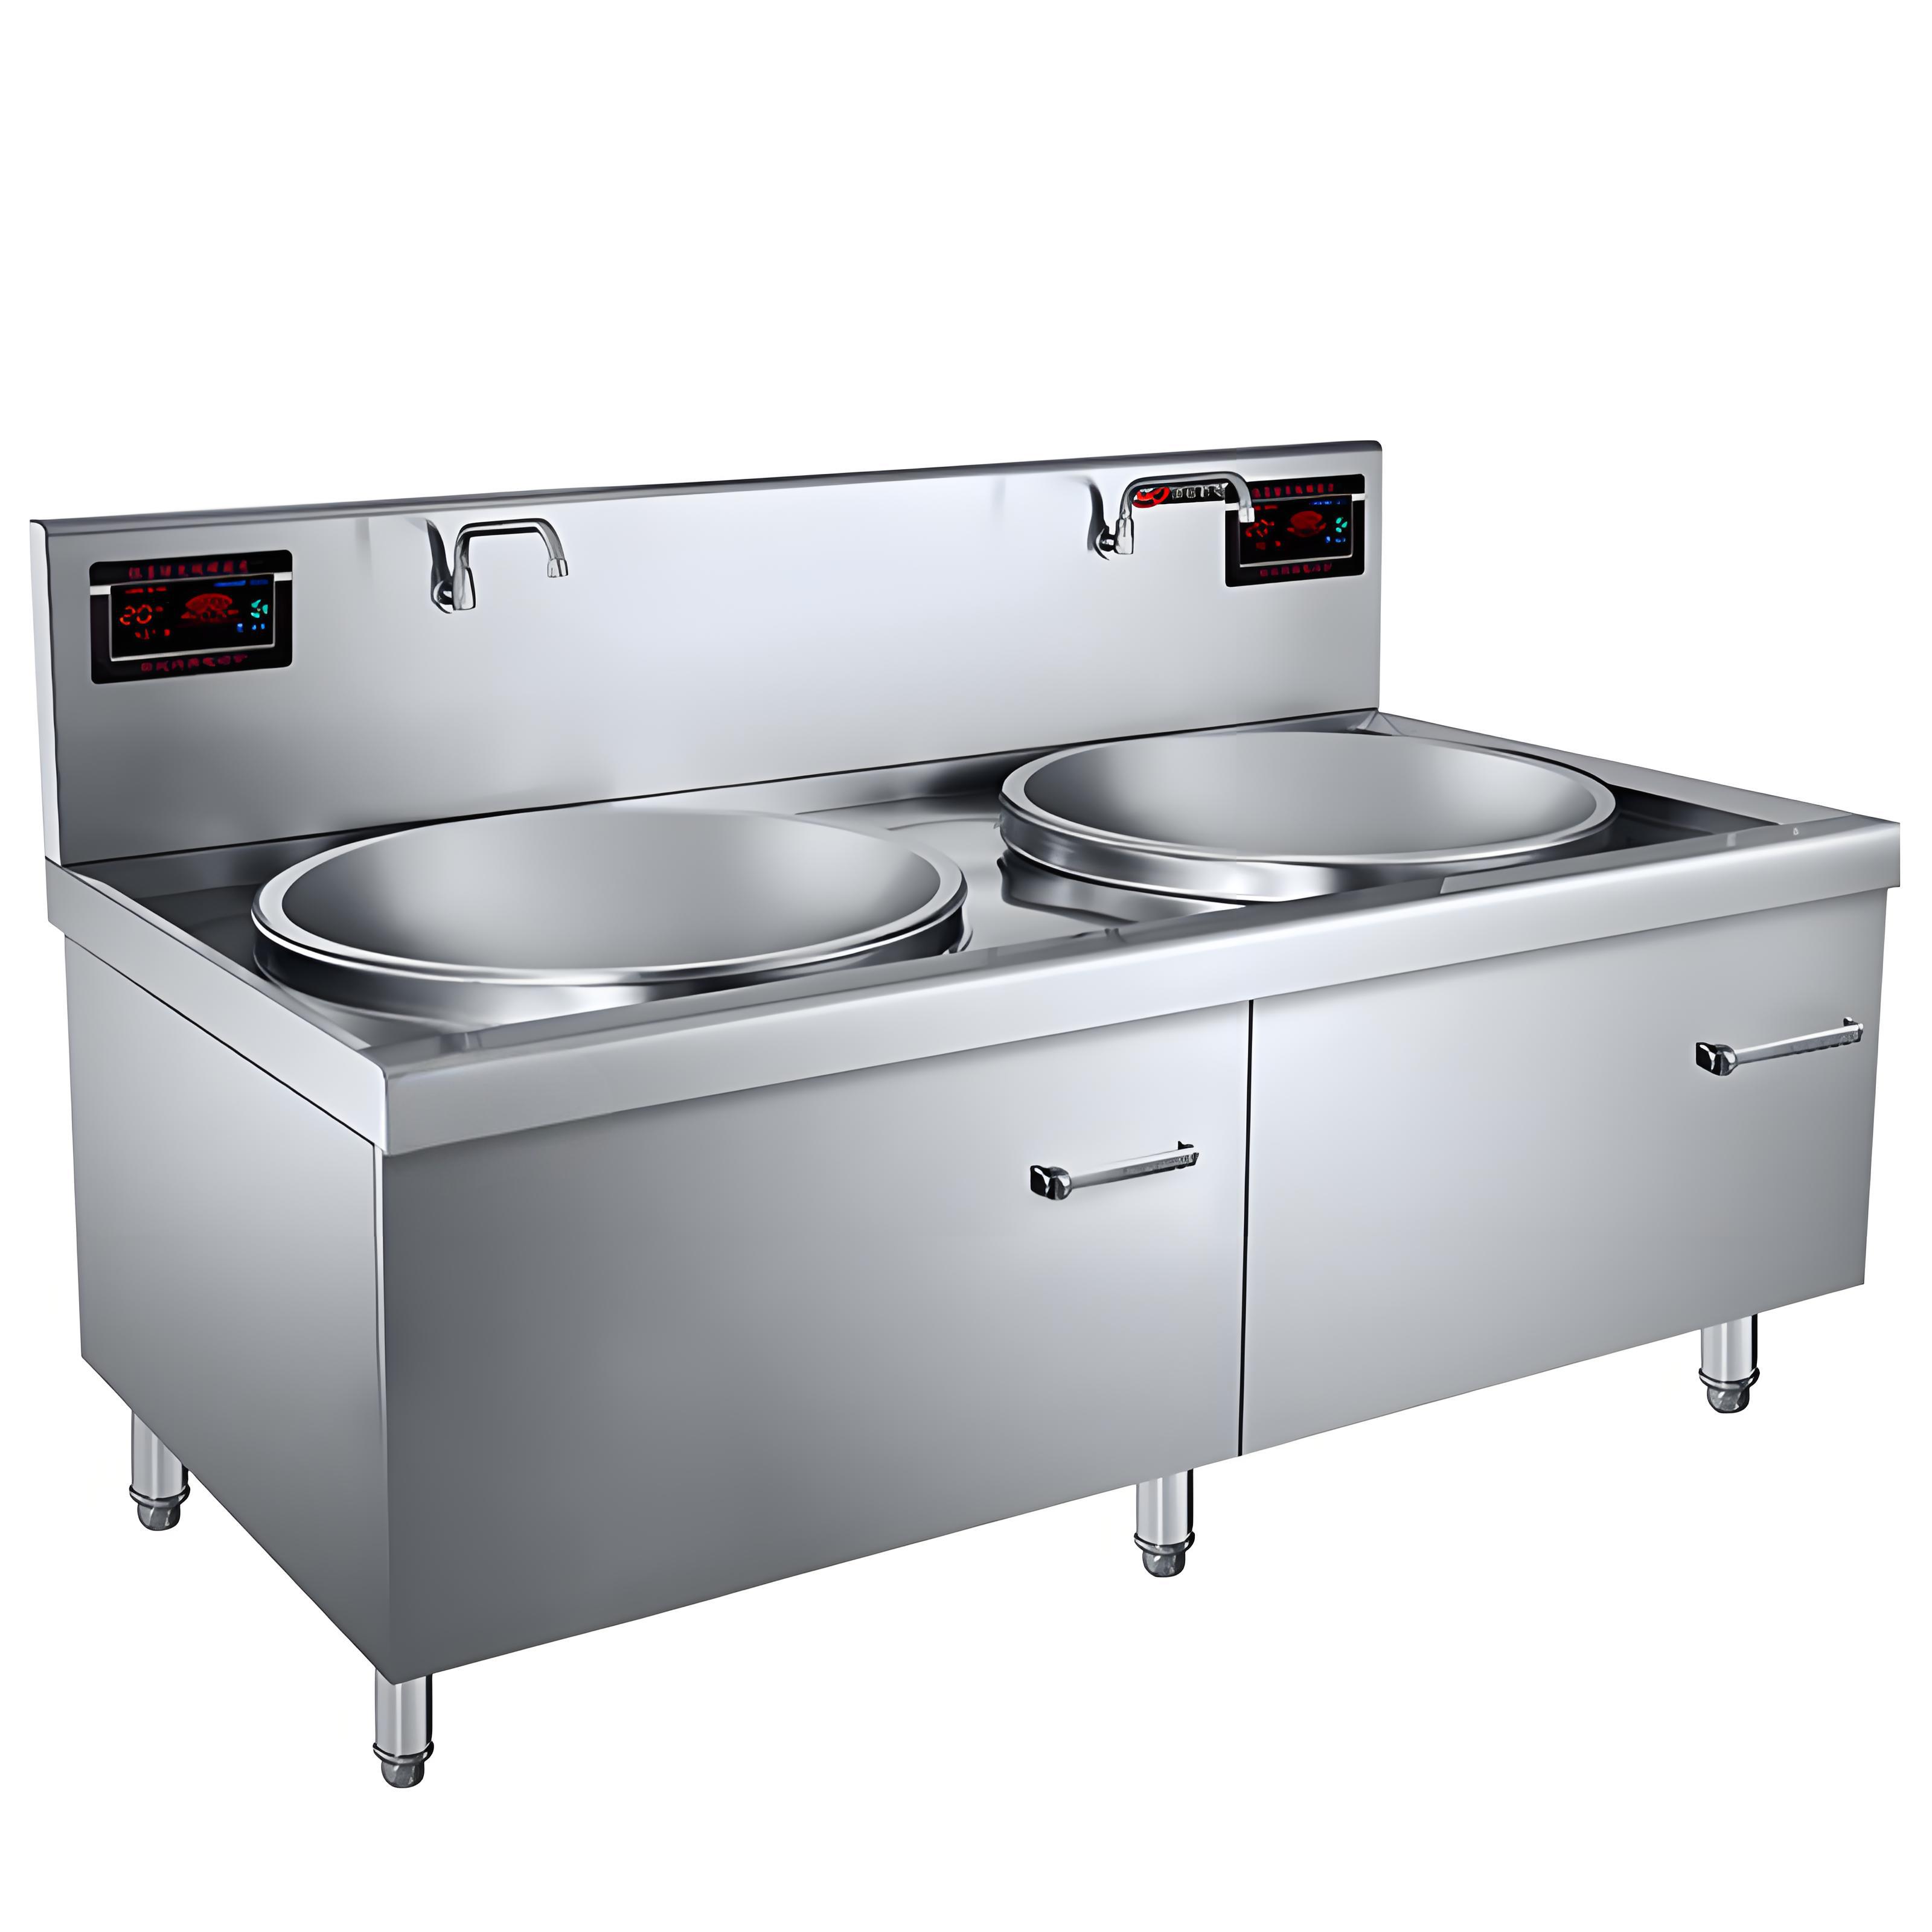
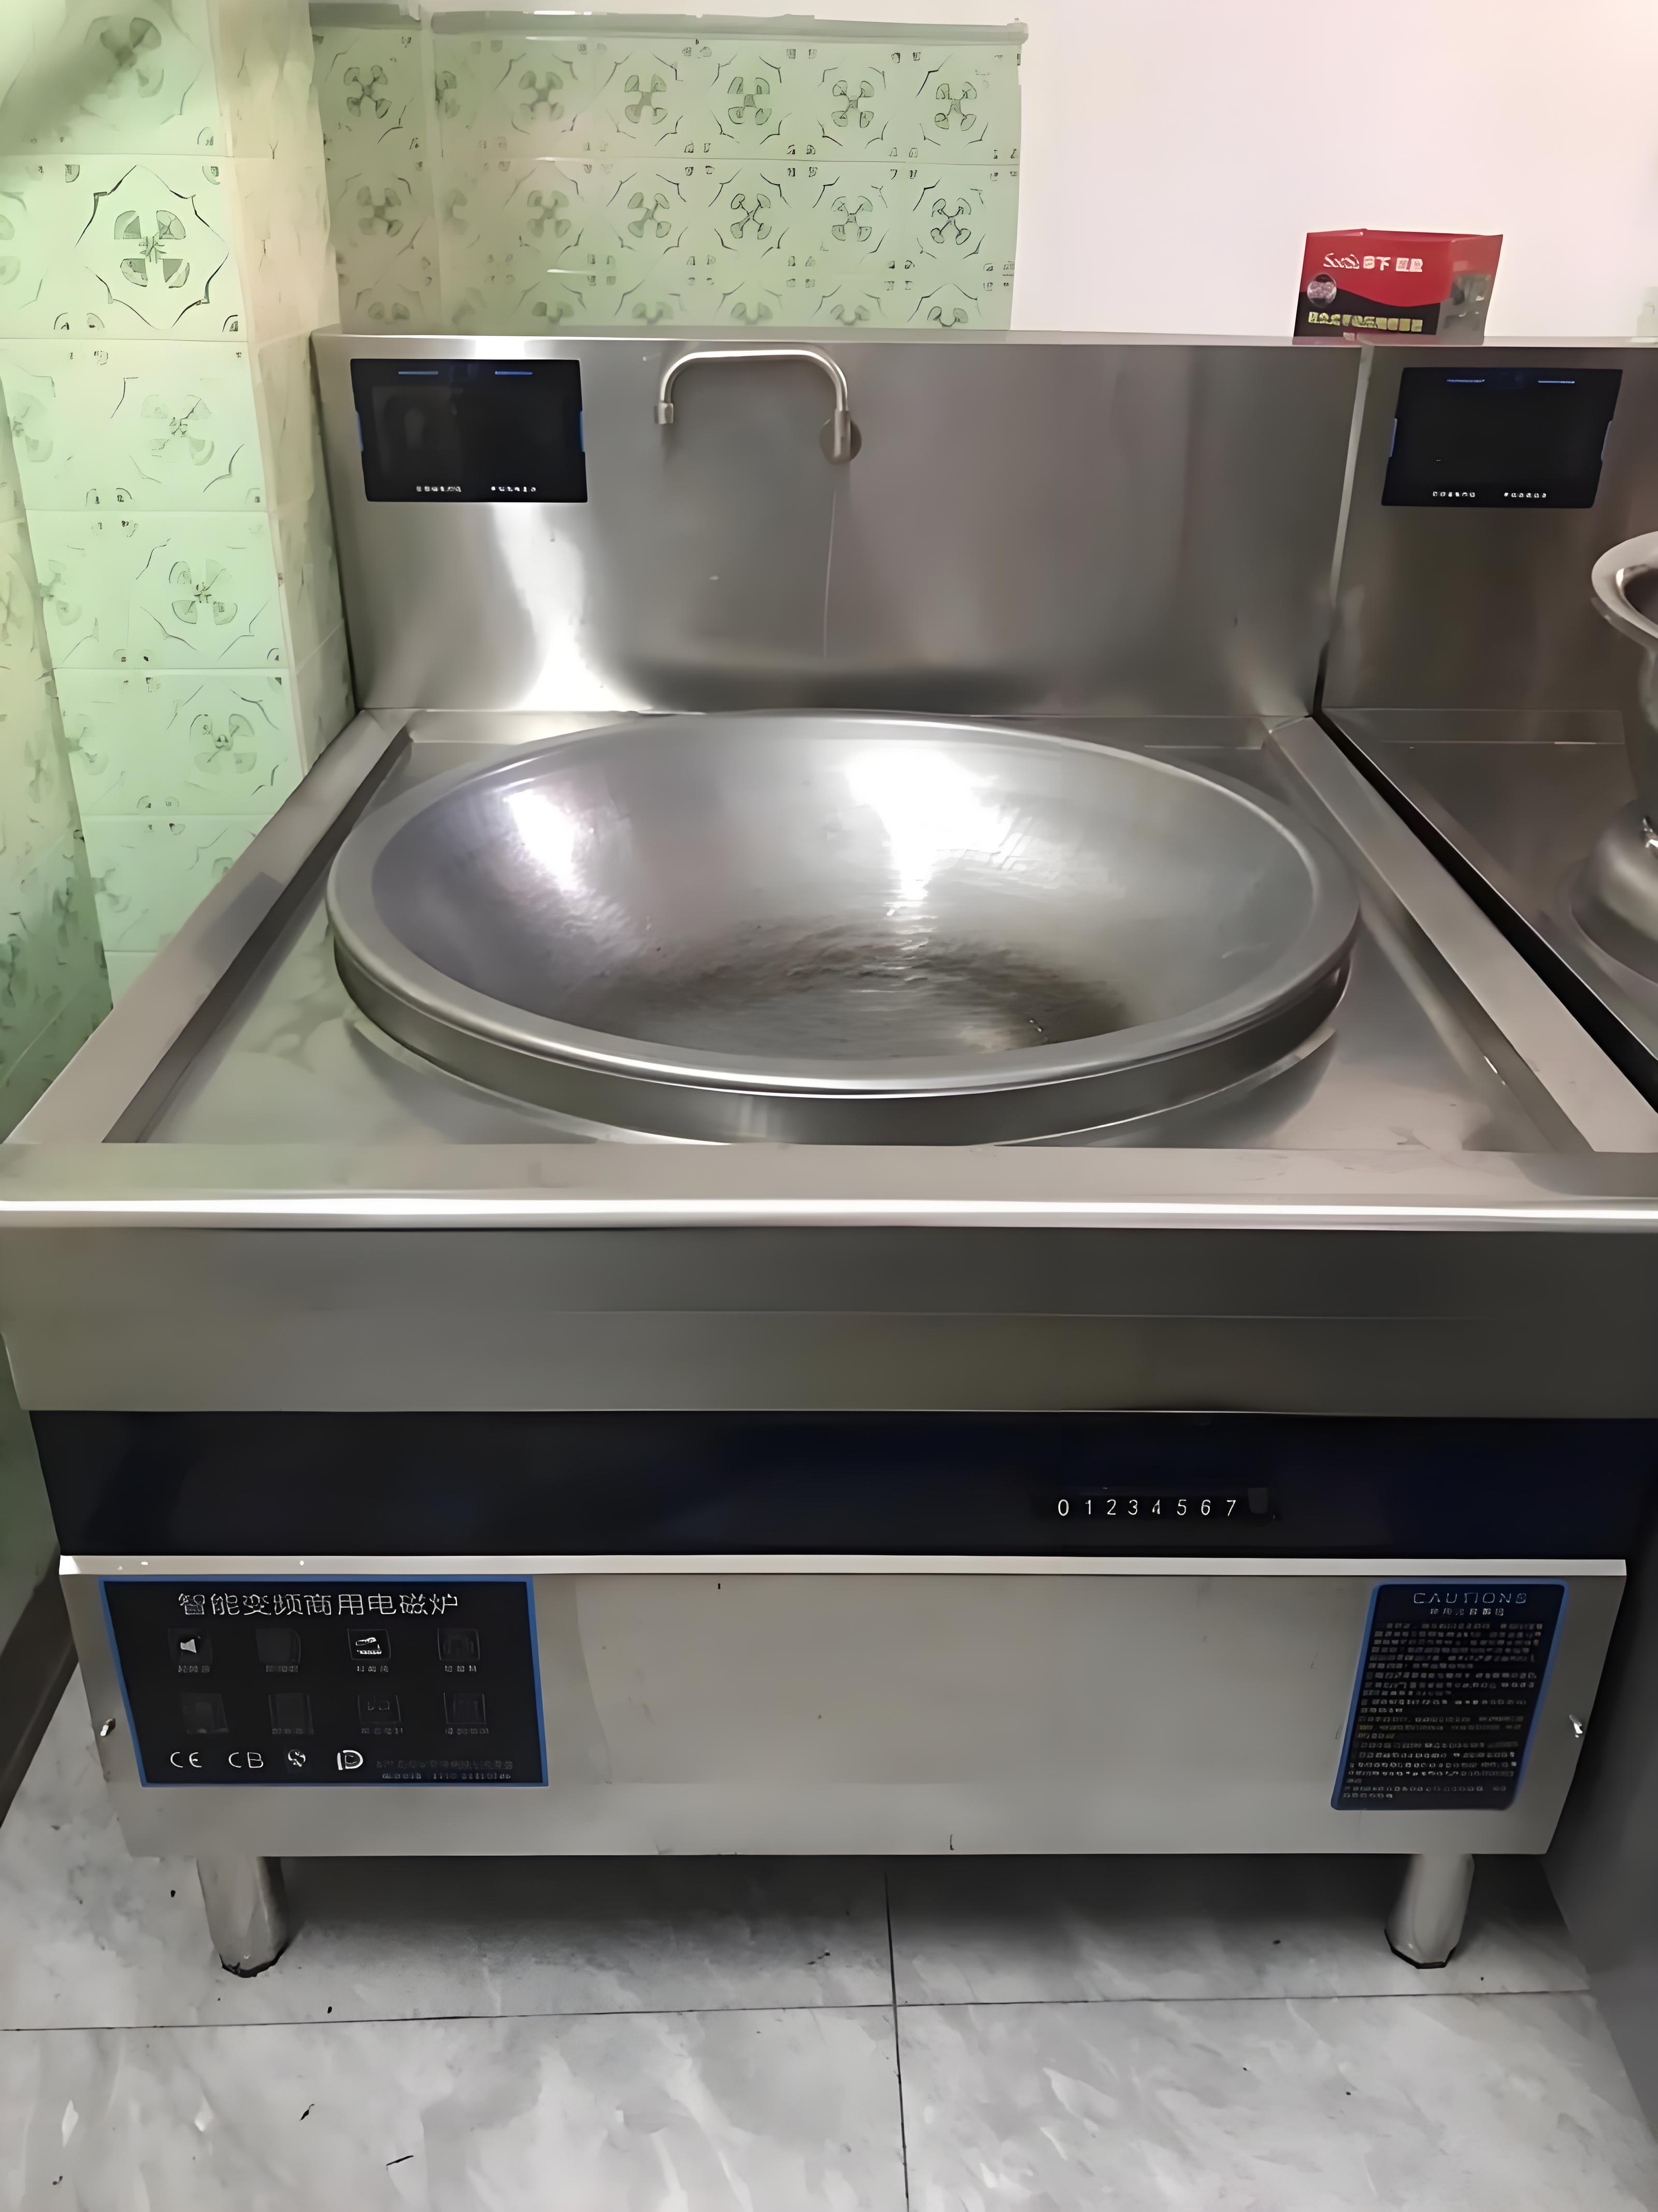
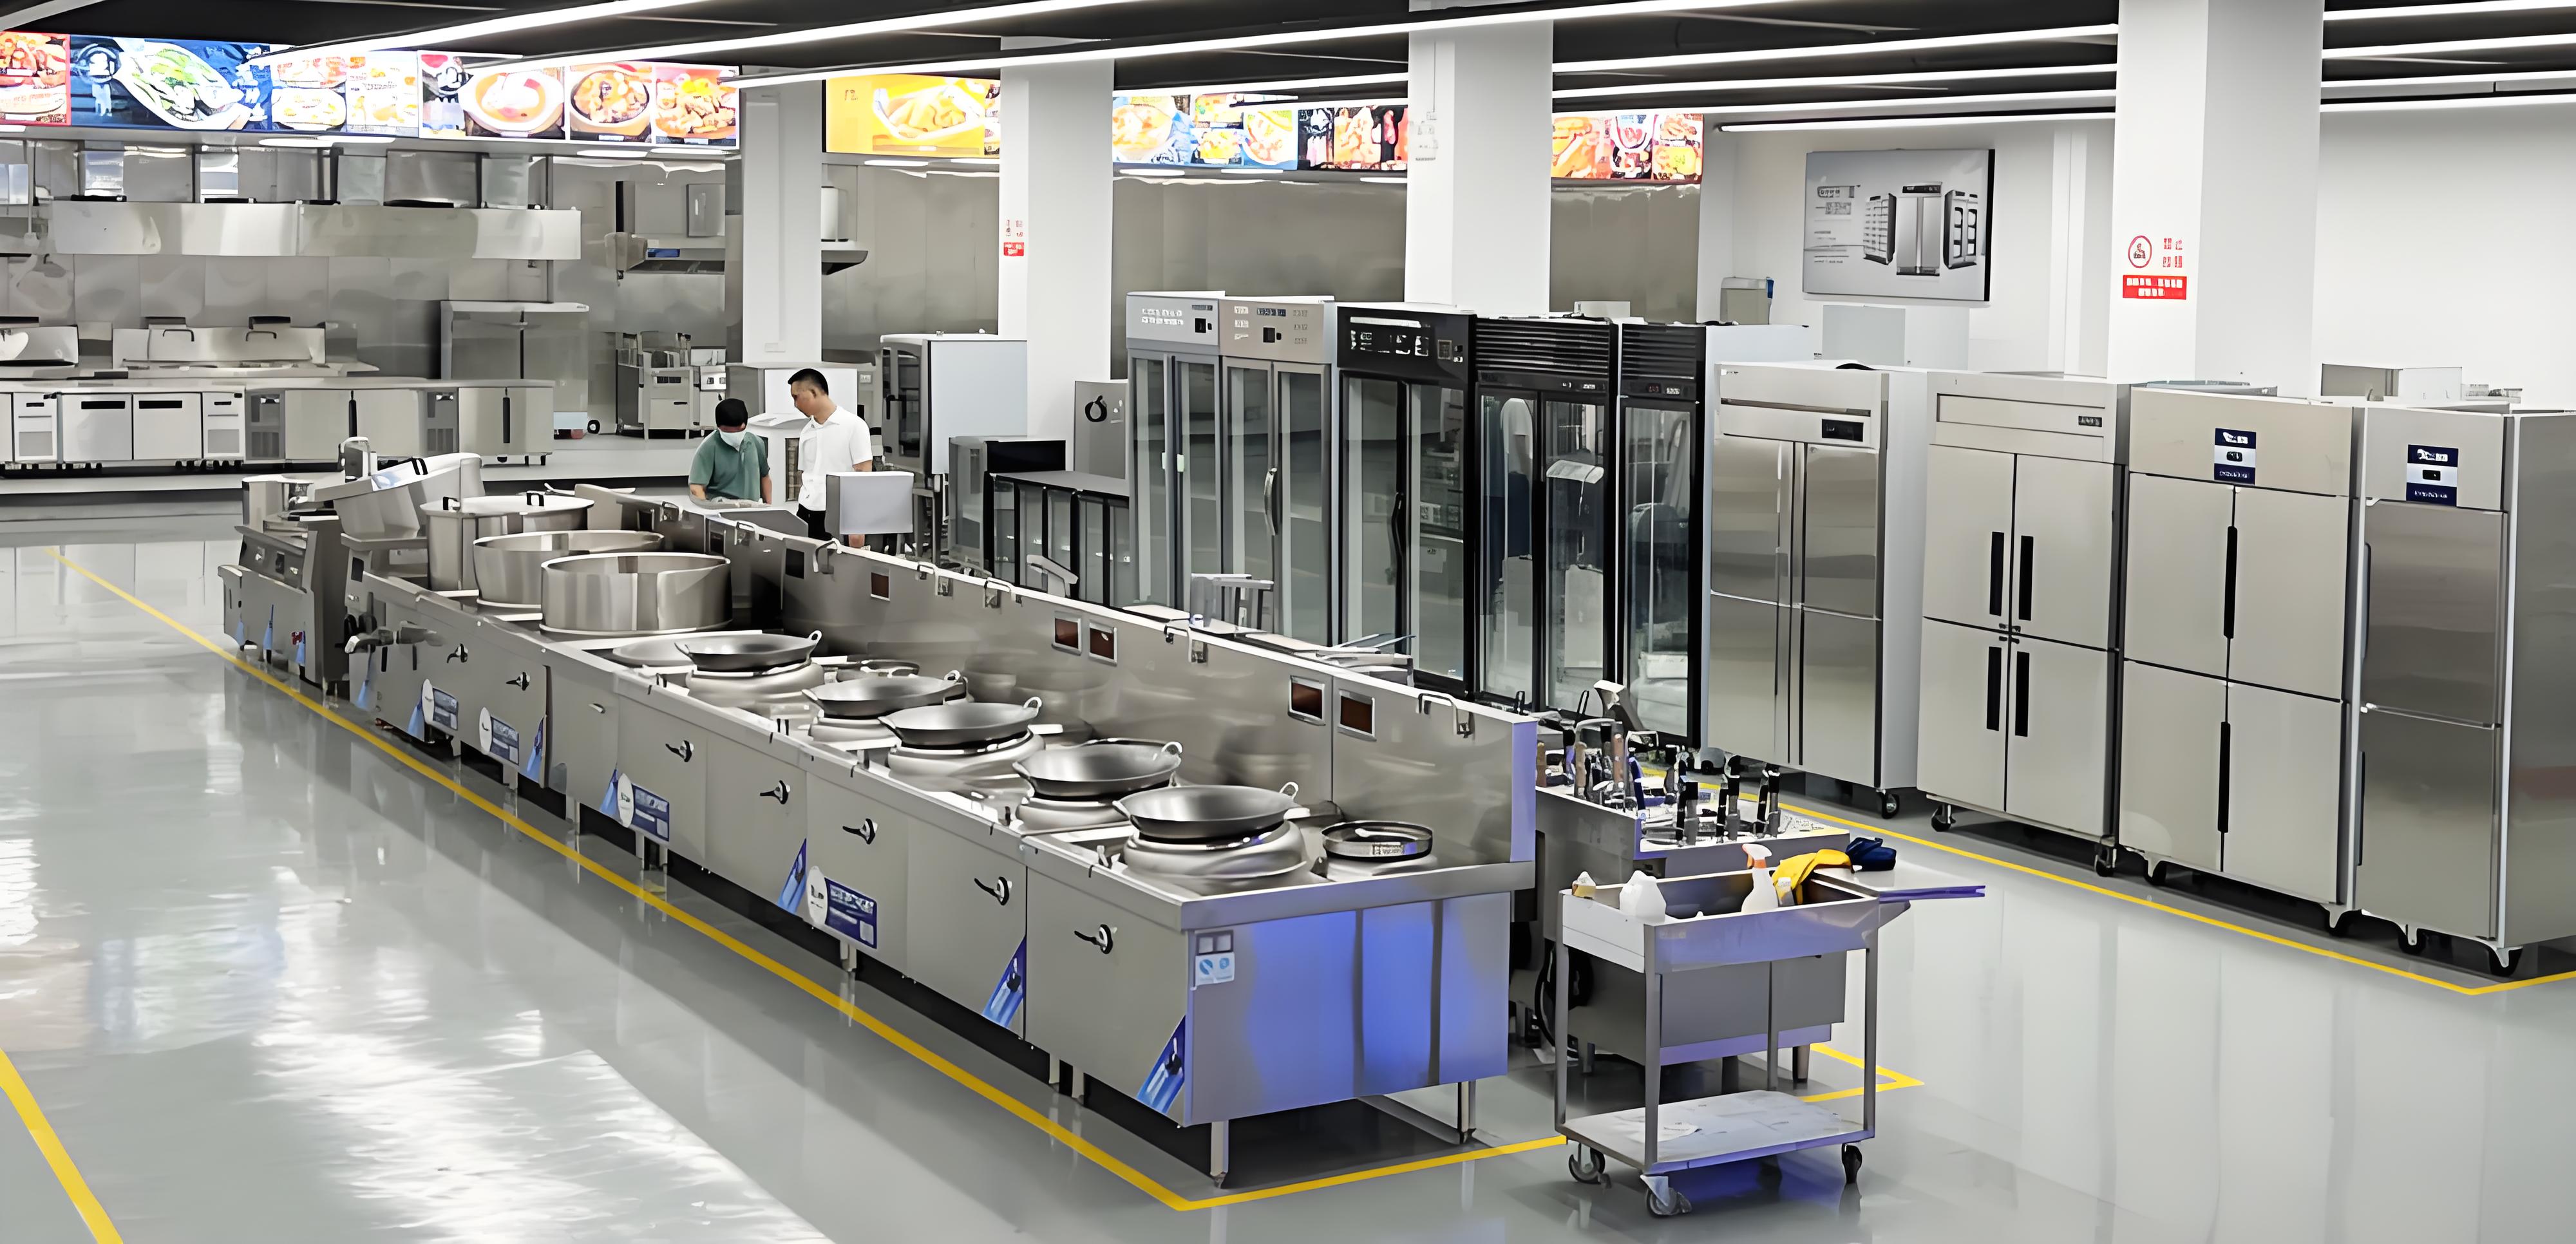
As someone who’s spent years in the commercial kitchen equipment industry, I’ve worked with countless induction cookers, troubleshooting their settings and helping restaurant owners optimize their performance. Commercial induction cookers are a game-changer for professional kitchens, offering precise temperature control, energy efficiency, and speed. But one question I often hear from chefs and kitchen managers is: How do you properly set the power on these machines? Whether you’re adjusting for a delicate sauce or a high-heat stir-fry, getting the power settings right is crucial for consistent results. In this article, I’ll walk you through the process of setting power on a commercial induction cooker, share practical tips from my experience, and address common challenges to ensure your kitchen runs smoothly. Let’s dive into the details and make those power settings work for you.
Why Power Settings Matter on Commercial Induction Cookers
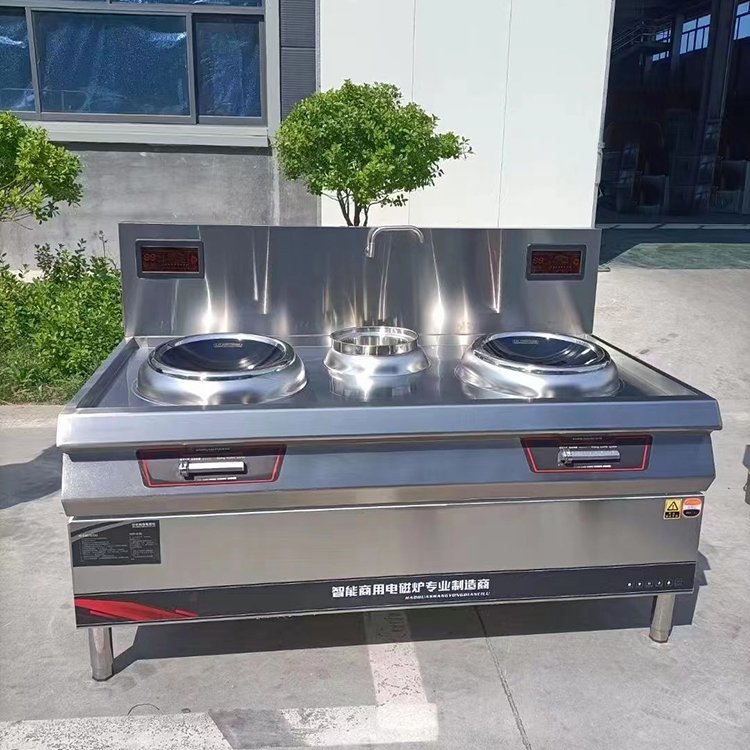
Commercial induction cookers operate using electromagnetic fields to heat cookware directly, which makes them incredibly responsive and efficient. Unlike gas or electric stoves, where heat adjustments can be slow, induction cookers allow for instantaneous power changes, giving chefs precise control over cooking temperatures. However, this precision can be a double-edged sword. If the power isn’t set correctly, you might end up with undercooked dishes, burnt food, or wasted energy.
I remember helping a busy restaurant during a peak dinner service when their new induction cooker was running too hot, scorching a batch of sauces. The issue? The staff hadn’t fully understood how to adjust the power levels for different tasks. After a quick tutorial on power settings, they were back on track, producing perfectly cooked dishes. Understanding how to set and fine-tune power is essential for maximizing the cooker’s potential and ensuring consistent culinary results.
Understanding Power Settings on Commercial Induction Cookers
Before diving into the how-to, let’s clarify what power settings mean on a commercial induction cooker. Most models offer two main ways to control output: power levels (measured in watts) and temperature settings (in degrees Celsius or Fahrenheit). Power levels determine the intensity of the electromagnetic field, while temperature settings aim to maintain a specific heat level in the cookware.
In my experience, power levels are more commonly used in busy kitchens because they allow quick adjustments during high-pressure cooking. For example, a high power level (e.g., 3000W) is ideal for boiling water or searing meat, while a low level (e.g., 500W) suits simmering or melting chocolate. Temperature settings, on the other hand, are great for tasks requiring consistent heat, like slow-cooking or holding sauces.
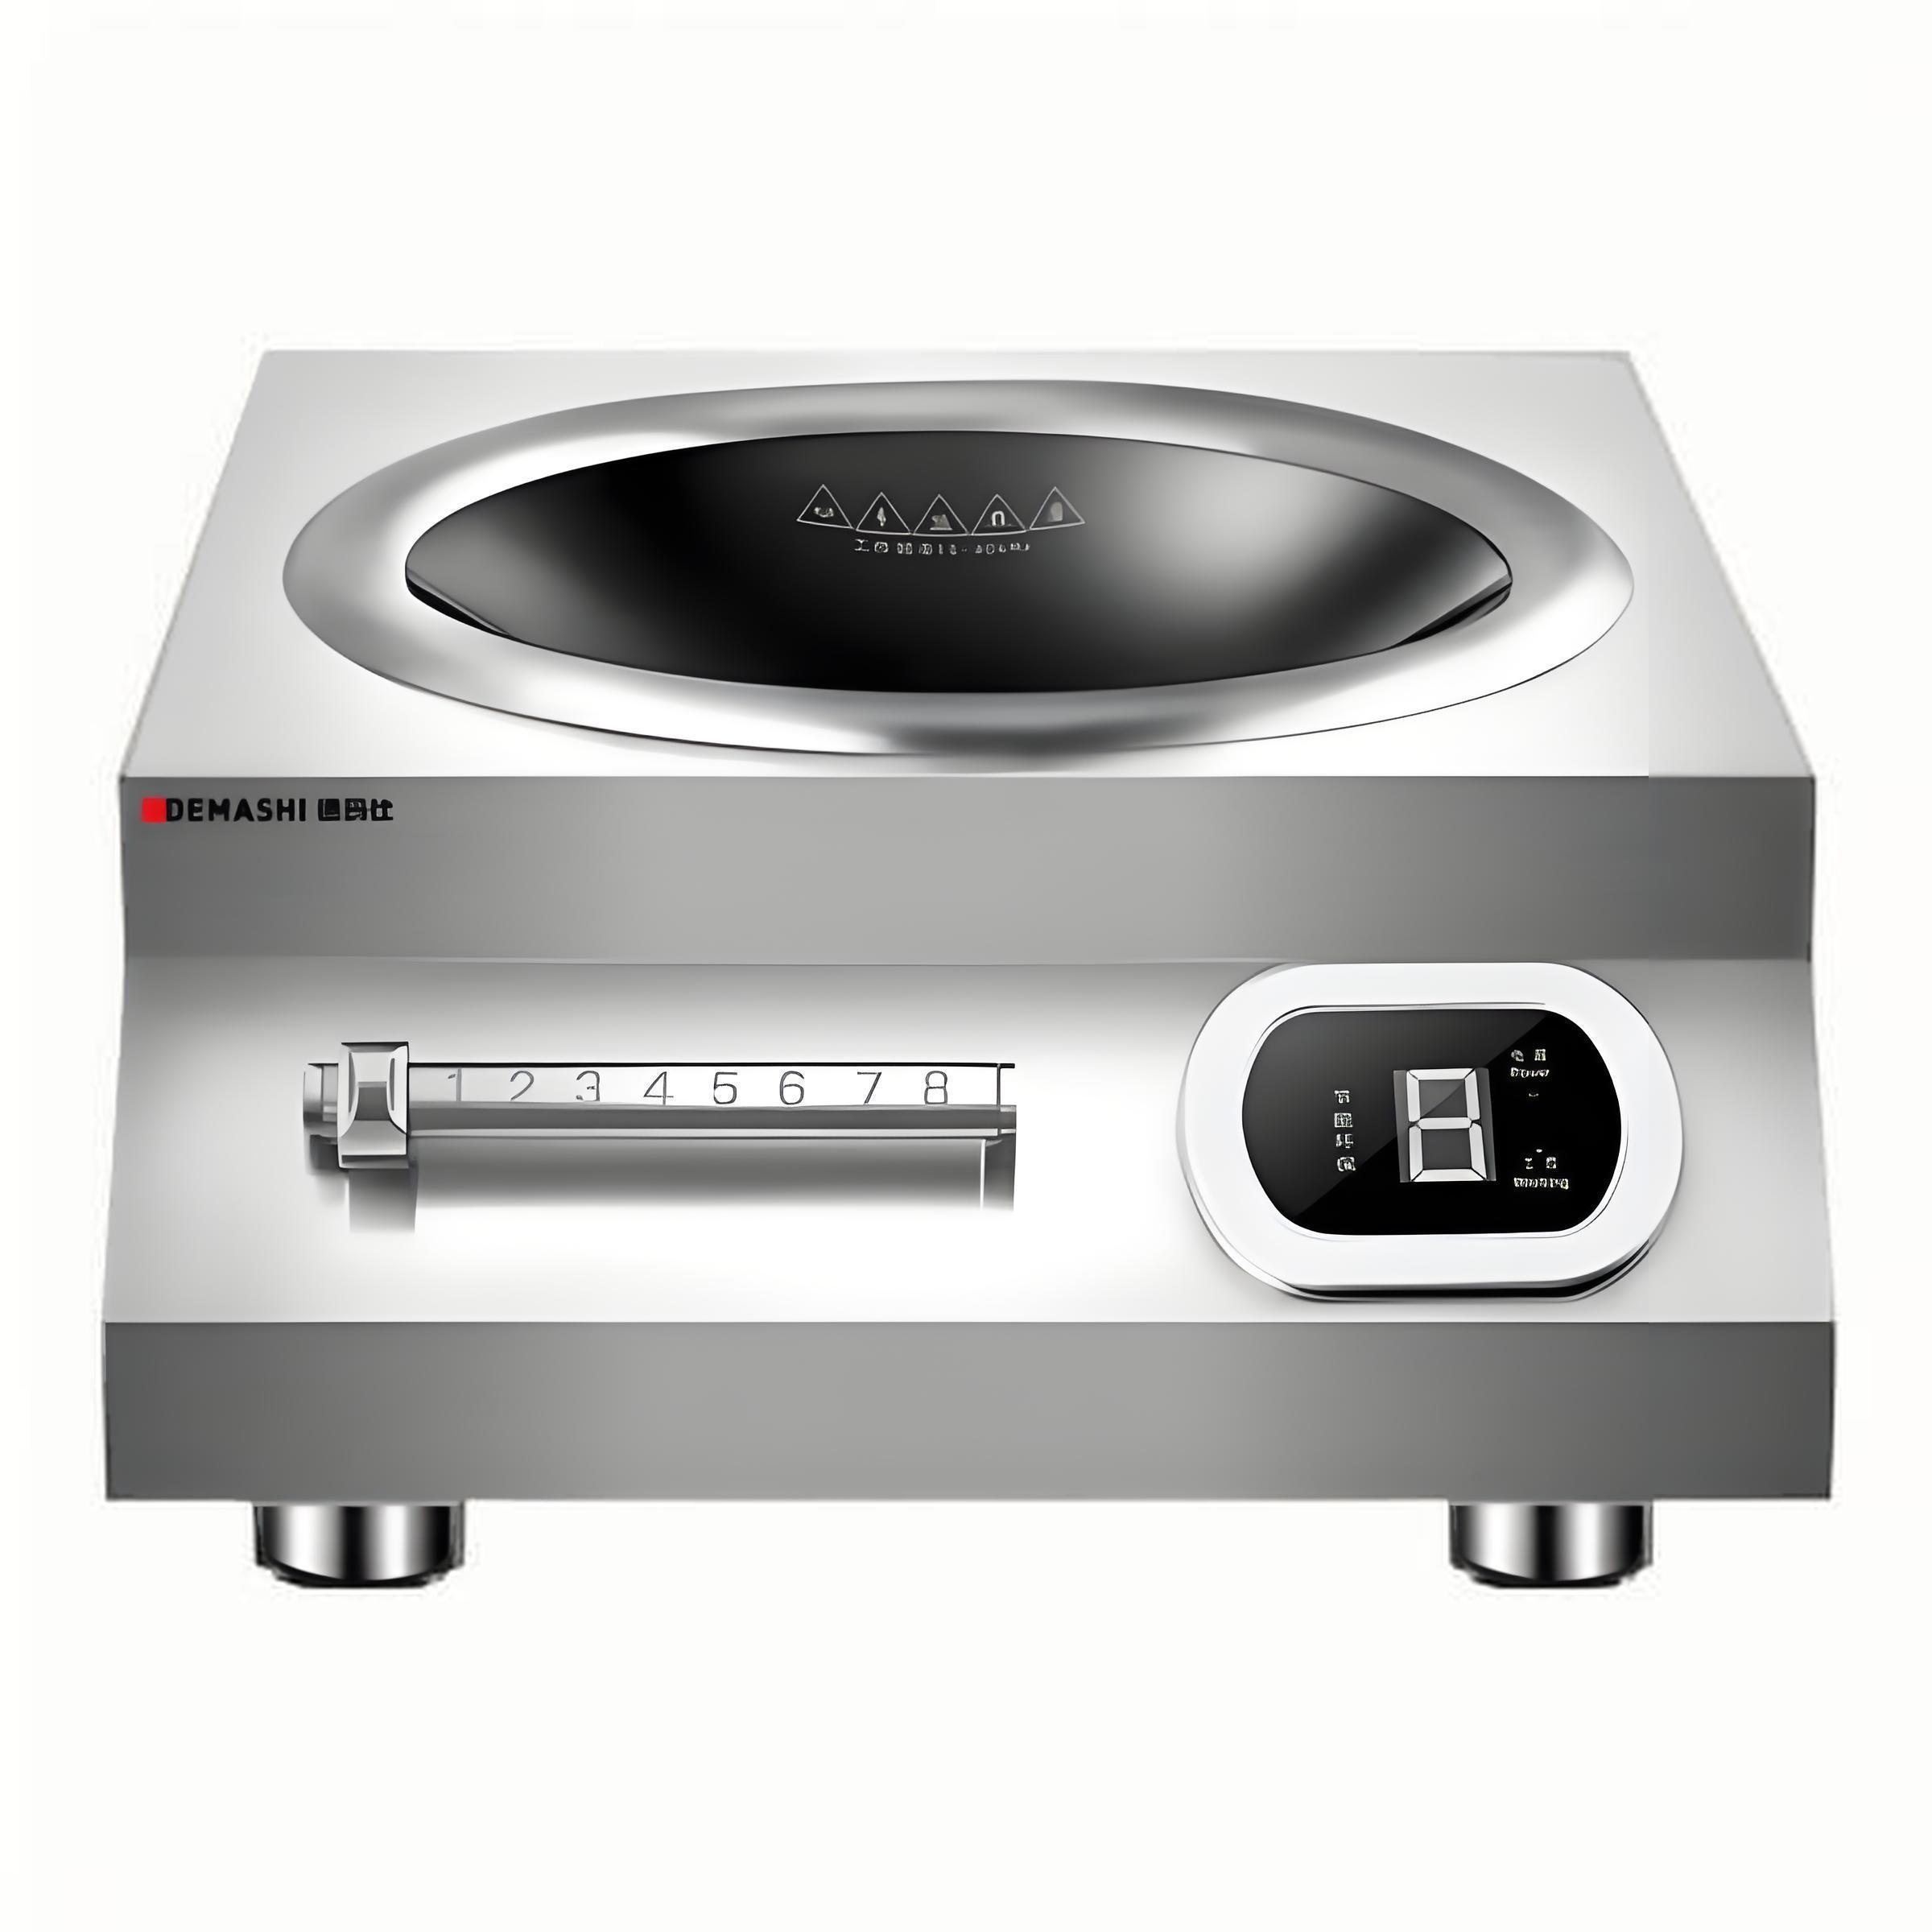
Commercial induction cookers typically range from 500W to 5000W or more, depending on the model. Some units have predefined power levels (e.g., 1 to 10), while others allow precise wattage adjustments. Knowing your cooker’s range and interface is the first step to mastering its settings.

Step-by-Step Guide to Setting Power on a Commercial Induction Cooker
Here’s a detailed guide to setting power on your induction cooker, based on my hands-on work with various models:
1. Read the Manual
Every induction cooker is slightly different, and the manufacturer’s manual is your best friend. I’ve seen kitchen staff skip this step, only to struggle with unfamiliar controls. The manual will specify the power range, whether the cooker uses levels or wattage, and how to access advanced settings. For example, some high-end models have touchscreens with programmable presets, while simpler units rely on knobs or buttons.
Tip: Keep a digital or physical copy of the manual in the kitchen for quick reference, especially during staff training.
2. Power On the Cooker
Start by plugging in the cooker and ensuring it’s connected to a compatible power source (e.g., 220-240V for most commercial models). Press the power button to activate the unit. Some cookers require you to place compatible cookware (e.g., iron or stainless steel) on the surface before they’ll turn on, as a safety feature.
Tip: If the cooker doesn’t start, double-check that the cookware is induction-compatible by testing it with a magnet—if it sticks, it’s good to go.
3. Select Power Mode
Most commercial induction cookers have a power mode (wattage-based) and a temperature mode. To set power, choose power mode via the control panel. This might involve pressing a button labeled “Power,” “Watt,” or a similar term. On some models, you toggle between modes using a menu or mode button.
Example: On a cooker I installed for a client, pressing the “Mode” button cycled between power (W) and temperature (°C). The display showed the current wattage, making it easy to adjust.
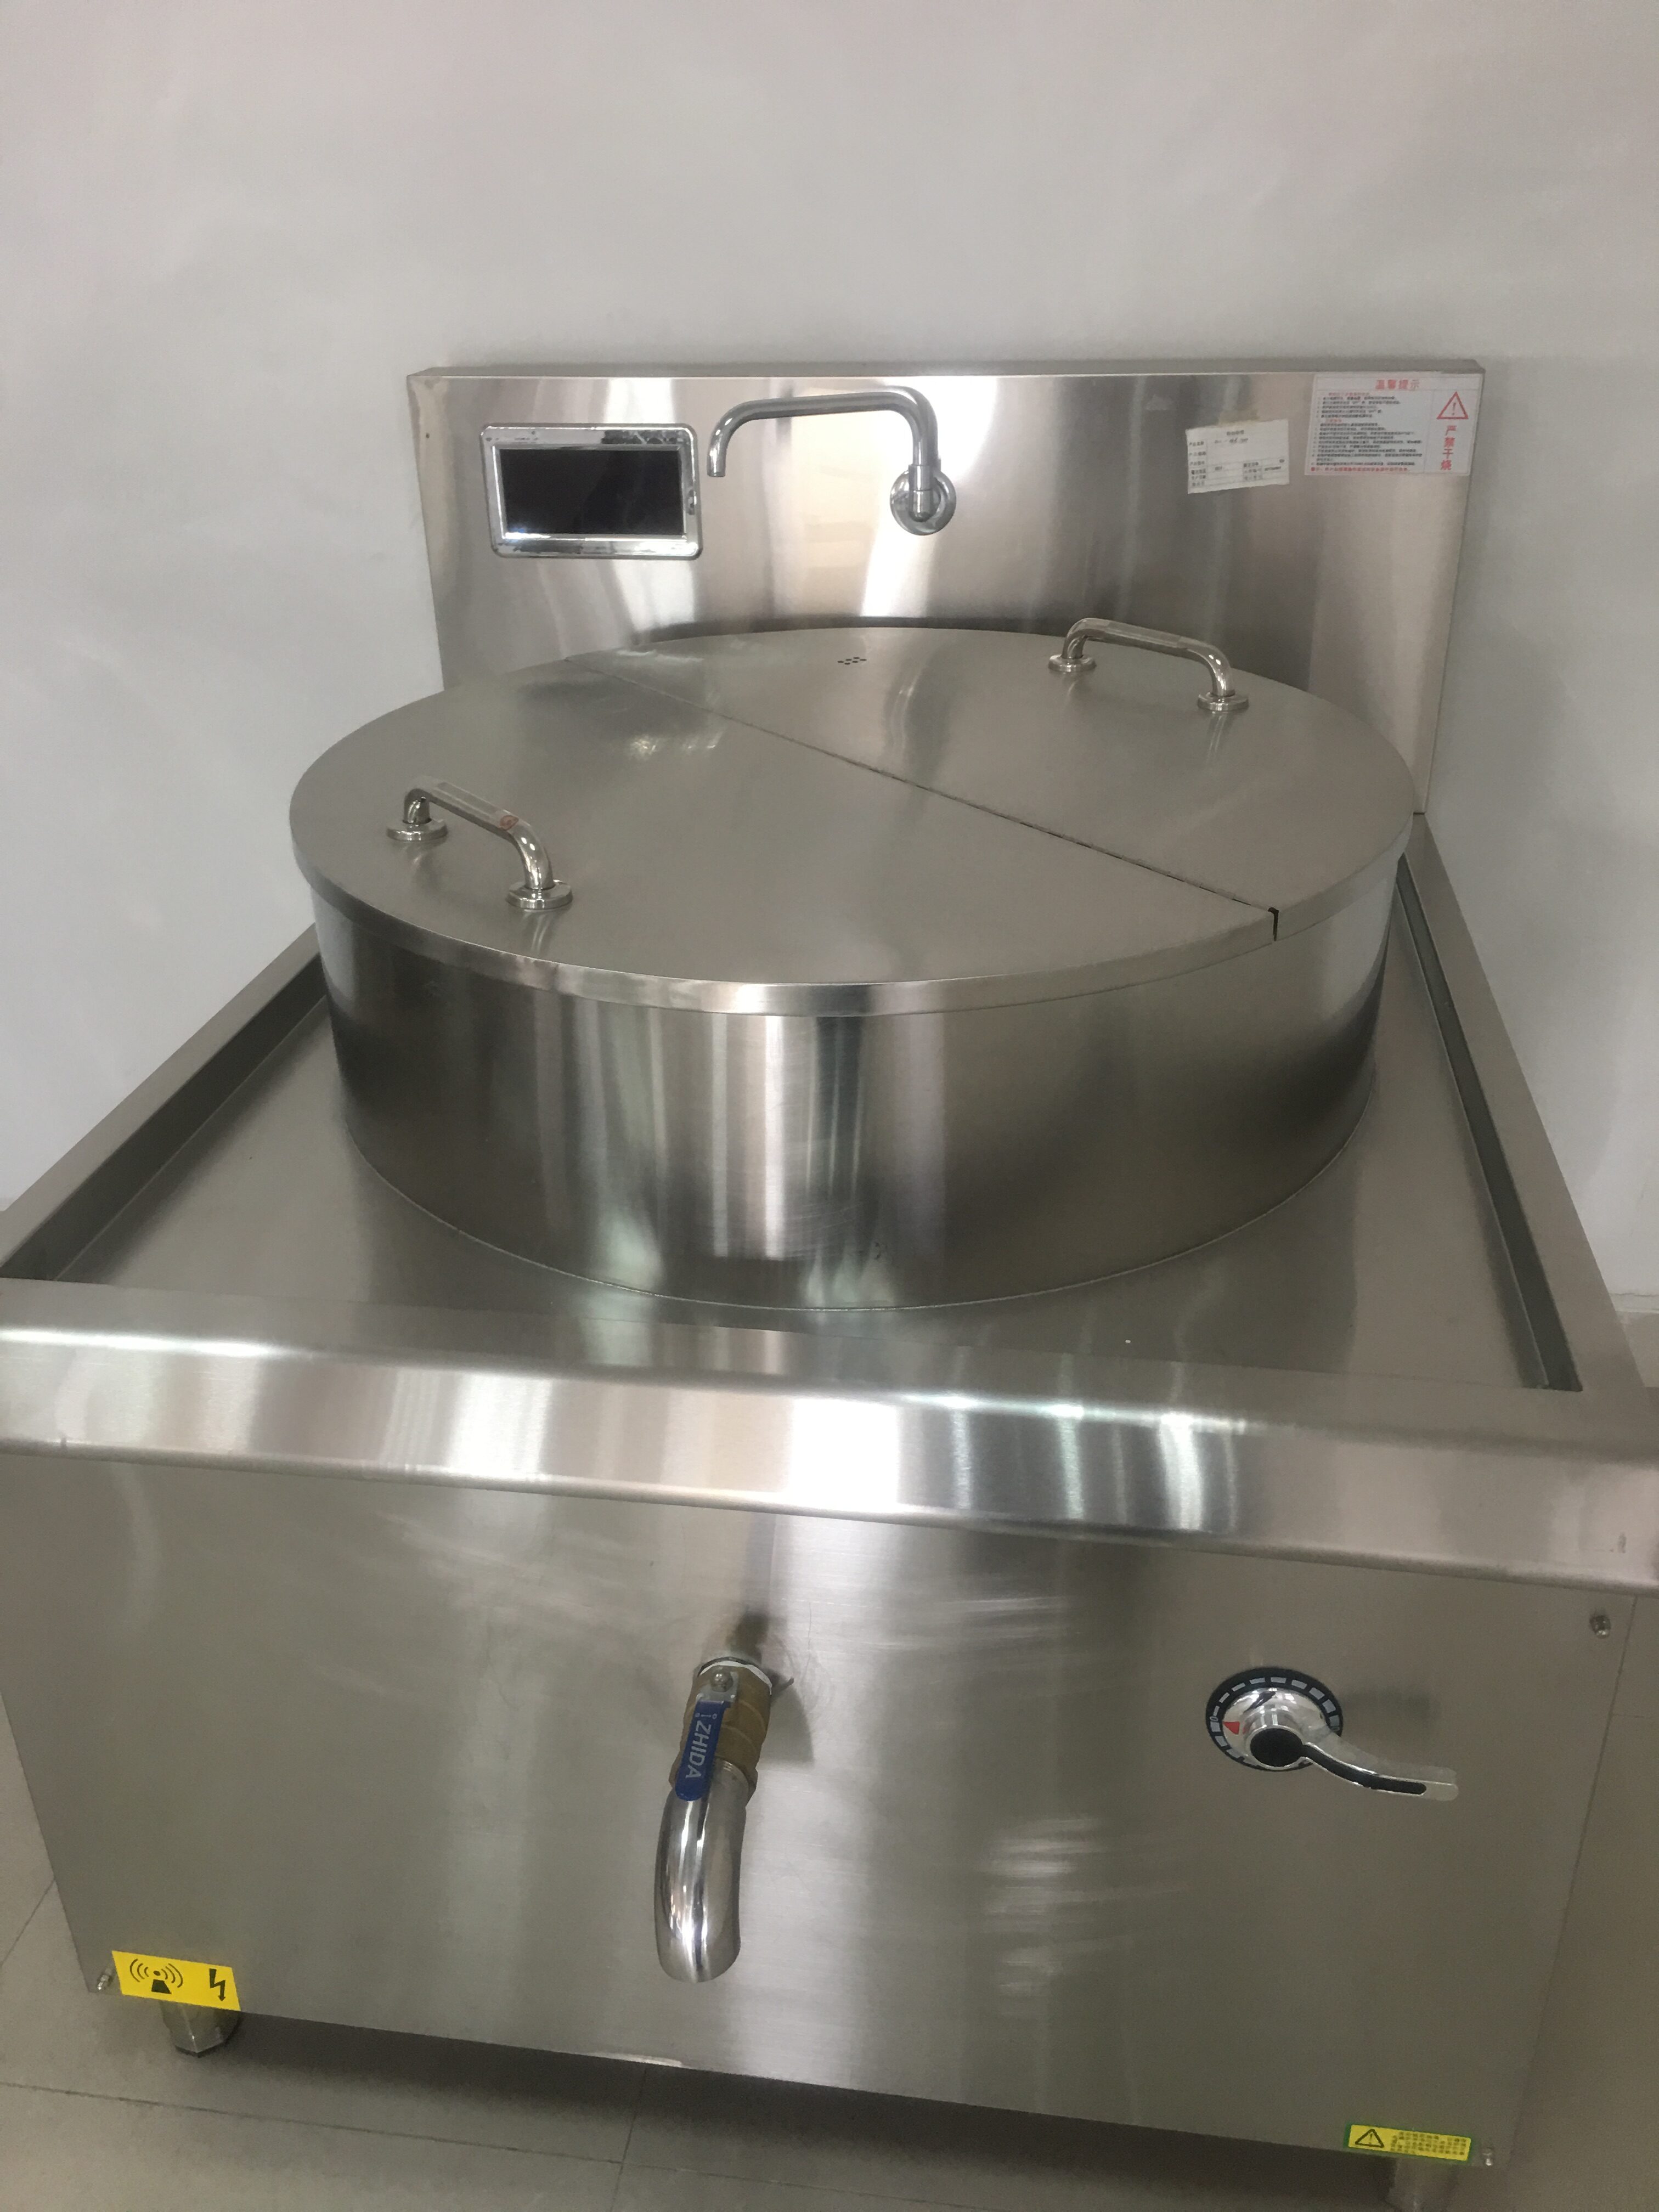
4. Adjust Power Level
Once in power mode, use the plus (+) or minus (-) buttons, a dial, or a touchscreen to set the desired wattage or level. For precise control, some models let you input exact wattage (e.g., 1800W), while others use numbered levels (e.g., Level 5 = 2000W). Refer to the manual for the wattage corresponding to each level.
Typical Power Ranges:
Low (500-1000W): Simmering, melting, or slow-cooking.
Medium (1500-2500W): Sautéing, frying, or boiling.
High (3000-5000W): Searing, rapid boiling, or wok cooking.
Tip: Start with a lower setting and increase gradually to avoid overheating. I once saw a chef crank the power to max for a delicate sauce, resulting in a burnt mess.
5. Fine-Tune During Cooking
Induction cookers respond instantly, so monitor the cooking process and adjust power as needed. For example, I often start at a high setting to bring water to a boil, then drop to a medium or low setting to maintain a simmer. Some cookers have a “boost” function for temporary high power—useful for quick searing but not for prolonged use.
Tip: Keep a close eye on the dish during the first few uses to learn how your cooker’s power levels translate to real-world cooking.
6. Use Presets or Timers (If Available)
Many commercial induction cookers come with preset power levels or timers for specific tasks, like boiling or braising. These can simplify operations in a busy kitchen. For instance, I worked with a restaurant that programmed their cooker to switch from 3000W to 1000W after 5 minutes for perfect rice every time.
Tip: Test presets during off-hours to ensure they match your recipes, and train staff to use them consistently.
7. Turn Off and Clean
After cooking, reduce the power to zero or press the power button to turn off the cooker. Clean the surface with a damp cloth once it’s cool to maintain performance. I’ve seen neglected cookers develop residue that affects their sensors, leading to inconsistent power output.
Tip: Avoid abrasive cleaners, as they can damage the ceramic glass surface.
Power Setting Guidelines for Common Cooking Tasks
To help you match power settings to specific tasks, I’ve compiled a table based on my experience in commercial kitchens:
|
Cooking Task |
Recommended Power (W) |
Power Level (1-10) |
Notes |
|---|---|---|---|
|
Simmering/Slow-Cooking |
500-1000W |
1-3 |
Ideal for sauces, soups, or stews. |
|
Sautéing/Frying |
1500-2500W |
4-6 |
Good for vegetables, meats, or stir-fries. |
|
Boiling/Steaming |
2500-3500W |
6-8 |
Use for pasta, rice, or rapid boiling. |
|
Searing/Wok Cooking |
3500-5000W |
8-10 |
High heat for quick, intense cooking. |
This table serves as a starting point, but always adjust based on your cooker’s specifications and the cookware’s size and material. For example, larger pans may require slightly higher power to achieve the same heat intensity.
Common Challenges and How to Address Them
Even with the best intentions, setting power on a commercial induction cooker can come with challenges. Here are some issues I’ve encountered and how to solve them:
1. Inconsistent Heating
If the cooker’s power output seems uneven, it could be due to incompatible cookware, a dirty surface, or an overloaded circuit. I once helped a kitchen where the induction cooker kept shutting off mid-service. The culprit? A shared power outlet with another appliance, causing voltage drops.
Solution: Use induction-compatible cookware, clean the surface, and ensure the cooker has a dedicated power line (typically 220-240V, 20-30 amps).
2. Overheating or Auto-Shutoff
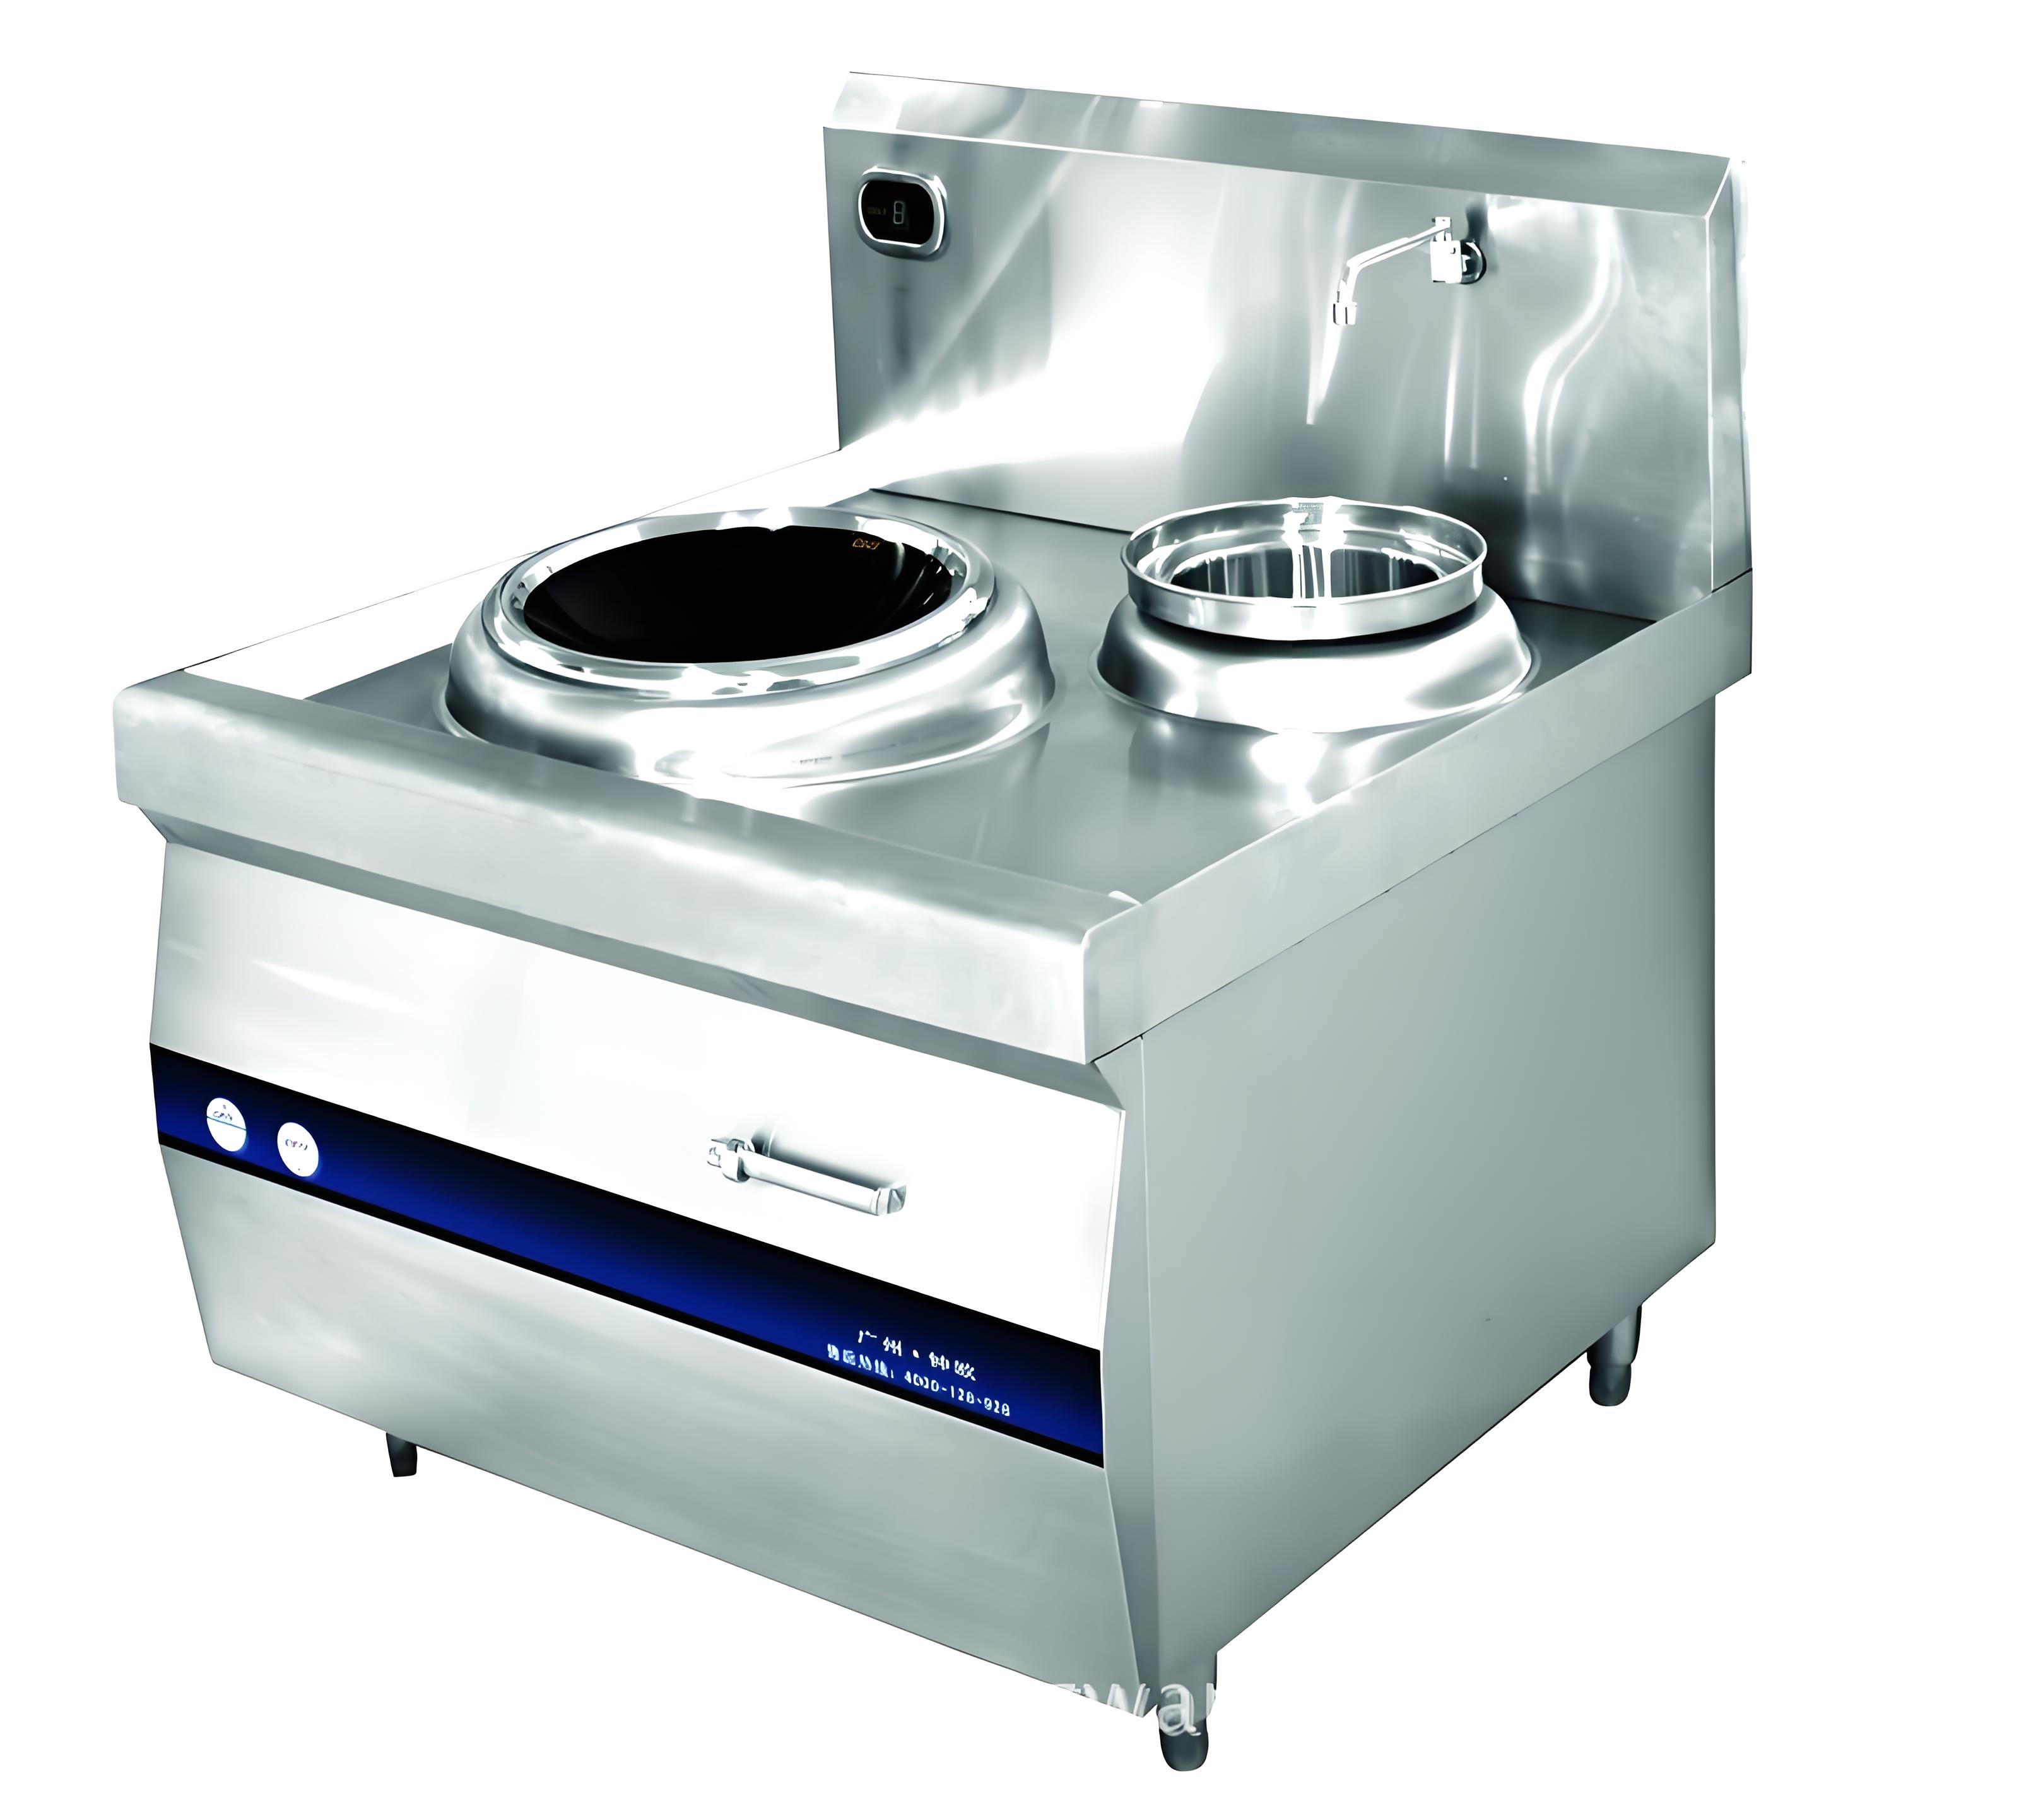
Many cookers have safety features that reduce power or shut off if the unit overheats. This happened to me during a high-volume event when the cooker was running at max power for too long without proper ventilation.
Solution: Ensure the cooker’s vents are unobstructed, and avoid using the “boost” mode for extended periods. Place the unit in a well-ventilated area.
3. Difficulty Matching Power to Recipes
New users often struggle to translate traditional stove settings (e.g., “medium heat”) to induction power levels. I’ve trained chefs who were frustrated because their dishes weren’t turning out as expected.
Solution: Experiment during low-pressure times to map power levels to your recipes. Keep a log of settings for common dishes to streamline operations.
4. Staff Training Gaps
In busy kitchens, inconsistent power settings often stem from poorly trained staff. I’ve seen new hires set the cooker to max power for every task, leading to uneven cooking.
Solution: Conduct regular training sessions, focusing on power settings and their applications. Create a cheat sheet with the table above and post it near the cooker.
Real-Life Experiences with Power Settings
To give you a sense of how power settings play out in real kitchens, here are two stories from my work:
Case 1: The Sauce Debacle
During a hectic dinner service, a chef was struggling with a new induction cooker that kept burning their delicate cream sauce. I stepped in and noticed they were using a high power setting (3500W) when 800W would have sufficed for gentle simmering. After adjusting the power and showing them how to toggle between levels, the sauces came out perfectly. This taught me the importance of matching power to the task and training staff on the fly.
Case 2: High-Volume Wok Cooking
A restaurant specializing in stir-fries needed to maximize their induction cooker’s efficiency during peak hours. We set the cooker to 4000W for rapid wok heating, then dropped to 2000W to maintain consistent cooking. By fine-tuning the power and using a timer preset, they reduced cooking time and improved dish consistency, impressing their customers.
These experiences highlight how proper power settings can make or break a kitchen’s performance, especially under pressure.
Advanced Tips for Optimizing Power Settings
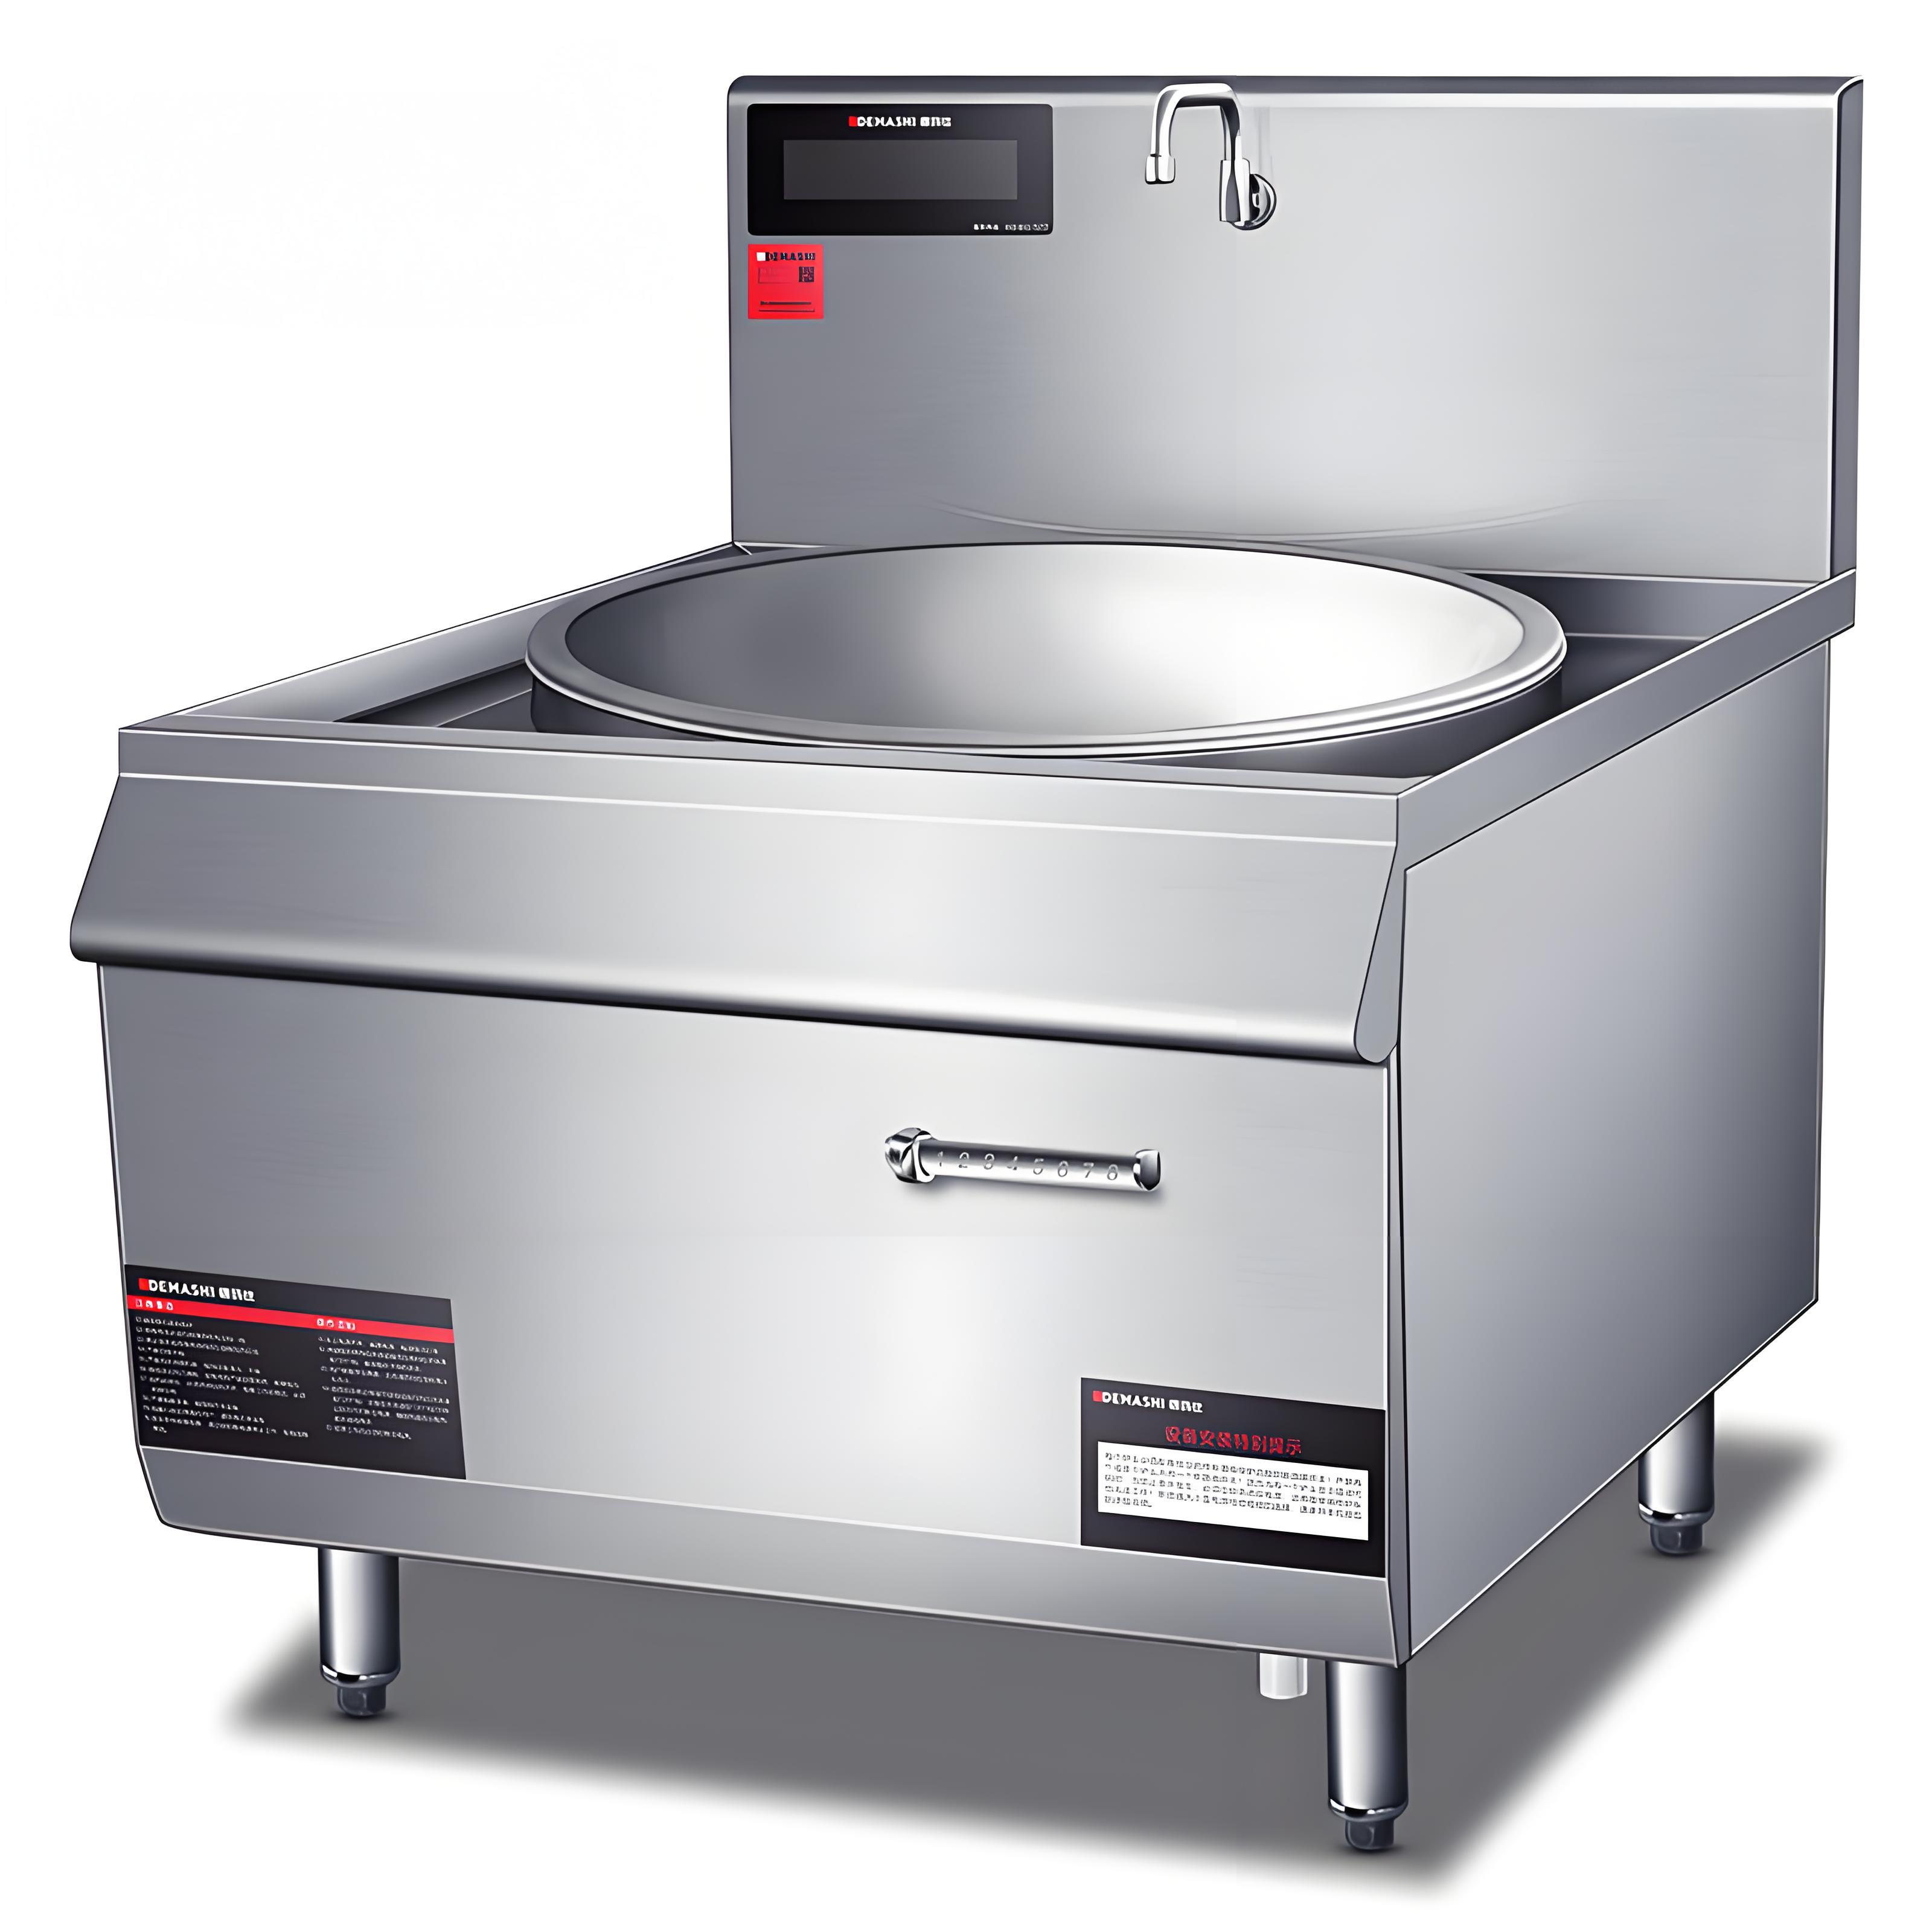
Once you’re comfortable with basic power adjustments, here are some advanced strategies I’ve used to get the most out of commercial induction cookers:
Use Cookware Wisely: Choose flat-bottomed, induction-compatible cookware that matches the burner size. I’ve found that mismatched pans (e.g., too small for the burner) waste energy and reduce efficiency.
Leverage Timers: If your cooker has a timer, use it to automate power changes. For example, set a high power level for boiling, then program it to drop to a simmer after a set time.
Monitor Energy Usage: Some modern cookers display energy consumption. I’ve worked with kitchens that tracked this to optimize power settings, saving on electricity costs.
Test with Different Dishes: Spend time testing power levels with your menu items. For instance, I helped a bakery fine-tune their cooker to 1200W for melting chocolate without scorching, which saved them from frequent recipe failures.
Safety Considerations When Adjusting Power
Safety is paramount when working with commercial induction cookers. Here are some precautions I always emphasize:
Avoid Overloading Circuits: Ensure the cooker is on a dedicated line to prevent power surges or outages.
Handle Hot Cookware Carefully: High power settings can heat pans quickly, so use oven mitts and keep a safe distance from hot surfaces.
Check for Error Codes: If the cooker displays an error (e.g., E1 or E2), refer to the manual. It could indicate overheating or cookware issues.
Regular Maintenance: Clean the cooker regularly and inspect for damage to ensure consistent power output. I’ve seen dirty sensors cause power fluctuations, which a quick wipe-down resolved.
Conclusion: Mastering Power Settings for Culinary Success
From my years of working with commercial induction cookers, I’ve learned that setting the power correctly is the key to unlocking their full potential. Whether you’re simmering a delicate sauce, searing a steak, or boiling water for pasta, understanding your cooker’s power levels and how to adjust them will elevate your kitchen’s efficiency and output. By following the steps outlined—reading the manual, selecting the right mode, fine-tuning during cooking, and addressing challenges—you can ensure consistent, high-quality results every time.
My final piece of advice? Take time to experiment with your cooker’s settings and train your team to use them confidently. A well-adjusted induction cooker isn’t just a tool; it’s a partner in creating memorable dishes. If you’re navigating the world of commercial induction cooking, I hope this guide has clarified the process and inspired you to fine-tune your kitchen’s performance. Happy cooking!
Frequently Asked Questions
1. How do I know which power level to use for a specific dish?
Refer to the manual for your cooker’s power range and start with the guidelines in the table above. Test settings with your recipes during off-hours to find the perfect match.
2. Can I use the same power settings for all cookware?
No, cookware size and material affect heat distribution. Larger or thicker pans may need higher power. Always use induction-compatible cookware with a flat bottom.
3. Why does my induction cooker shut off during high-power use?
This could be due to overheating, an overloaded circuit, or incompatible cookware. Ensure proper ventilation, use a dedicated power line, and check cookware compatibility.
4. Is it better to use power mode or temperature mode?
Power mode offers faster adjustments for busy kitchens, while temperature mode is ideal for tasks needing consistent heat, like slow-cooking. Choose based on the task and your workflow.
5. How often should I clean my induction cooker to maintain power performance?
Clean after every shift or heavy use to prevent residue buildup on the surface or sensors, which can affect power output. Use a damp cloth and avoid abrasives.
