Having spent over 15 years in the commercial kitchen equipment industry, from outfitting bustling restaurants to consulting for high-volume catering operations, I’ve learned that a well-designed kitchen can make or break efficiency, safety, and staff morale. When it comes to integrating multiple high-power induction cookers in a large kitchen, the stakes are even higher. These powerful machines—known for their speed, precision, and energy efficiency—require careful planning to maximize their benefits while avoiding logistical nightmares. In this article, I’ll share my insights on how to effectively layout multiple induction cookers in a large kitchen, drawing from real-world projects, practical tips, and lessons learned to help you create a functional, safe, and productive space.

Why Induction Cookers in Large Kitchens?
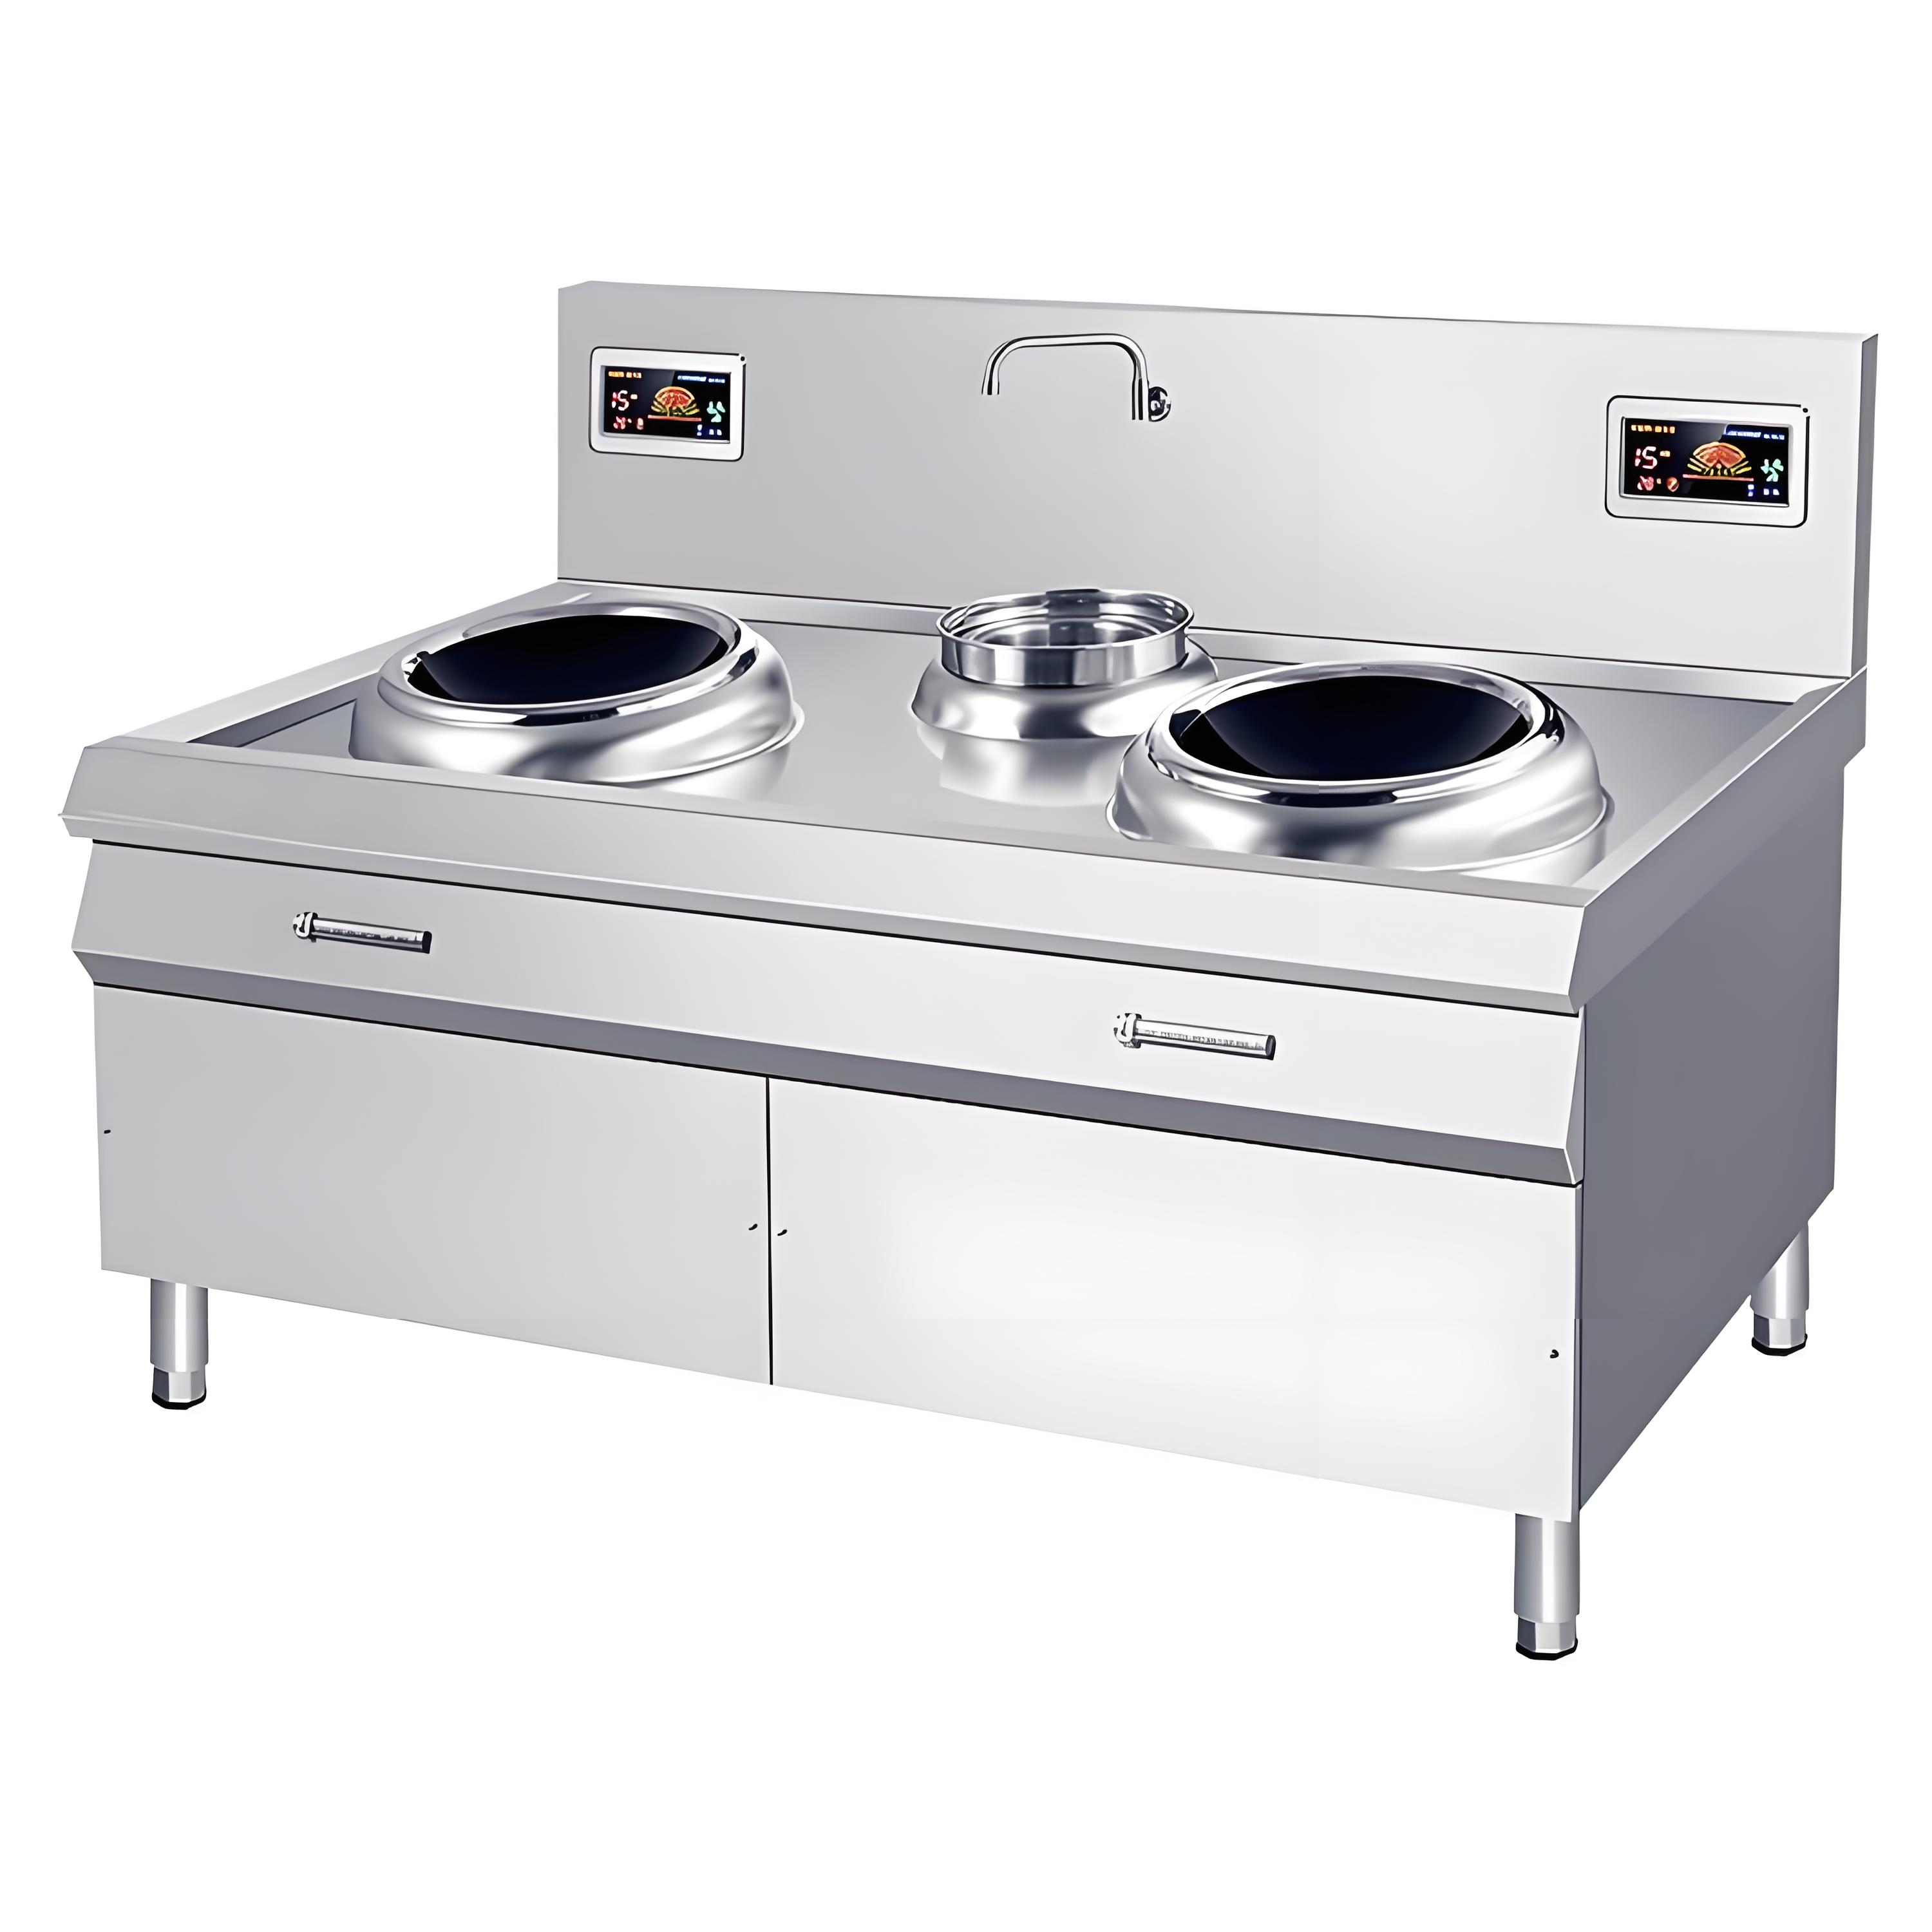
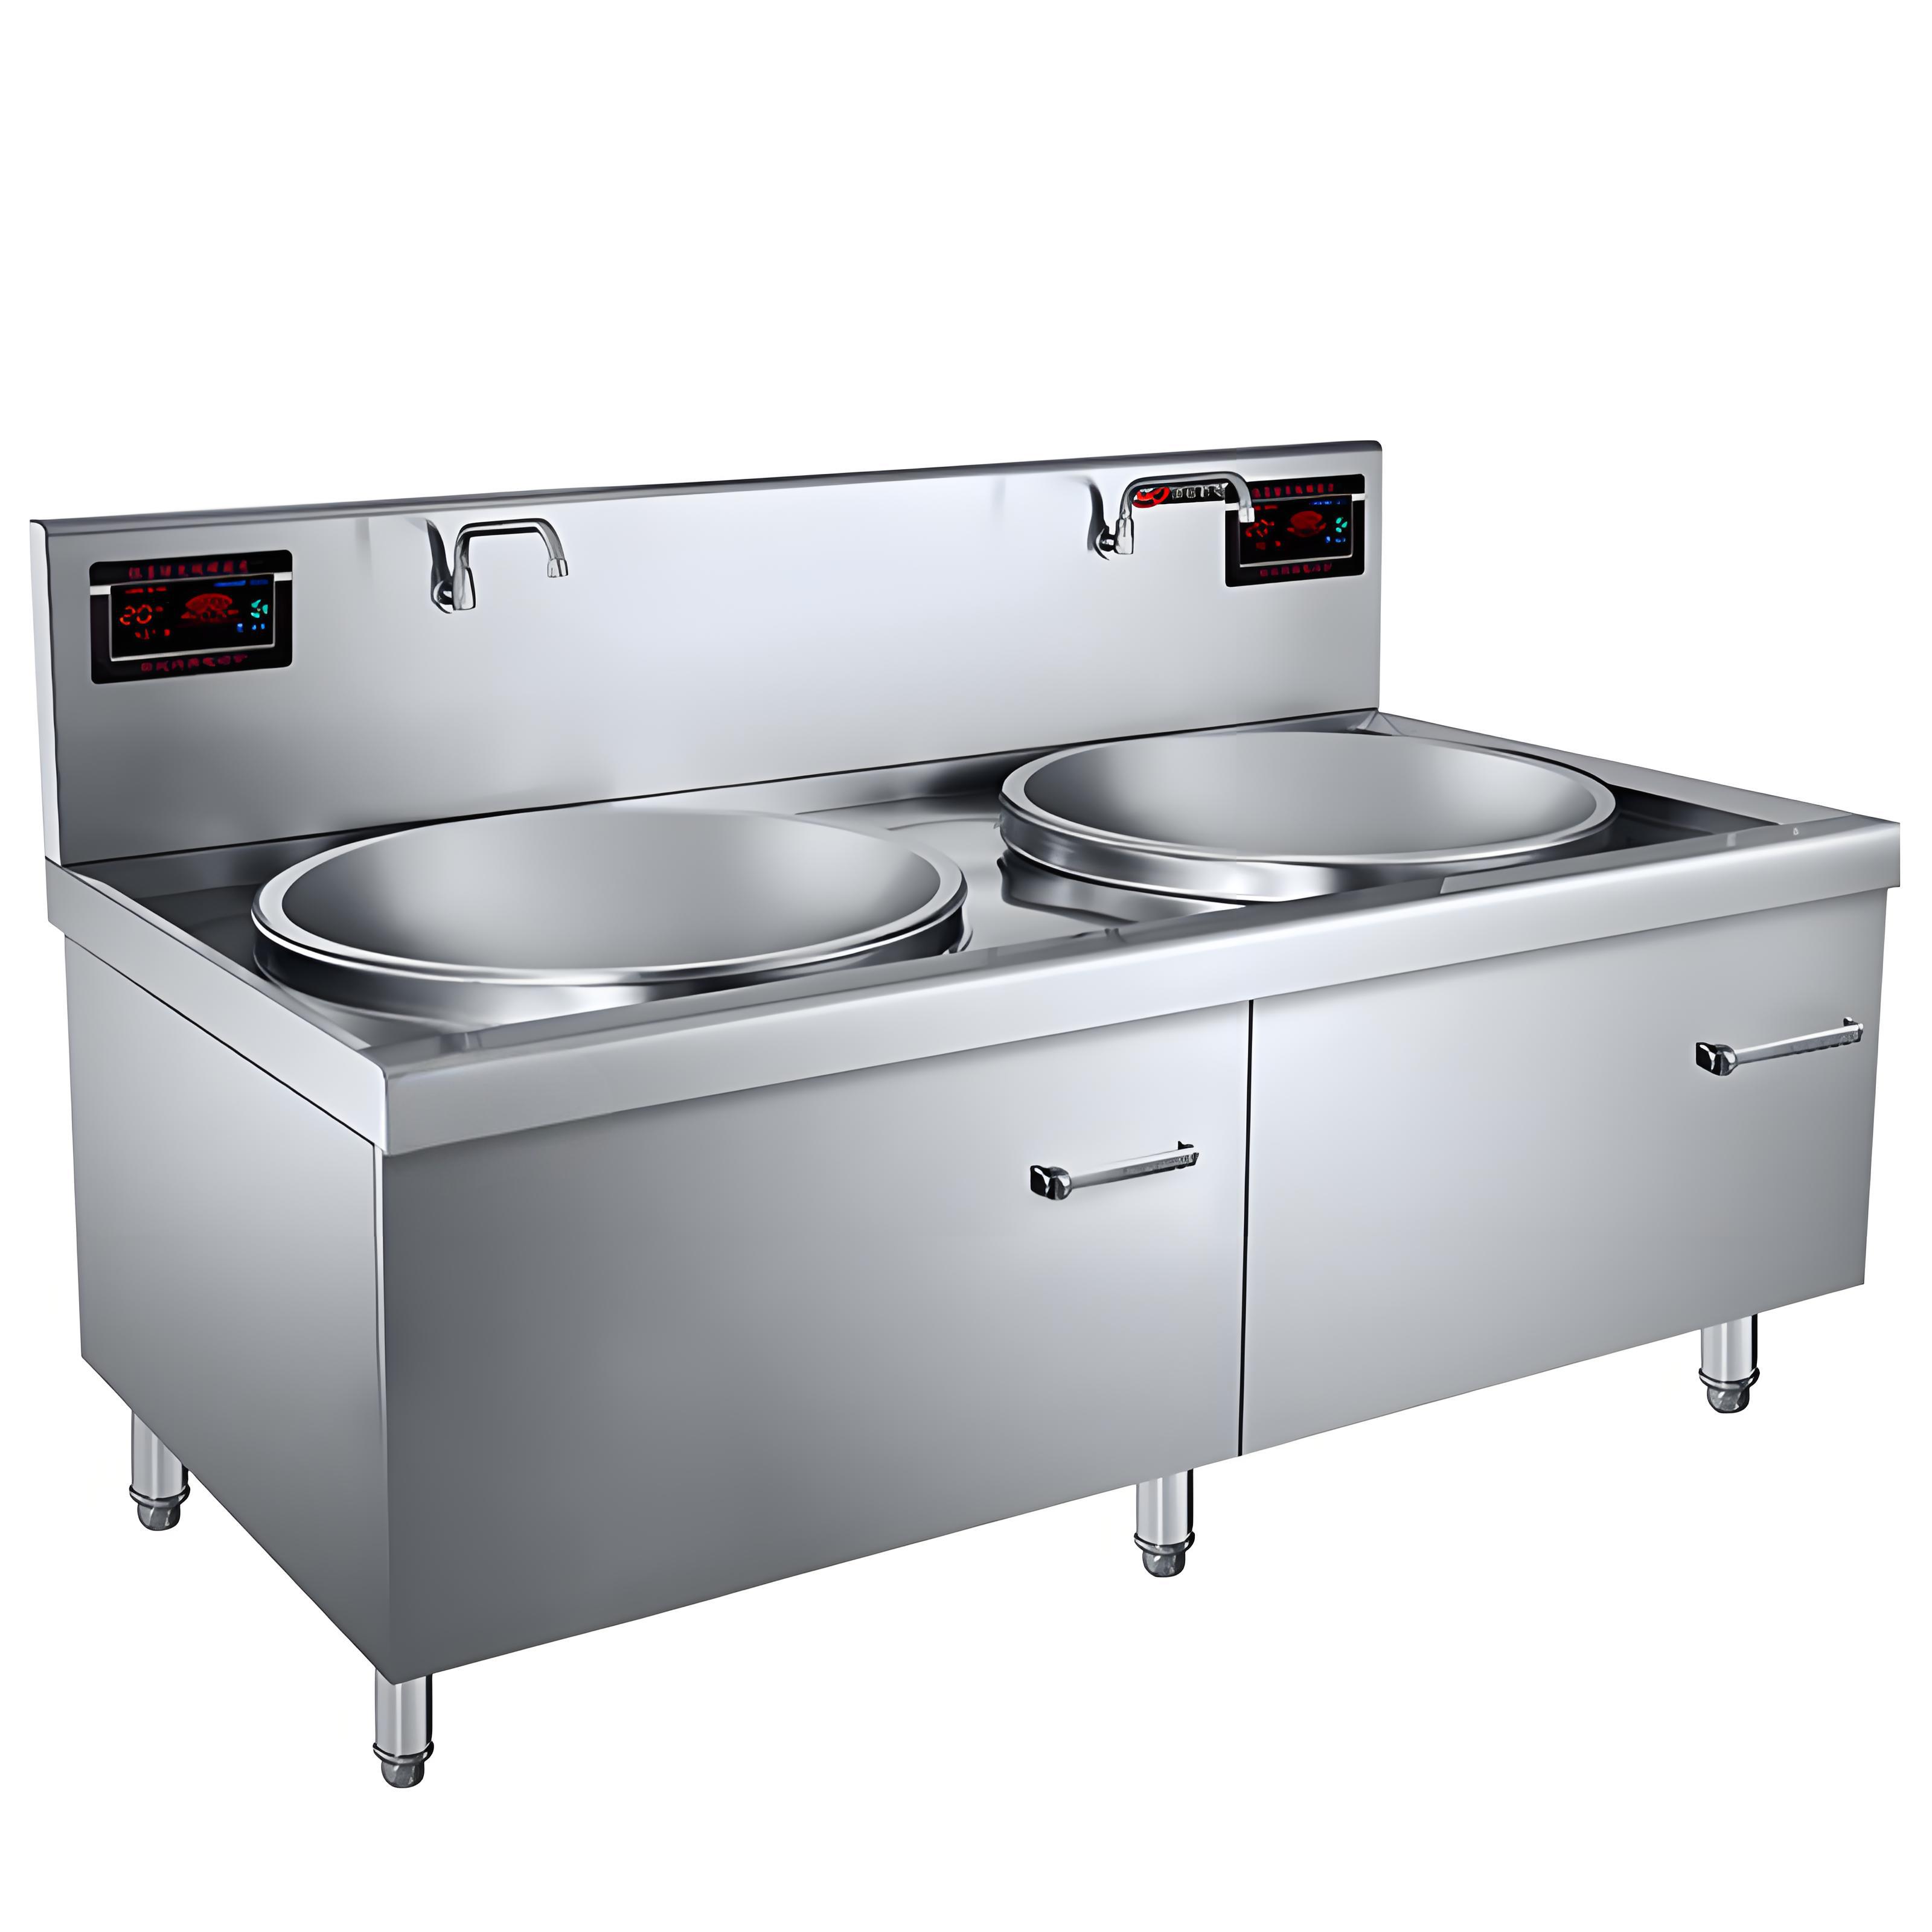
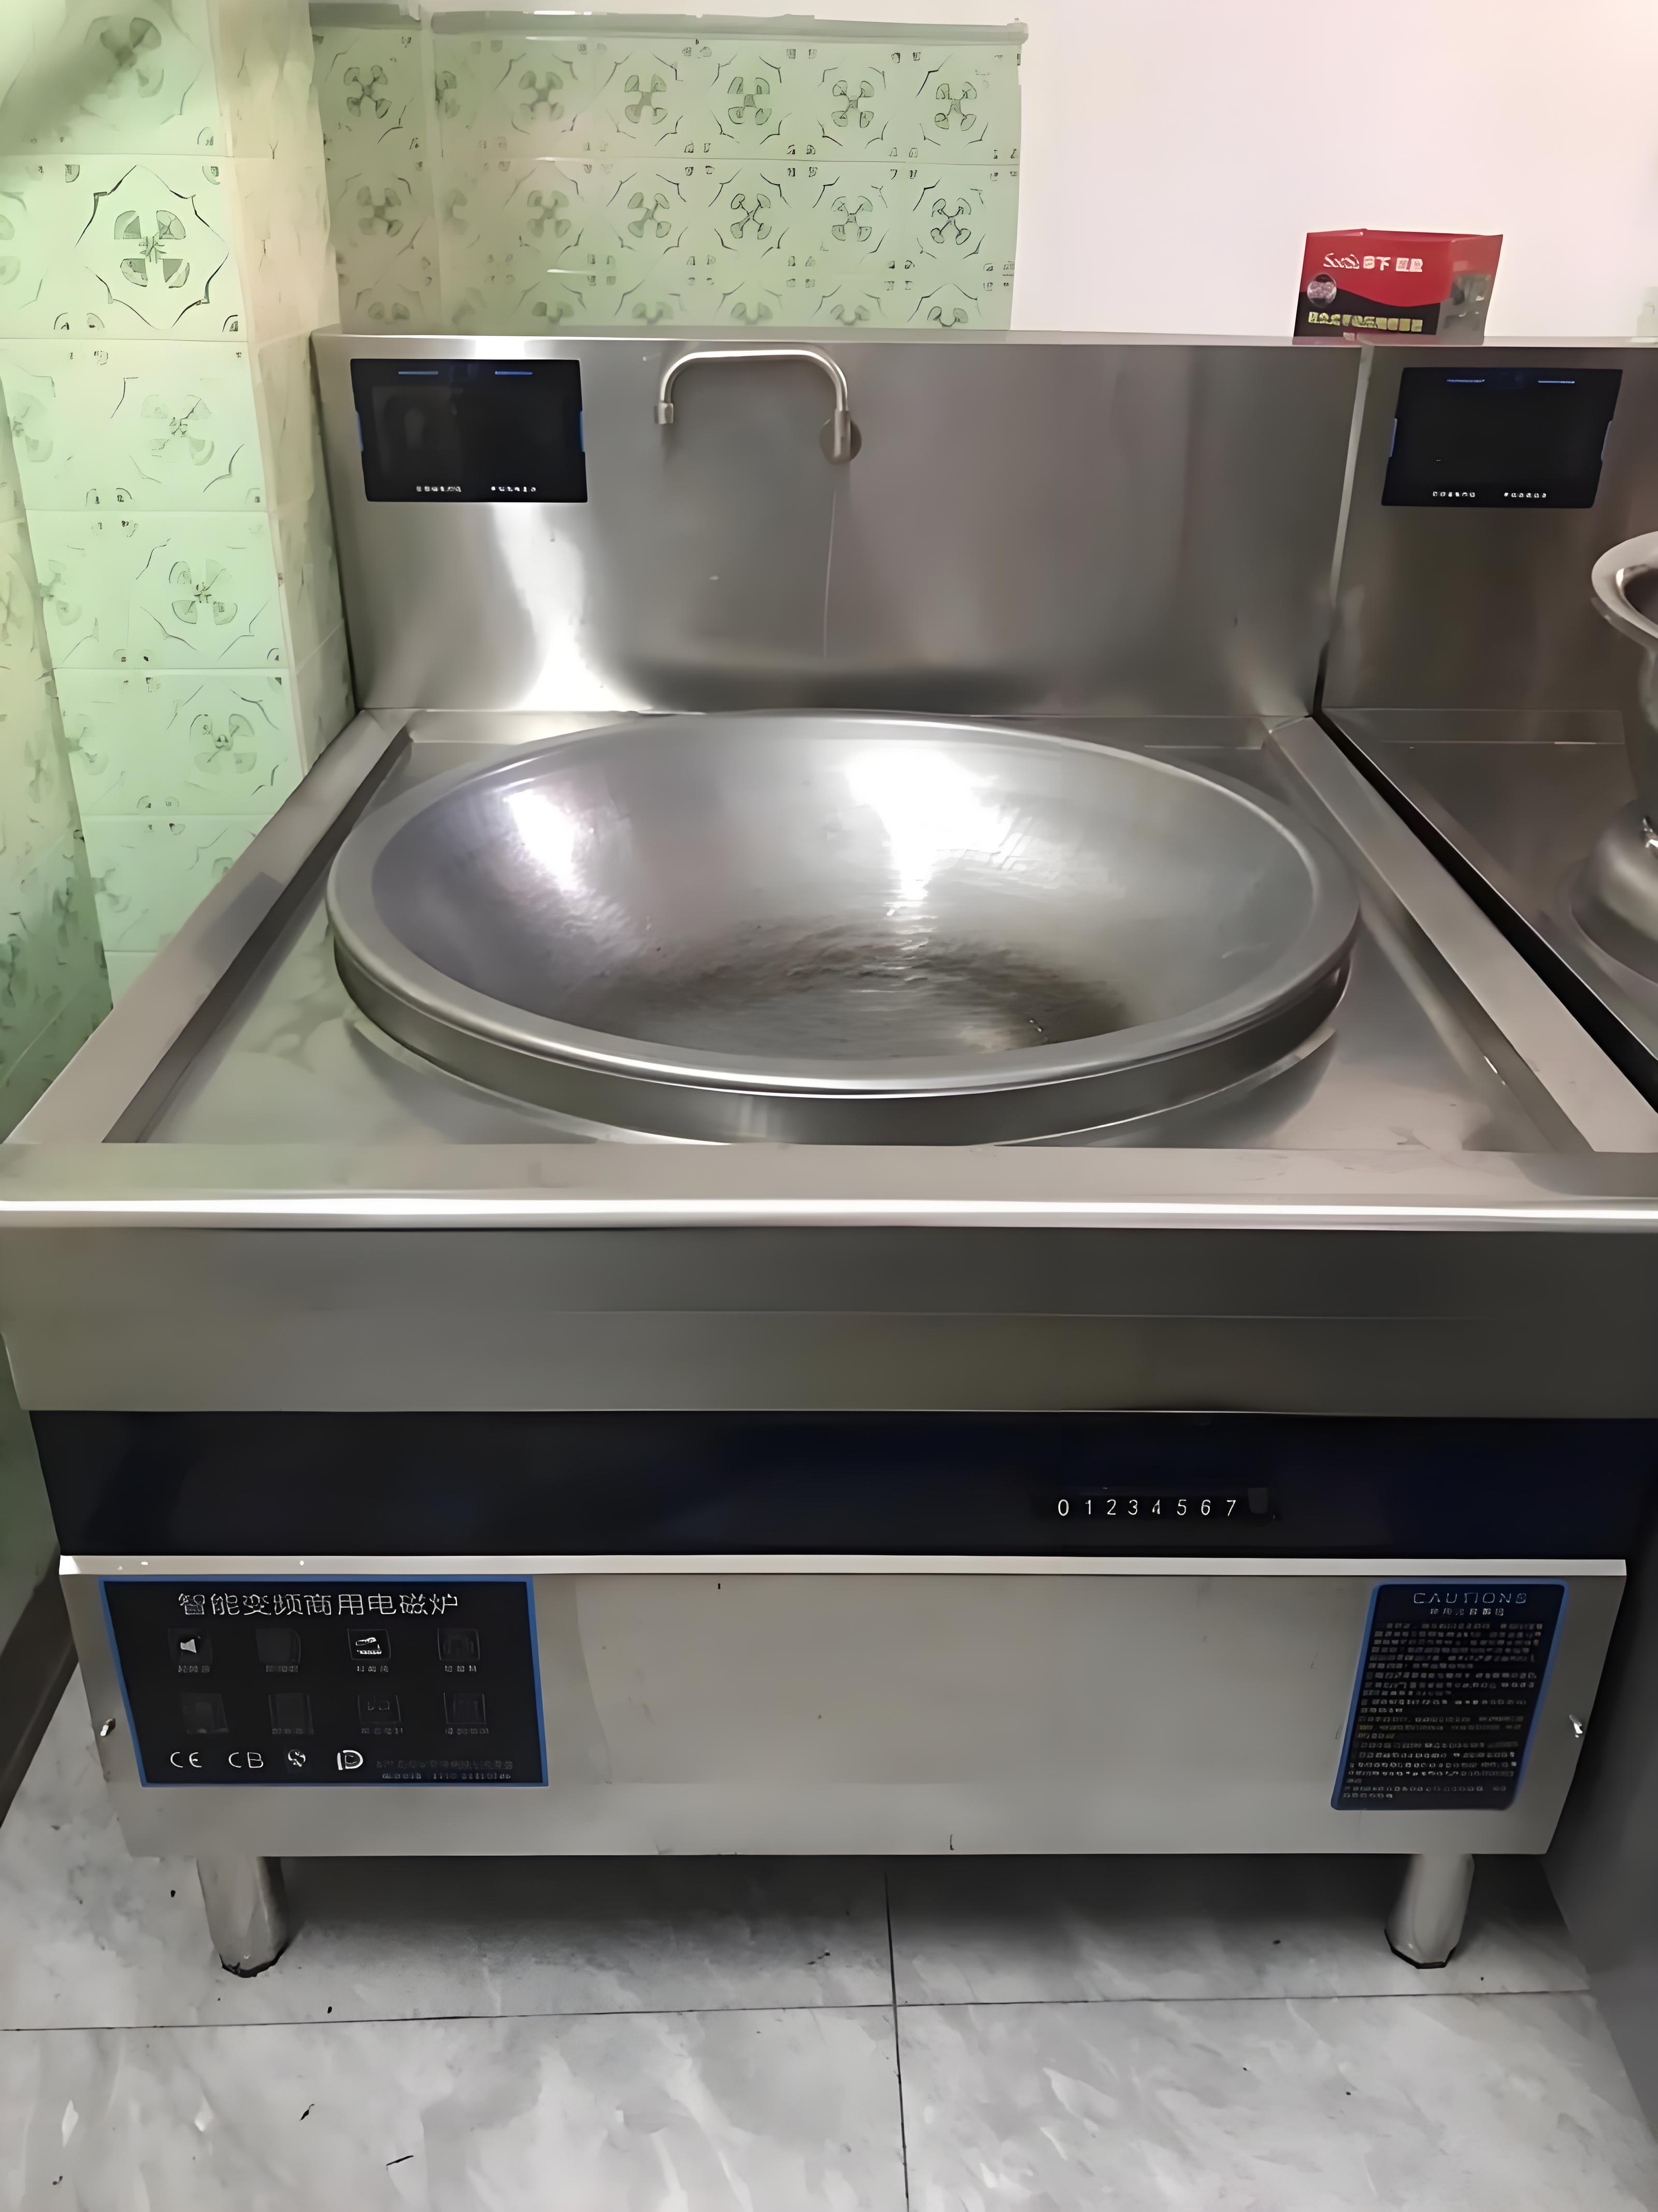
Induction cookers are a favorite in modern commercial kitchens for good reason: they heat cookware directly via electromagnetic fields, offering faster cooking times, energy efficiency, and safer operation compared to gas or traditional electric stoves. But in a large kitchen—think high-end restaurants, hotel banquet halls, or catering facilities—using multiple high-power units (typically 1800-5000 watts each) demands strategic planning. Poor layout can lead to power overloads, workflow bottlenecks, or safety hazards. My goal here is to guide you through the process, from power management to spatial design, so you can get the most out of your investment.
Key Considerations for Layout Planning
Before diving into the specifics, let’s cover the core factors that shape a successful induction cooker layout. These are based on my experience helping kitchens transition to induction while maintaining smooth operations.
1. Power Supply and Electrical Capacity
High-power induction cookers are electricity hogs. A single unit can draw 1800-5000 watts, and multiple units can quickly overwhelm a kitchen’s electrical system if not planned properly. I once worked with a restaurant that installed six 3500-watt induction cookers without upgrading their electrical panel, resulting in frequent breaker trips during peak hours. Assessing your kitchen’s electrical capacity is the first step to avoid such pitfalls.
2. Workflow and Staff Efficiency
In a large kitchen, the layout must support a seamless flow of prep, cooking, and plating. Induction cookers need to be placed where chefs can access them easily without crowding or crossing paths. I’ve seen kitchens lose 20% of their efficiency due to poorly positioned cookers that forced staff to navigate around each other unnecessarily.

3. Ventilation and Heat Management
While induction cookers produce less ambient heat than gas, multiple units running simultaneously can still raise kitchen temperatures, especially in high-volume settings. Proper ventilation and spacing are critical to keep the environment comfortable and prevent equipment overheating.
4. Safety and Accessibility
Induction cookers are safer than gas (no open flames), but they still require careful placement to avoid accidents. Think about clearance space, cord management, and easy access for maintenance. I’ve advised kitchens to keep at least 12 inches of clearance around each unit to prevent burns or equipment damage.
Step-by-Step Guide to Laying Out Multiple Induction Cookers
Based on my experience, here’s a practical roadmap for designing your kitchen layout with multiple high-power induction cookers.
Step 1: Assess Electrical Infrastructure
Before buying a single cooker, consult an electrician to evaluate your kitchen’s power capacity. Most large kitchens operate on a 3-phase electrical system, but you’ll need to confirm the amperage and voltage (typically 208-240V for commercial units). For example, a kitchen with a 200-amp panel can support about 10-12 3500-watt cookers, assuming no other high-power equipment is running simultaneously.
Pro Tip: Install dedicated circuits for each cooker or group of cookers to prevent overloads. I worked with a catering kitchen that added a sub-panel specifically for their induction setup, which eliminated power issues entirely.
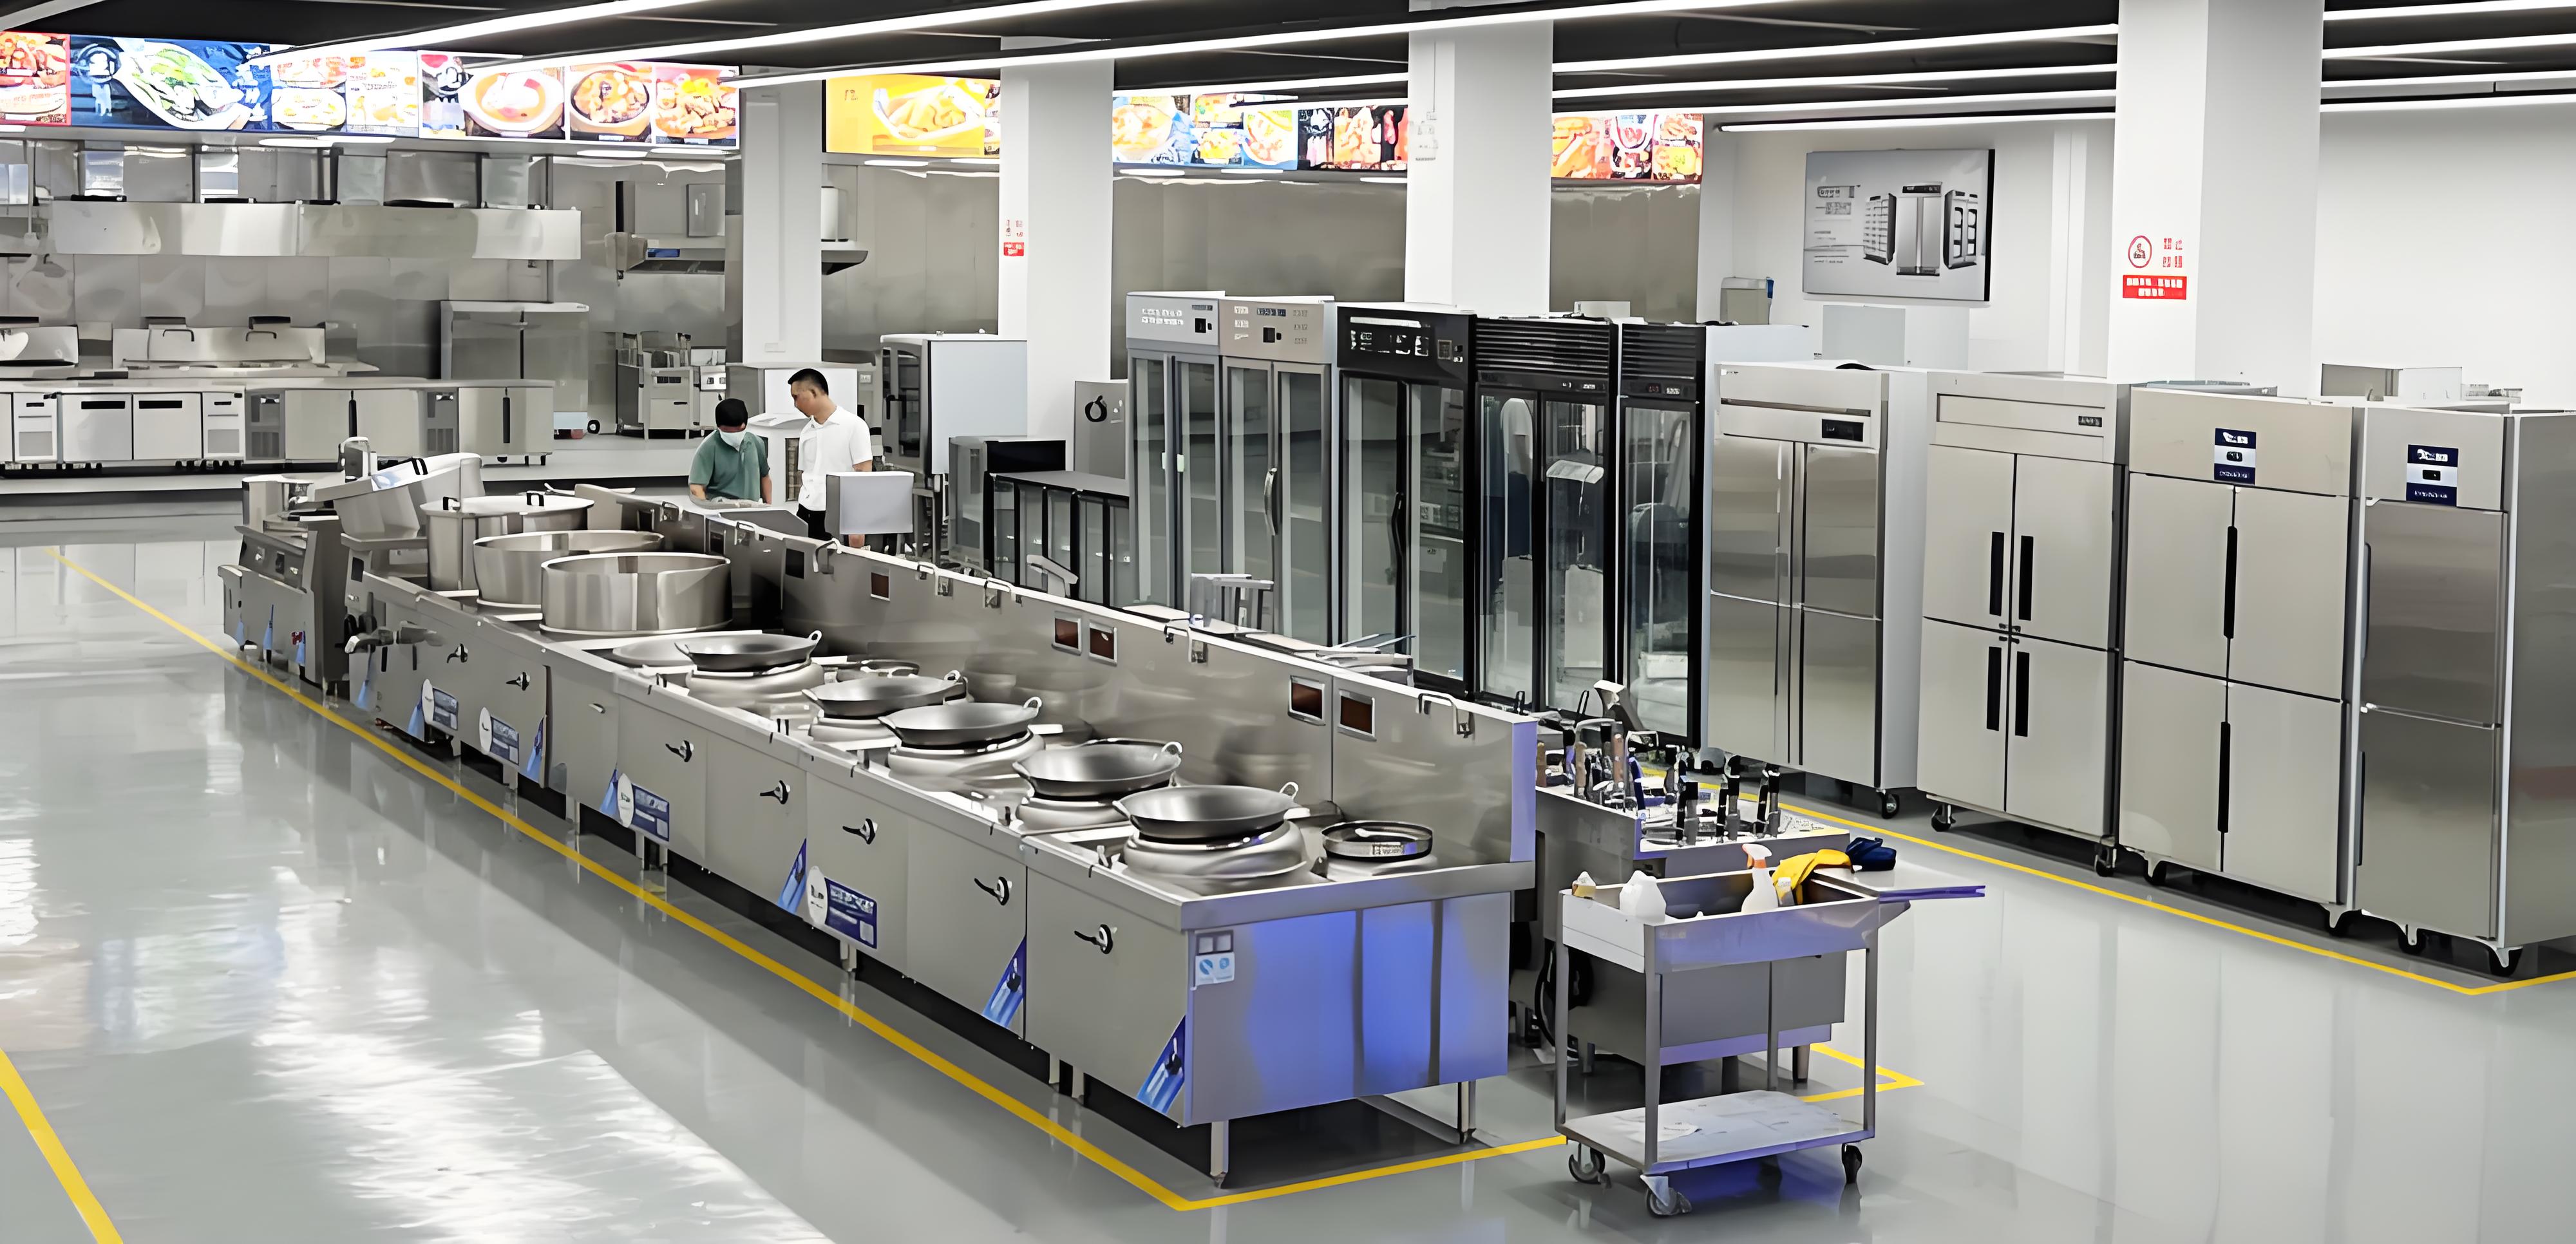
Step 2: Map Out Cooking Zones
Divide your kitchen into functional zones: prep, cooking, plating, and cleaning. Place induction cookers in the cooking zone, ideally near prep stations to minimize movement. For example, in a 2021 project, I helped a hotel kitchen create a U-shaped cooking zone with six induction cookers arranged in two rows of three, allowing chefs to work back-to-back efficiently.
Consider the menu: if your kitchen specializes in stir-fries or sauces, group cookers for high-heat tasks together. For diverse menus, spread cookers across different stations (e.g., boiling, frying, simmering).

Step 3: Optimize Spatial Layout
The physical placement of induction cookers should balance space, accessibility, and safety. Here are some guidelines I’ve developed from past projects:
Counter Space: Ensure at least 12-18 inches of counter space on either side of each cooker for prep and plating. I’ve seen cramped layouts lead to dropped pans and frustrated chefs.
Spacing Between Units: Keep 6-12 inches between cookers to prevent electromagnetic interference and allow ventilation. In one kitchen, we spaced units too closely, and the cookers overheated during a busy service.
Height and Ergonomics: Place cookers at a height of 34-36 inches for comfortable use. Adjustable stands can help accommodate different staff heights.
Linear or Island Layout: For large kitchens, a linear layout along a wall works well for streamlined workflow, while an island layout suits open kitchens where chefs work collaboratively.
Step 4: Plan Ventilation and Cooling
Even though induction cookers don’t produce combustion heat, multiple units can generate significant warmth. Install exhaust hoods with adequate CFM (cubic feet per minute)—typically 800-1200 CFM for a large kitchen. I recommend placing cookers directly under the hood to capture any grease or steam from cooking. In a 2022 project, we added cooling fans near the induction stations to keep ambient temperatures below 80°F, improving staff comfort.
Step 5: Ensure Cookware Compatibility
Induction cookers require ferromagnetic cookware (e.g., stainless steel, cast iron). Before installing multiple units, stock up on compatible pans and woks. I once worked with a kitchen that overlooked this, and they had to rush-order $2,000 worth of new cookware mid-renovation. Test existing cookware with a magnet—if it sticks, it’s good to go.
Step 6: Train Staff and Test the Setup
A great layout is useless if your team can’t use it effectively. Train chefs on induction’s precise controls, which differ from gas or electric stoves. Run a test service to identify bottlenecks. In one kitchen, we discovered during testing that the plating station was too far from the cookers, slowing down service. A quick rearrangement fixed the issue.
Comparing Layout Options for Induction Cookers
To help you visualize, here’s a table comparing three common layout approaches for multiple induction cookers in large kitchens:
|
Layout Type |
Pros |
Cons |
Best For |
|---|---|---|---|
|
Linear (Along Wall) |
Space-efficient, easy ventilation, streamlined workflow |
Limited access from multiple sides |
High-volume kitchens with linear prep-to-plate flow |
|
Island (Central) |
Collaborative, 360° access, visually appealing |
Requires more space, complex ventilation |
Open kitchens, team-based cooking |
|
Modular (Scattered) |
Flexible, adaptable to menu changes |
Can disrupt workflow, harder to ventilate |
Smaller kitchens with diverse menus |
Real-Life Case Study
In 2020, I consulted for a large banquet hall kitchen that needed to upgrade from gas to induction to handle 500+ covers per event. They installed eight 3500-watt induction cookers, and we faced several challenges: limited electrical capacity, a cramped layout, and a menu heavy on stir-fries and boiled dishes.
Here’s how we tackled it:
Electrical Upgrade: Added a 400-amp sub-panel dedicated to the cookers, with each unit on a separate 20-amp circuit.
Linear Layout: Arranged the cookers in two rows of four along a wall, with 12 inches between units and 18 inches of counter space on either side.
Ventilation: Installed a 1500 CFM exhaust hood directly above, with cooling fans to maintain air circulation.
Cookware: Invested in stainless steel woks and pots, tested for compatibility before installation.
Training: Held a two-day training session for chefs to master induction controls, focusing on temperature precision for stir-frying.
The result? The kitchen reduced cooking times by 25%, cut energy costs by 30%, and improved staff comfort due to less heat and fumes. During a peak event, they served 600 plates in under two hours without a hitch. This project taught me that a well-planned layout can unlock induction’s full potential.

Common Pitfalls and How to Avoid Them
Over the years, I’ve seen kitchens make avoidable mistakes when laying out induction cookers. Here’s what to watch out for:
Underestimating Power Needs: Always consult an electrician before installation. A kitchen I worked with skipped this and faced $5,000 in rewiring costs after breakers kept tripping.
Crowded Layouts: Don’t cram cookers too close together. I’ve seen overheating issues when units were placed less than 6 inches apart.
Ignoring Ventilation: Skimping on exhaust hoods leads to grease buildup and uncomfortable working conditions. Budget for a high-CFM system.
Inadequate Training: Chefs used to gas may overuse induction’s high settings, wasting energy. Invest in hands-on training.
Additional Tips for Success
Here are some extra nuggets of wisdom from my years in the field:
Use Surge Protectors: Protect your cookers from power spikes, especially in older buildings. I’ve seen units damaged by unstable electricity.
Label Circuits: Clearly mark which breakers control each cooker to simplify troubleshooting during service.
Plan for Maintenance: Schedule regular checks for cords, plugs, and ventilation filters. I recommend a monthly inspection to catch wear early.
Incorporate Storage: Keep compatible cookware and spare parts nearby to avoid workflow disruptions. One kitchen I worked with built custom shelves under the counters for this purpose.
SEO Benefits for Kitchen Businesses
As a Google SEO enthusiast, I’d be remiss not to mention how this topic can boost your online presence. If you’re a kitchen equipment supplier or restaurant owner, optimizing your website for keywords like “commercial kitchen induction layout” or “high-power induction cooker setup” can attract clients. Share case studies, post videos of your kitchen in action, and highlight efficiency gains. I’ve helped clients rank on Google’s first page by creating detailed guides on kitchen design, which also builds trust with potential customers.
Conclusion: Designing a Future-Proof Kitchen
How to layout multiple high-power induction cookers in a large kitchen? It starts with meticulous planning—assessing power capacity, mapping workflows, optimizing ventilation, and training staff. Induction cookers offer unmatched speed and efficiency, but their success hinges on a layout that balances practicality and safety. With the right setup, you can boost productivity, reduce costs, and create a better working environment.
My advice? Start by auditing your electrical system, sketch out your workflow, and test your layout before going all-in. A well-designed kitchen is like a well-choreographed dance—every move counts, and induction cookers can be your star performers. Here’s to a smoother, more efficient kitchen!
Related Questions and Answers
Q1: How many induction cookers can a large kitchen support?
A: It depends on your electrical capacity. A 200-amp panel can typically handle 10-12 3500-watt units. Consult an electrician to confirm.
Q2: What’s the ideal spacing between induction cookers?
A: Aim for 6-12 inches between units to prevent interference and ensure ventilation. Allow 12-18 inches of counter space on either side for prep.
Q3: Do induction cookers require special ventilation?
A: Yes, a high-CFM exhaust hood (800-1500 CFM) is essential to handle grease and steam, especially for high-volume cooking.
Q4: How do I train staff to use induction cookers effectively?
A: Conduct hands-on training focusing on temperature control and safety. Run test services to identify workflow issues and adjust as needed.