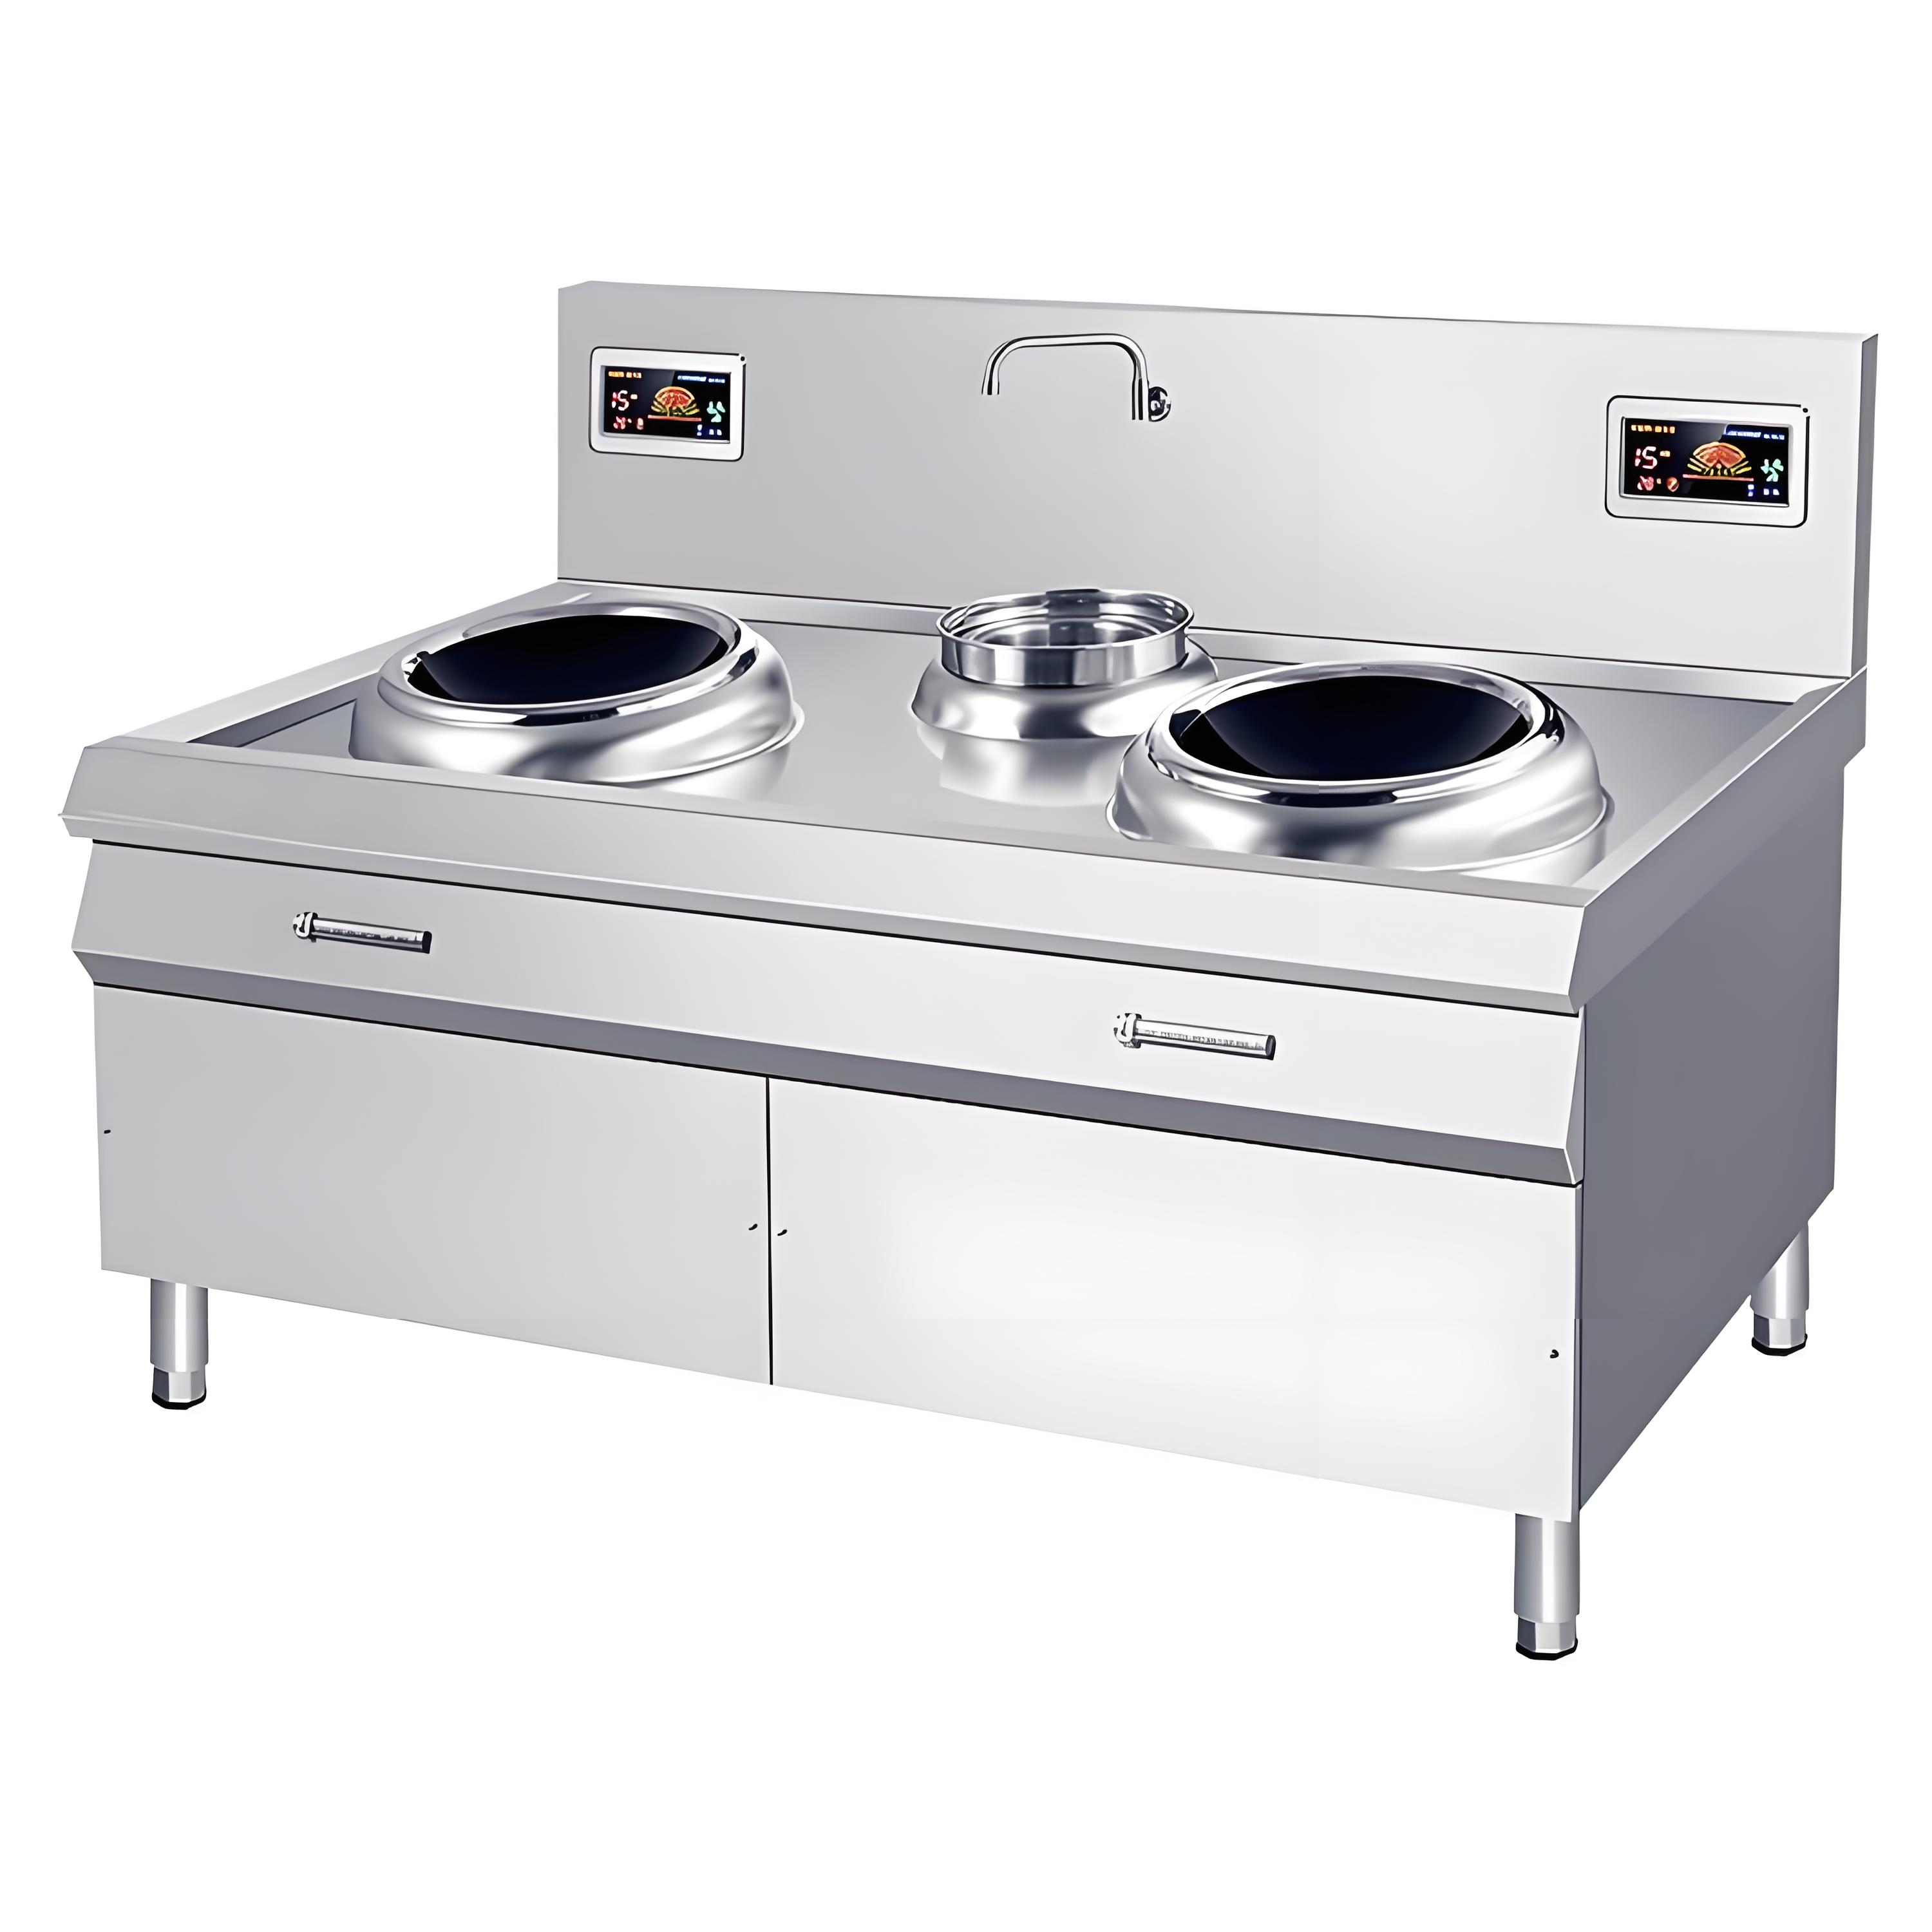
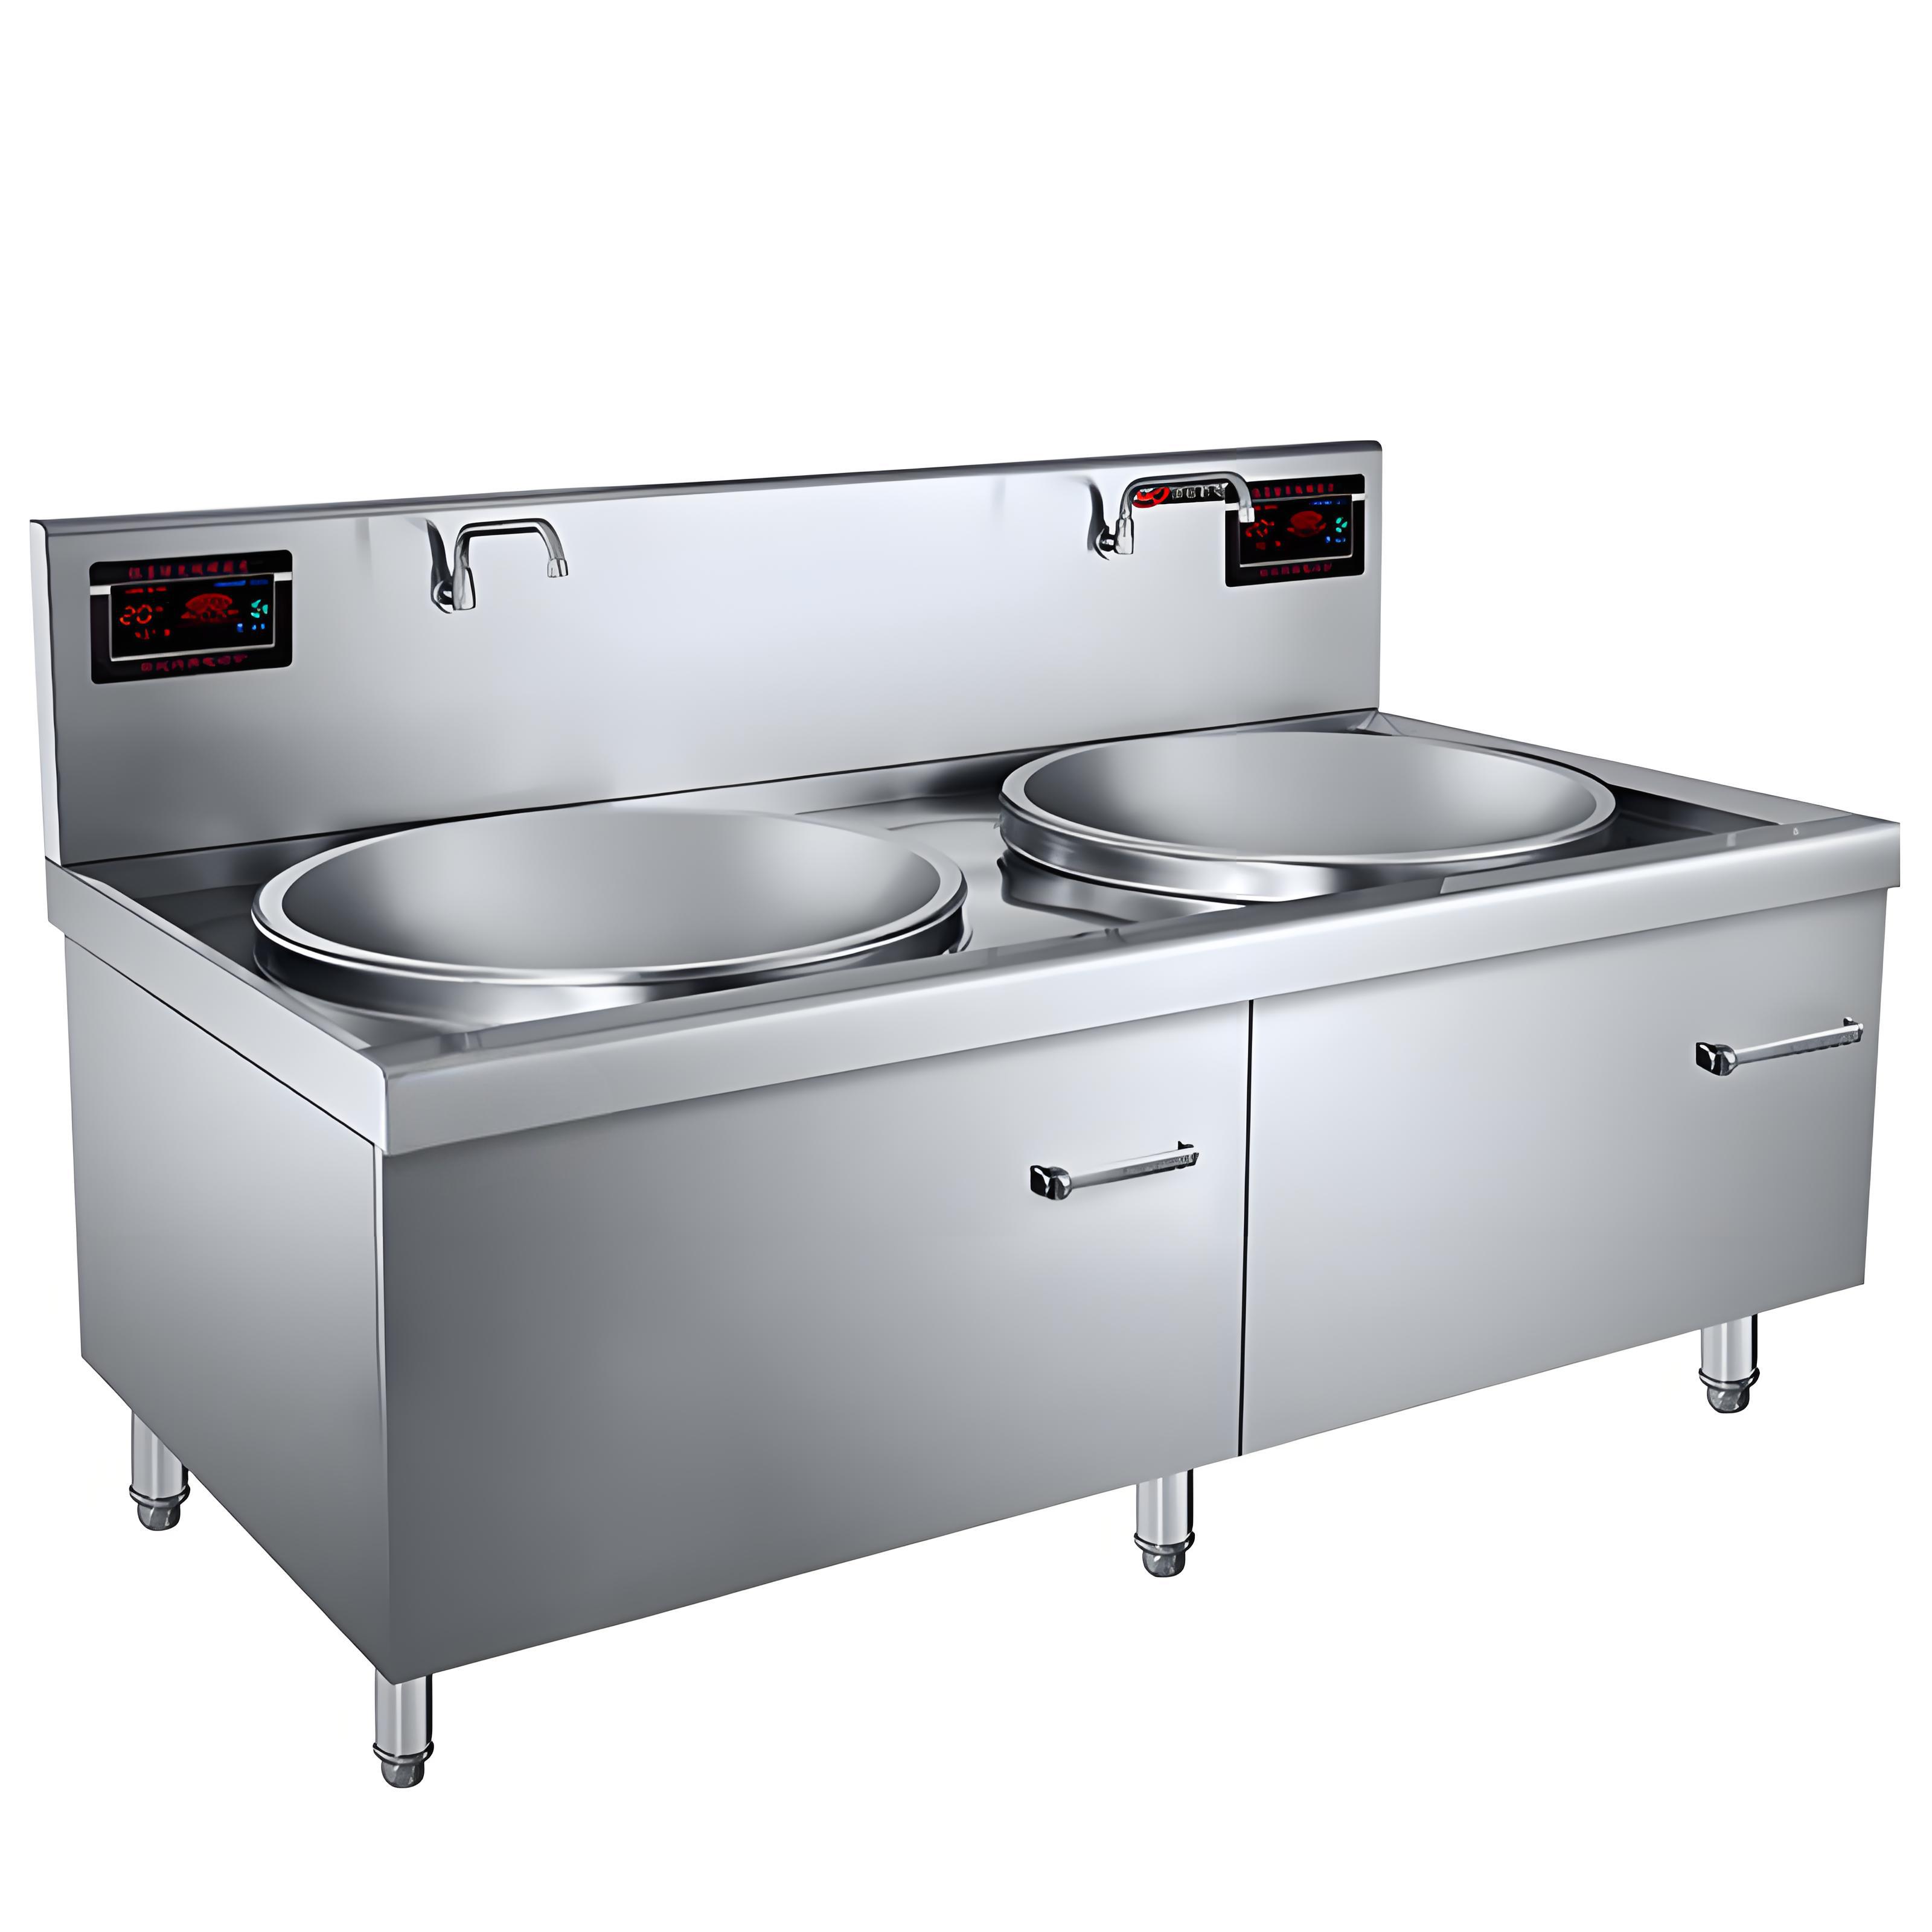
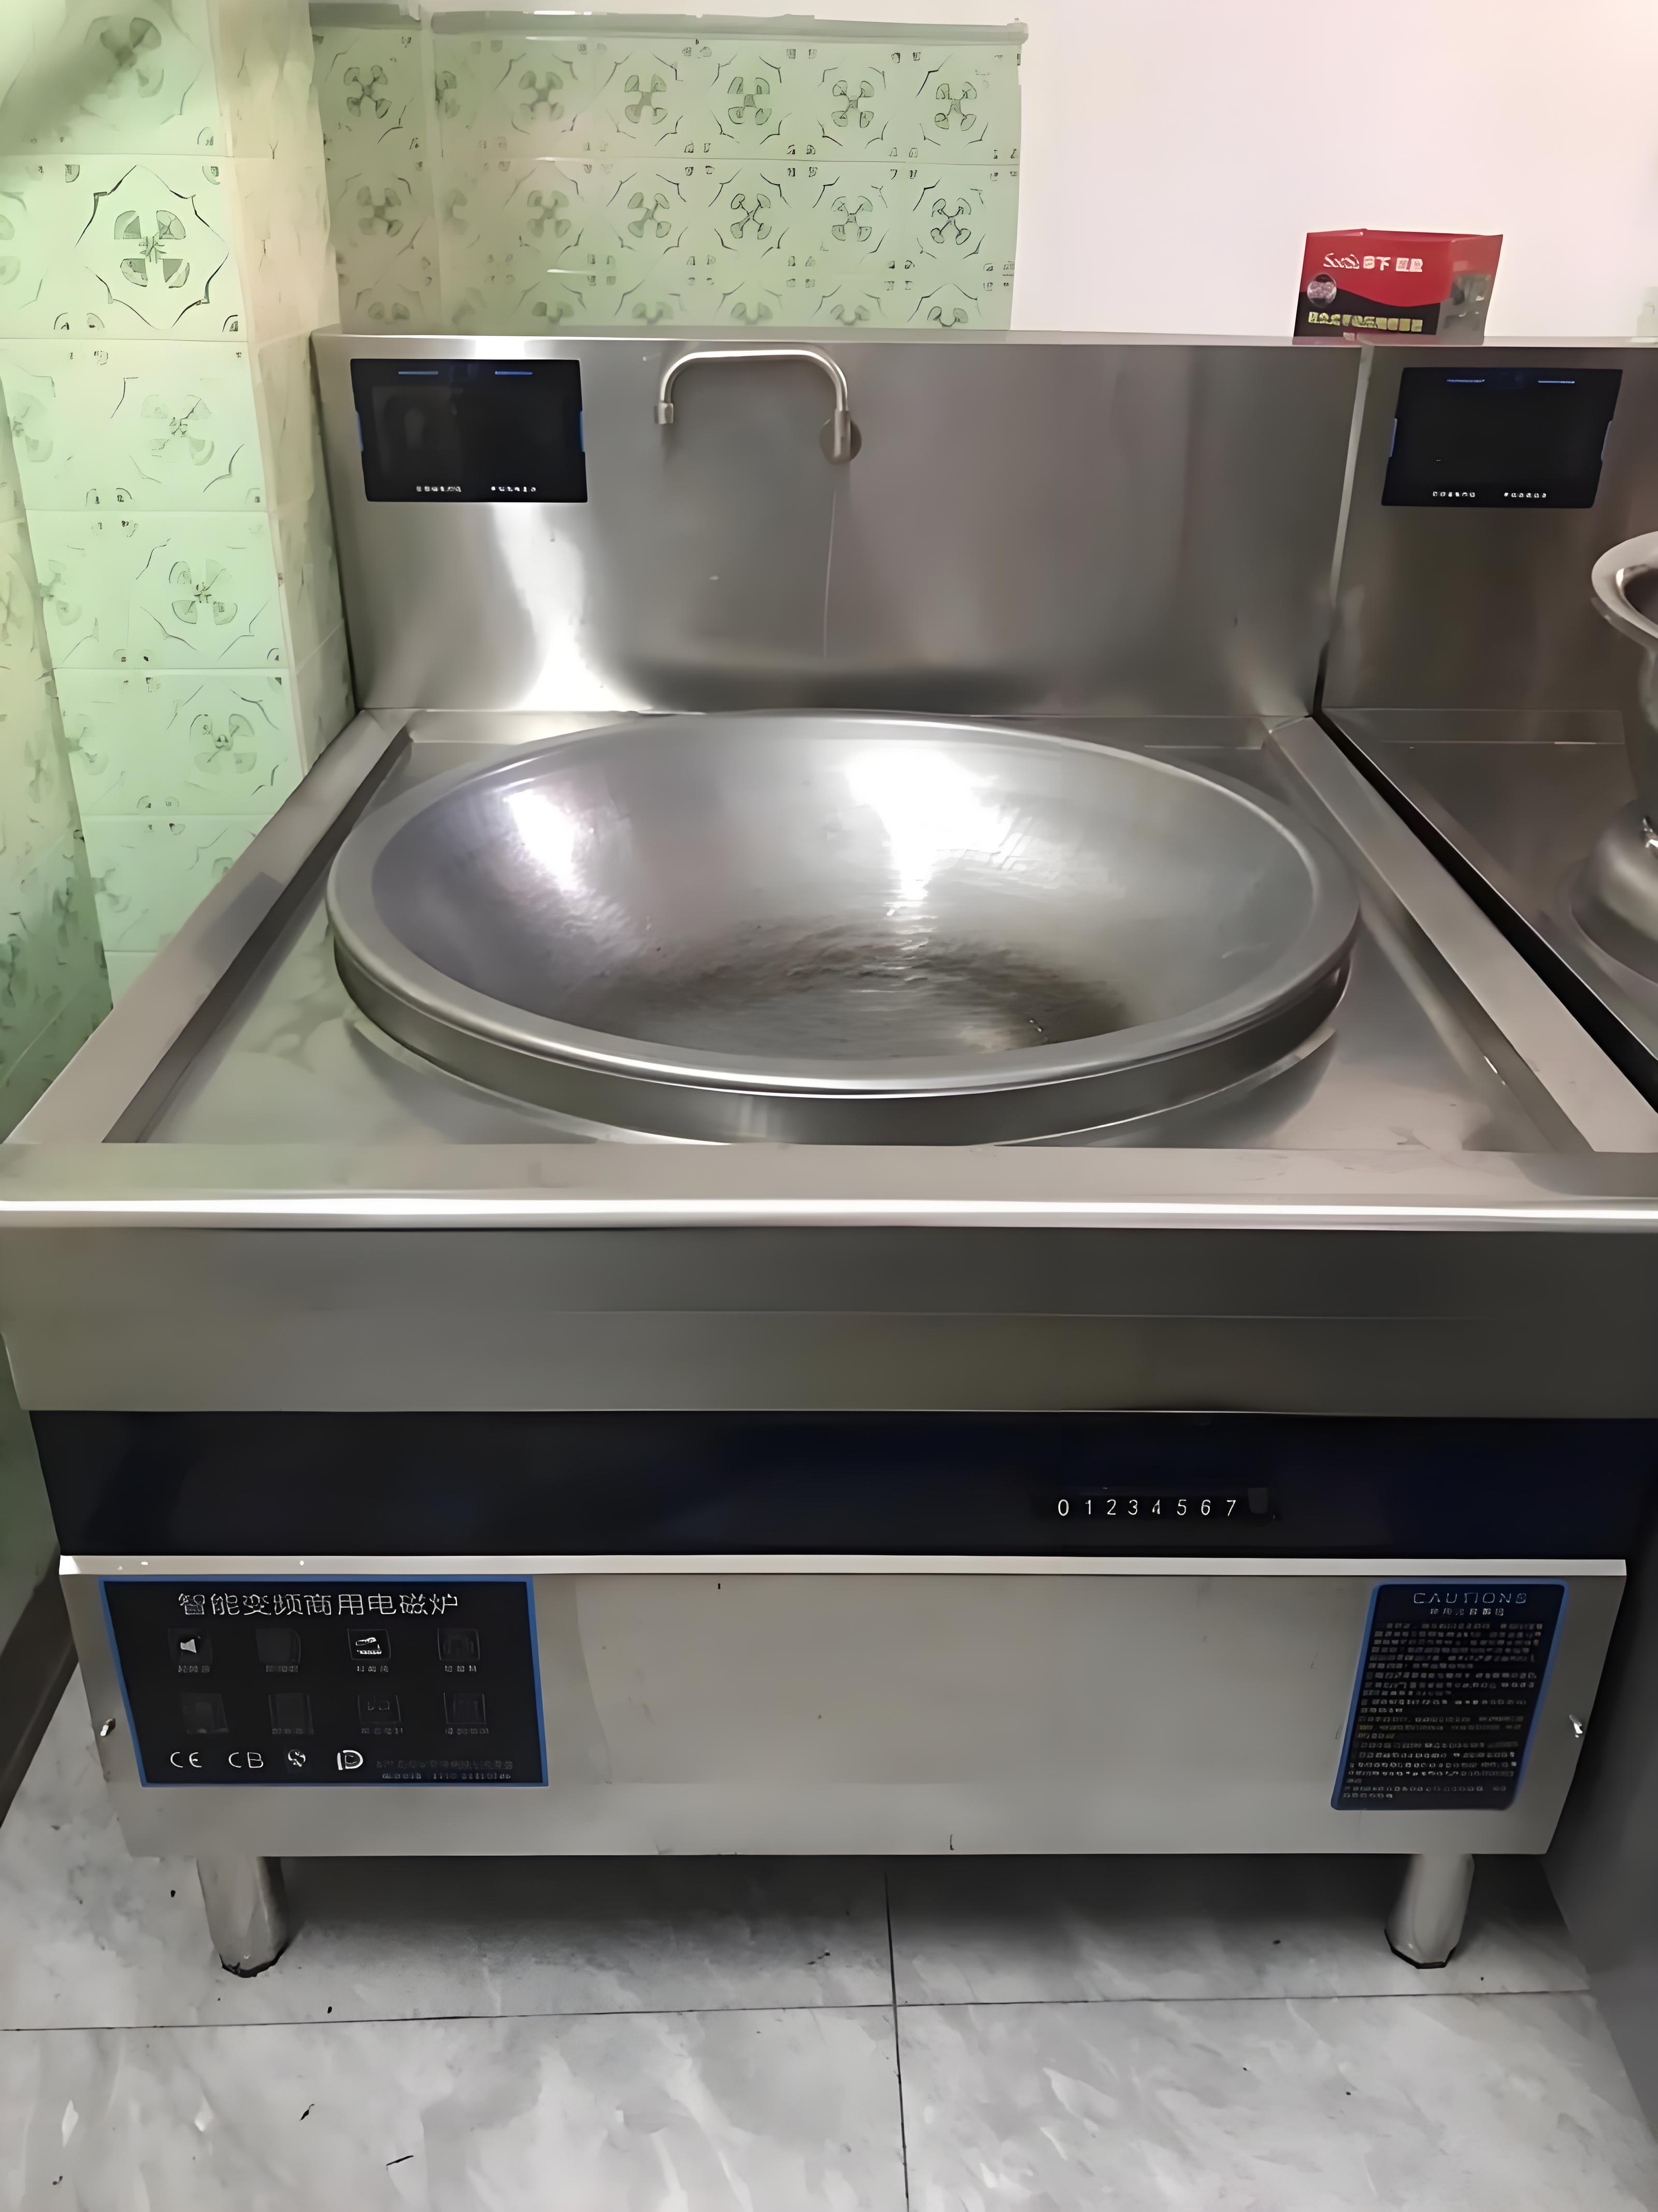
When a commercial induction cooker exhibits abnormal behavior or stops working altogether, there are several common faults and corresponding troubleshooting methods:
1. Basic error codes:
E1: No pot detected
E2: Pot over-temperature protection
E3: Pot thermal sensor open circuit
E4: IGBT thermal sensor short circuit
E5: IGBT thermal sensor open circuit
E6: Voltage too low
E7: Pot thermal sensor short circuit
E8: IGBT thermal sensor short circuit
E9: Voltage too high
Note:
Upon powering on, if all segments of the display briefly light up, the red light (power indicator) flashes, the blue light does not illuminate, and the display shows “-”, then turning the rotary switch causes no change on the display, this suggests the rotary switch is faulty or the related connectors are loose. Replace the potentiometer (encoder). If that does not solve the issue, there may be a problem with the switch circuit.

2. Detailed code troubleshooting:
E1 – No pot detected
After startup, displays E1 (or “1”, or after a few seconds shows “-”), red light flashes together with “1”.
For small fryers or flat soup cookers, this may simply mean no pot is present; place a pot and see if it operates normally.
For large wok ranges or if a pot is already on, check if the coil distance has shifted, or if the cookware is magnetic. Use the specially supplied cookware from the manufacturer.
If the red light comes on, shows the current gear, blue light flashes briefly and goes out repeatedly, it usually means incorrect cookware or the coil distance is too large.
E2 – Pot (coil) over-temperature protection
Appears after operating for a period. Check if the coil fan is running. If it is, likely the coil thermal sensor has degraded. Replace the coil thermal sensor seat.
E3 – Pot thermal sensor open circuit
Replace the coil thermal sensor seat.
E4 – IGBT thermal sensor overheating
The cooling fan on the control board is not running or too slow. Check the fan and its connectors. If those are fine, the relay may be damaged.
Emergency fix: break the relay casing to force the contacts closed, ensuring the fan runs when powered. Inform the customer this means the fan will always operate but it won’t affect cooking.
E5 – IGBT thermal sensor open circuit
Ideally replace the control board (main board) or have a professional service technician replace the aluminum plate sensor.
E6 – Voltage too low
Check the power supply; voltage is insufficient.
E7 – Pot thermal sensor short circuit
Indicates a pot bottom thermal sensor fault. Replace to resolve.
E8 – IGBT thermal sensor short circuit
Replace the control board or have a professional technician replace the aluminum plate sensor.
E9 – Voltage too high
Power supply voltage exceeds specifications.

3. Additional troubleshooting cases:
No reaction after power-on, display does not light up, but turning the rotary handle starts the cooker.
Open the front panel and check the display ribbon cable for breaks or loose connectors.
No reaction after power-on, display does not light up, and turning the rotary handle does not start the cooker.
Disconnect power first. Then open the front panel and check the transformer wiring for breaks or loose plugs.
If still faulty, the transformer may be damaged.
Note: Always perform this with the power disconnected.
Power-on displays normally, but turning the rotary handle causes no reaction.
Focus on checking the potentiometer or encoder on the switch handle. Ensure when rotating the handle, the potentiometer or encoder also turns, and that wiring and connectors are intact.
If all seems well, open the main housing to inspect the switch wiring connectors, reseat them. If still unresolved, replace the switch.
Note: If it’s a potentiometer model, when the switch fails to close, there will be continuous beeping alarms.
Machine works normally at first, then after some time trips the front-end breaker. Restarting works again.
Typically caused by insufficient breaker current capacity. Recommend the customer upgrades the breaker.
Fails to power on, trips breaker immediately on power-up.
Disconnect the machine ground wire and try again. If it powers up, this indicates a leakage issue.
Check the coil insulation, fan, or switch.
Remove and isolate suspected components one by one; when the breaker no longer trips, you’ve found the faulty part. Repair or replace it.
Important: After repair, always reconnect the ground wire.
Fan does not run.
First check if all fans have stopped. If at least one fan is running, the fan control circuit is fine; inspect the non-running fans’ individual connectors.
If all fans are stopped, the control circuit may be damaged. In emergencies, use the same method as described under E4.
Display garbled after power-on, missing segments, buzzer silent, different display each time.
Indicates the main chip, crystal oscillator, or the two filtering capacitors next to the oscillator are damaged.
Trips breaker immediately after power-on.
First confirm whether this is due to a fault inside the machine or because of a poor-quality customer circuit breaker.
Summary
The correct methods for troubleshooting commercial induction cooker failures are generally manageable by an electrician or technician with basic electrical knowledge, especially after receiving technical guidance from the cooker manufacturer.
If problems persist or cannot be resolved on-site, contacting the supplier promptly will usually ensure the fastest solution.