After purchasing a commercial induction cooker, it is essential to carefully read this installation manual to gain a thorough understanding of the product, laying the foundation for proper installation and maintenance.

1. Installation Preparation
The commercial induction cooker must be installed on a flat and sturdy platform.
There must be at least 20 cm of clearance behind the cooker to ensure proper ventilation for hot air exhaust.
The space beneath the cooker must not be obstructed to guarantee unobstructed airflow into the intake vents.
The cooker should not be placed near other heat sources to ensure the incoming cool air does not exceed 45°C.
The cooker must be connected by a qualified electrician.
The cooker must have a dedicated power switch, and all electrical parameters must comply with specifications.
The power supply voltage for the cooker is either 380V 50HZ or 220V 50HZ—ensure the voltage matches before connecting.
Ensure the external power supply includes a residual current device (RCD) with a tripping current greater than 60mA, and the ground wire is securely connected.
After use, do not immediately unplug the power cord, as the internal cooling fan will continue running for 1–3 minutes to dissipate internal heat, effectively extending the machine’s lifespan.
To prevent pests such as cockroaches from entering the machine and causing malfunctions, take measures to keep them out of the cooker.
If the cooker will not be used for an extended period, unplug the power cord.
2. Wiring Method for Commercial Induction Cookers
(1) Desktop Induction Cooker Wiring
220V:
(L) Red wire: Live
(N) Blue wire: Neutral
(G) Yellow-Green wire: Ground
380V:
(A) Red wire: Live
(B) Blue wire: Live
(C) Black wire: Live
(G) Yellow-Green wire: Ground
(N) Green wire: Neutral

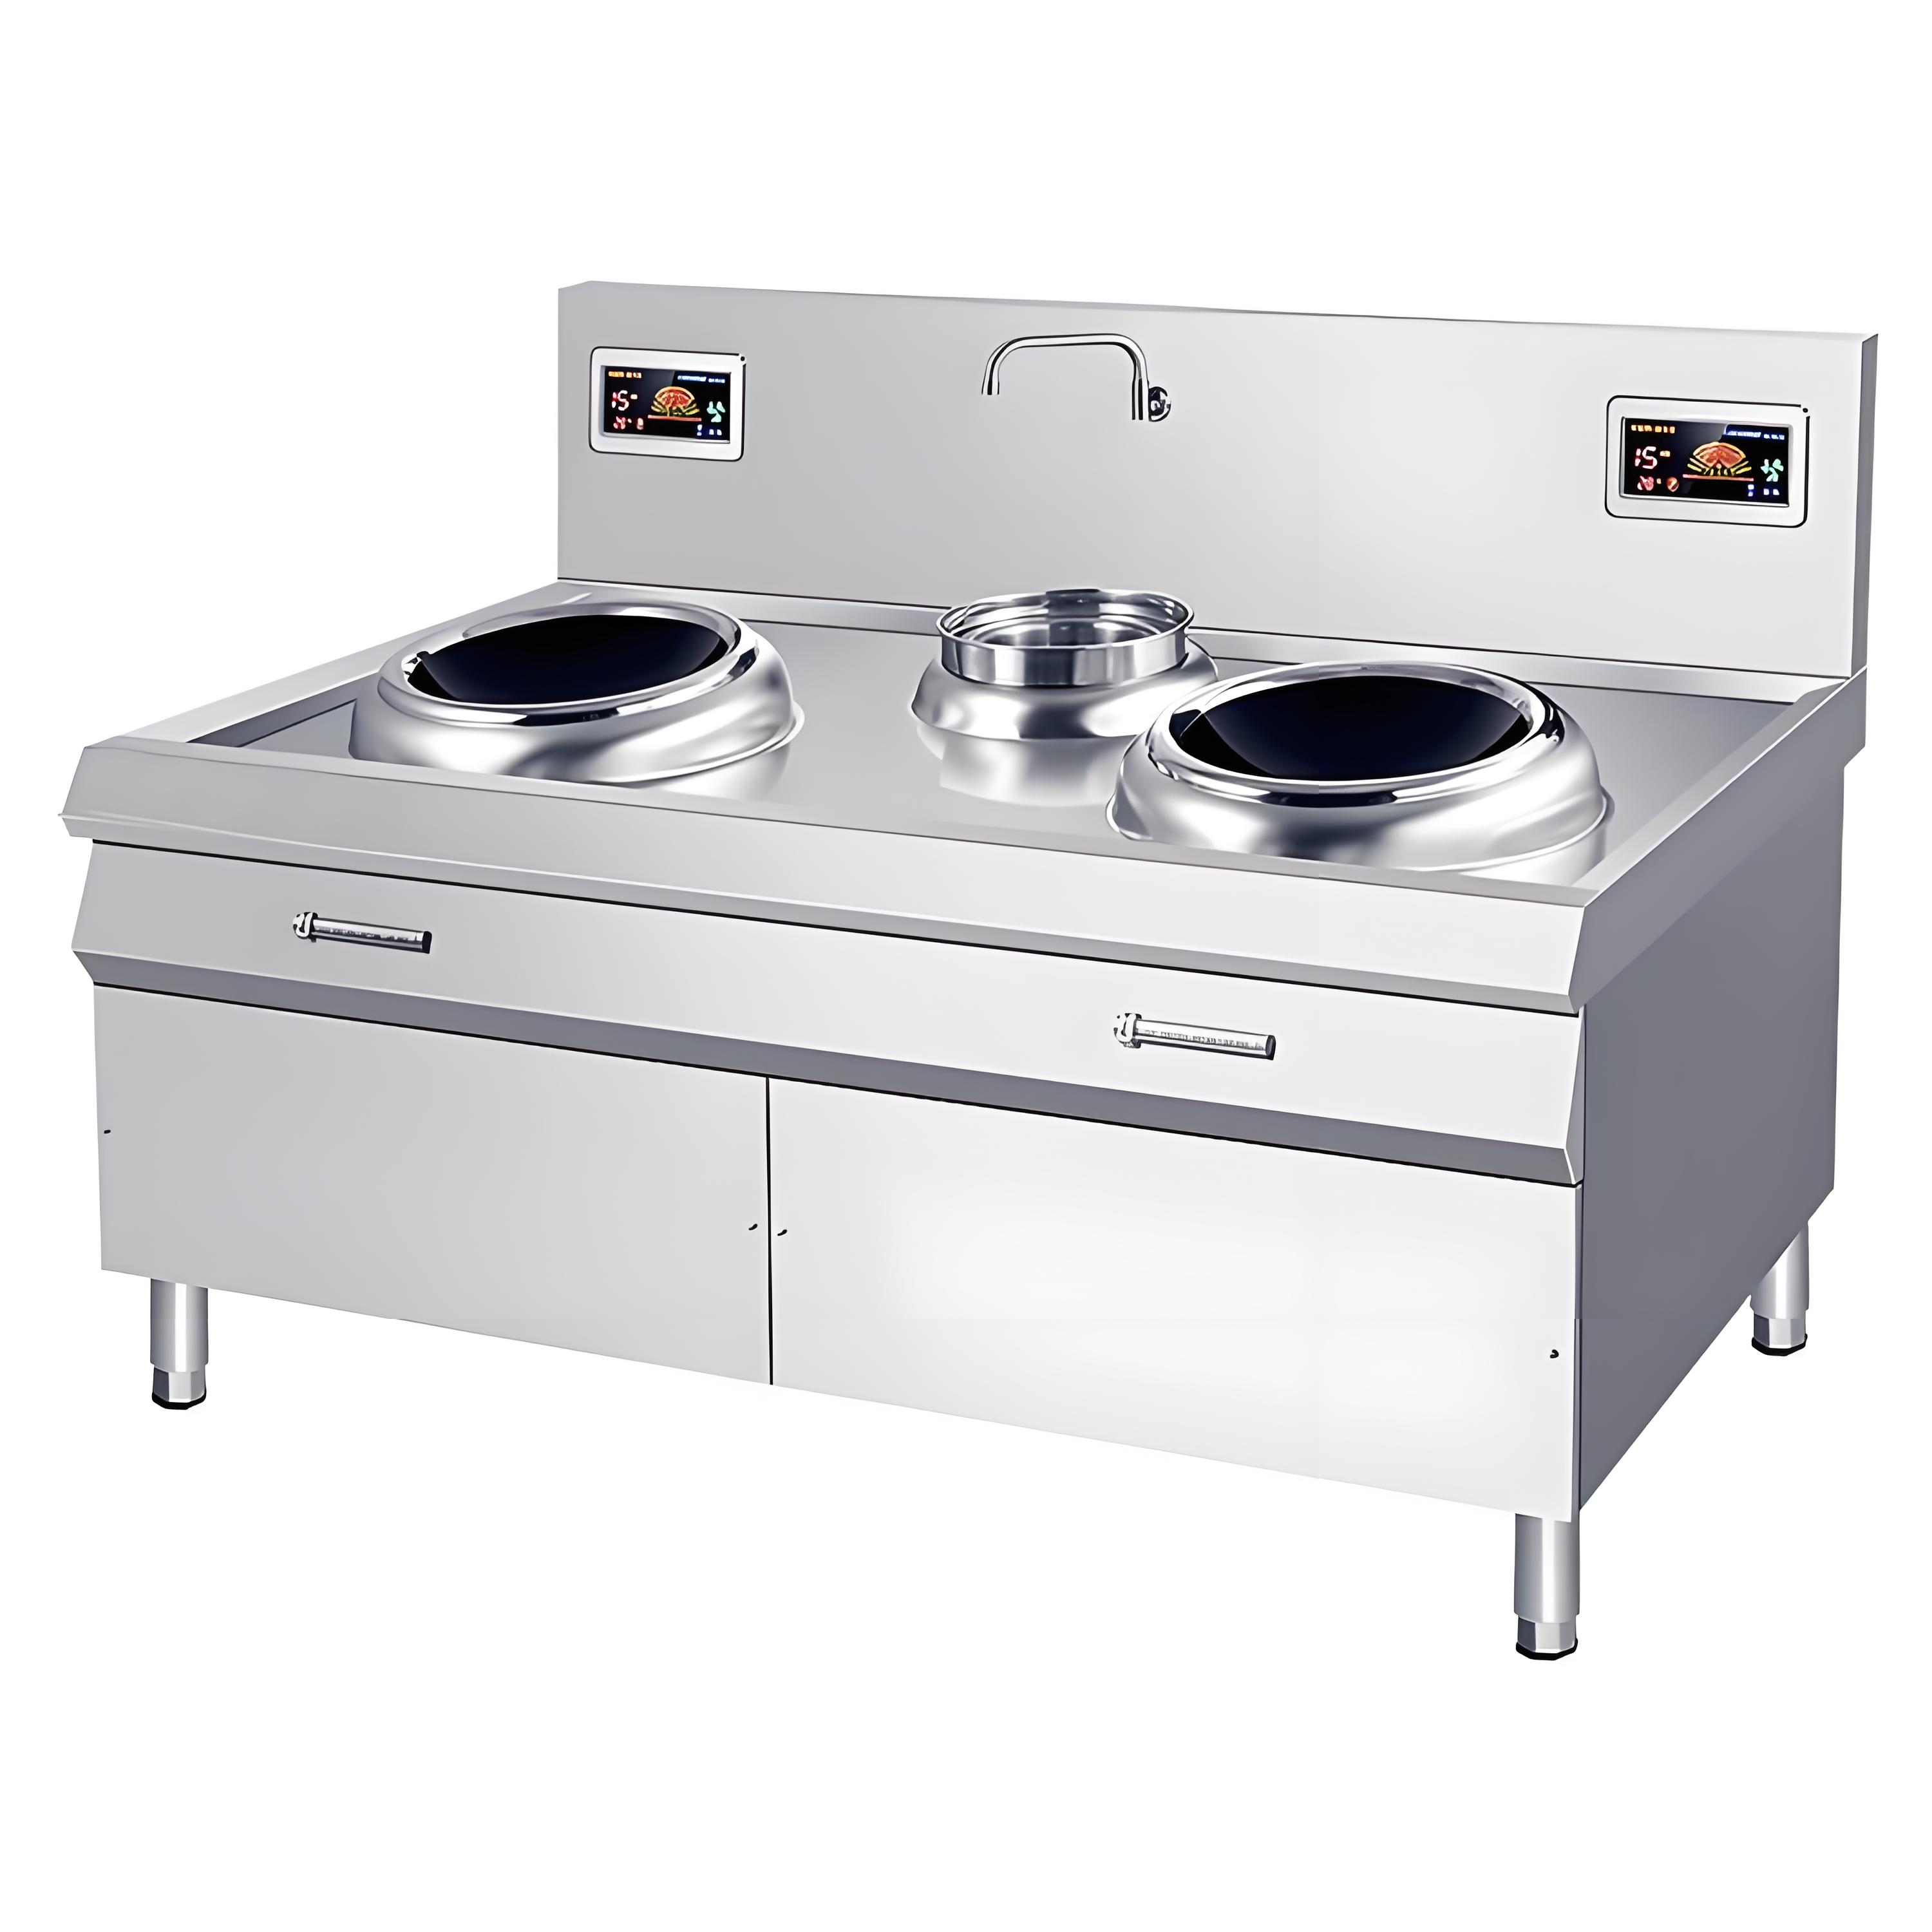
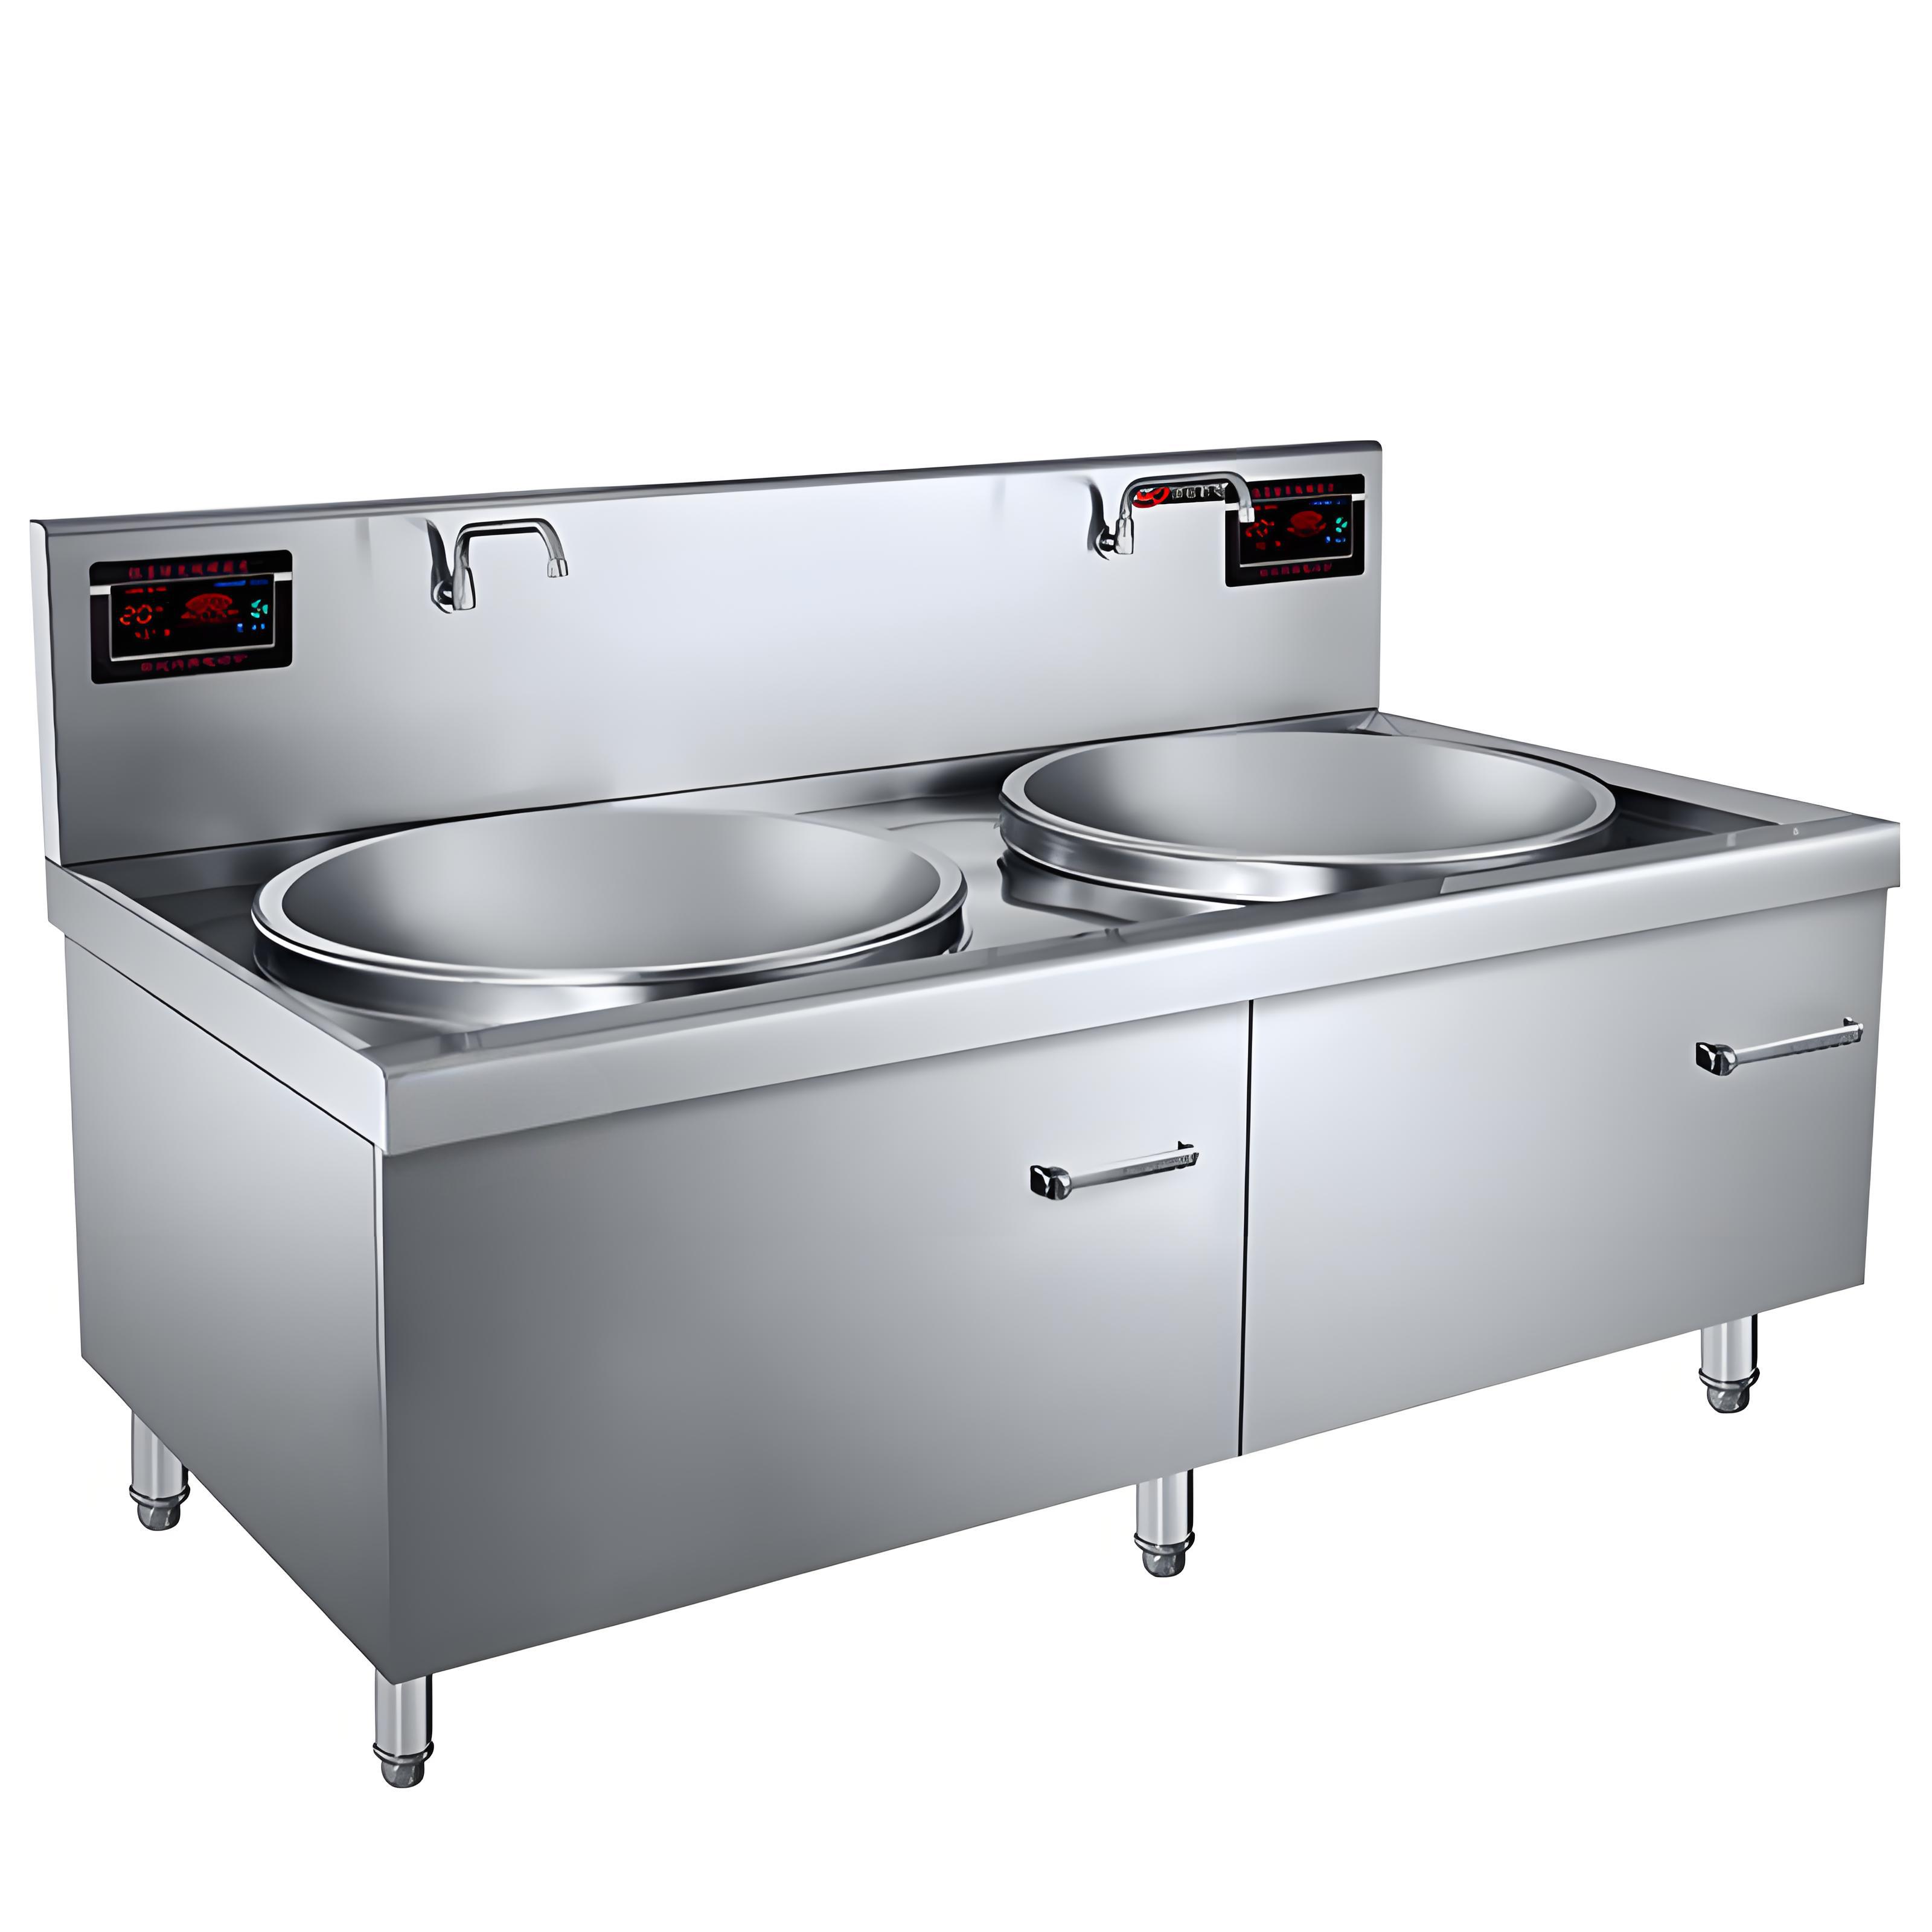
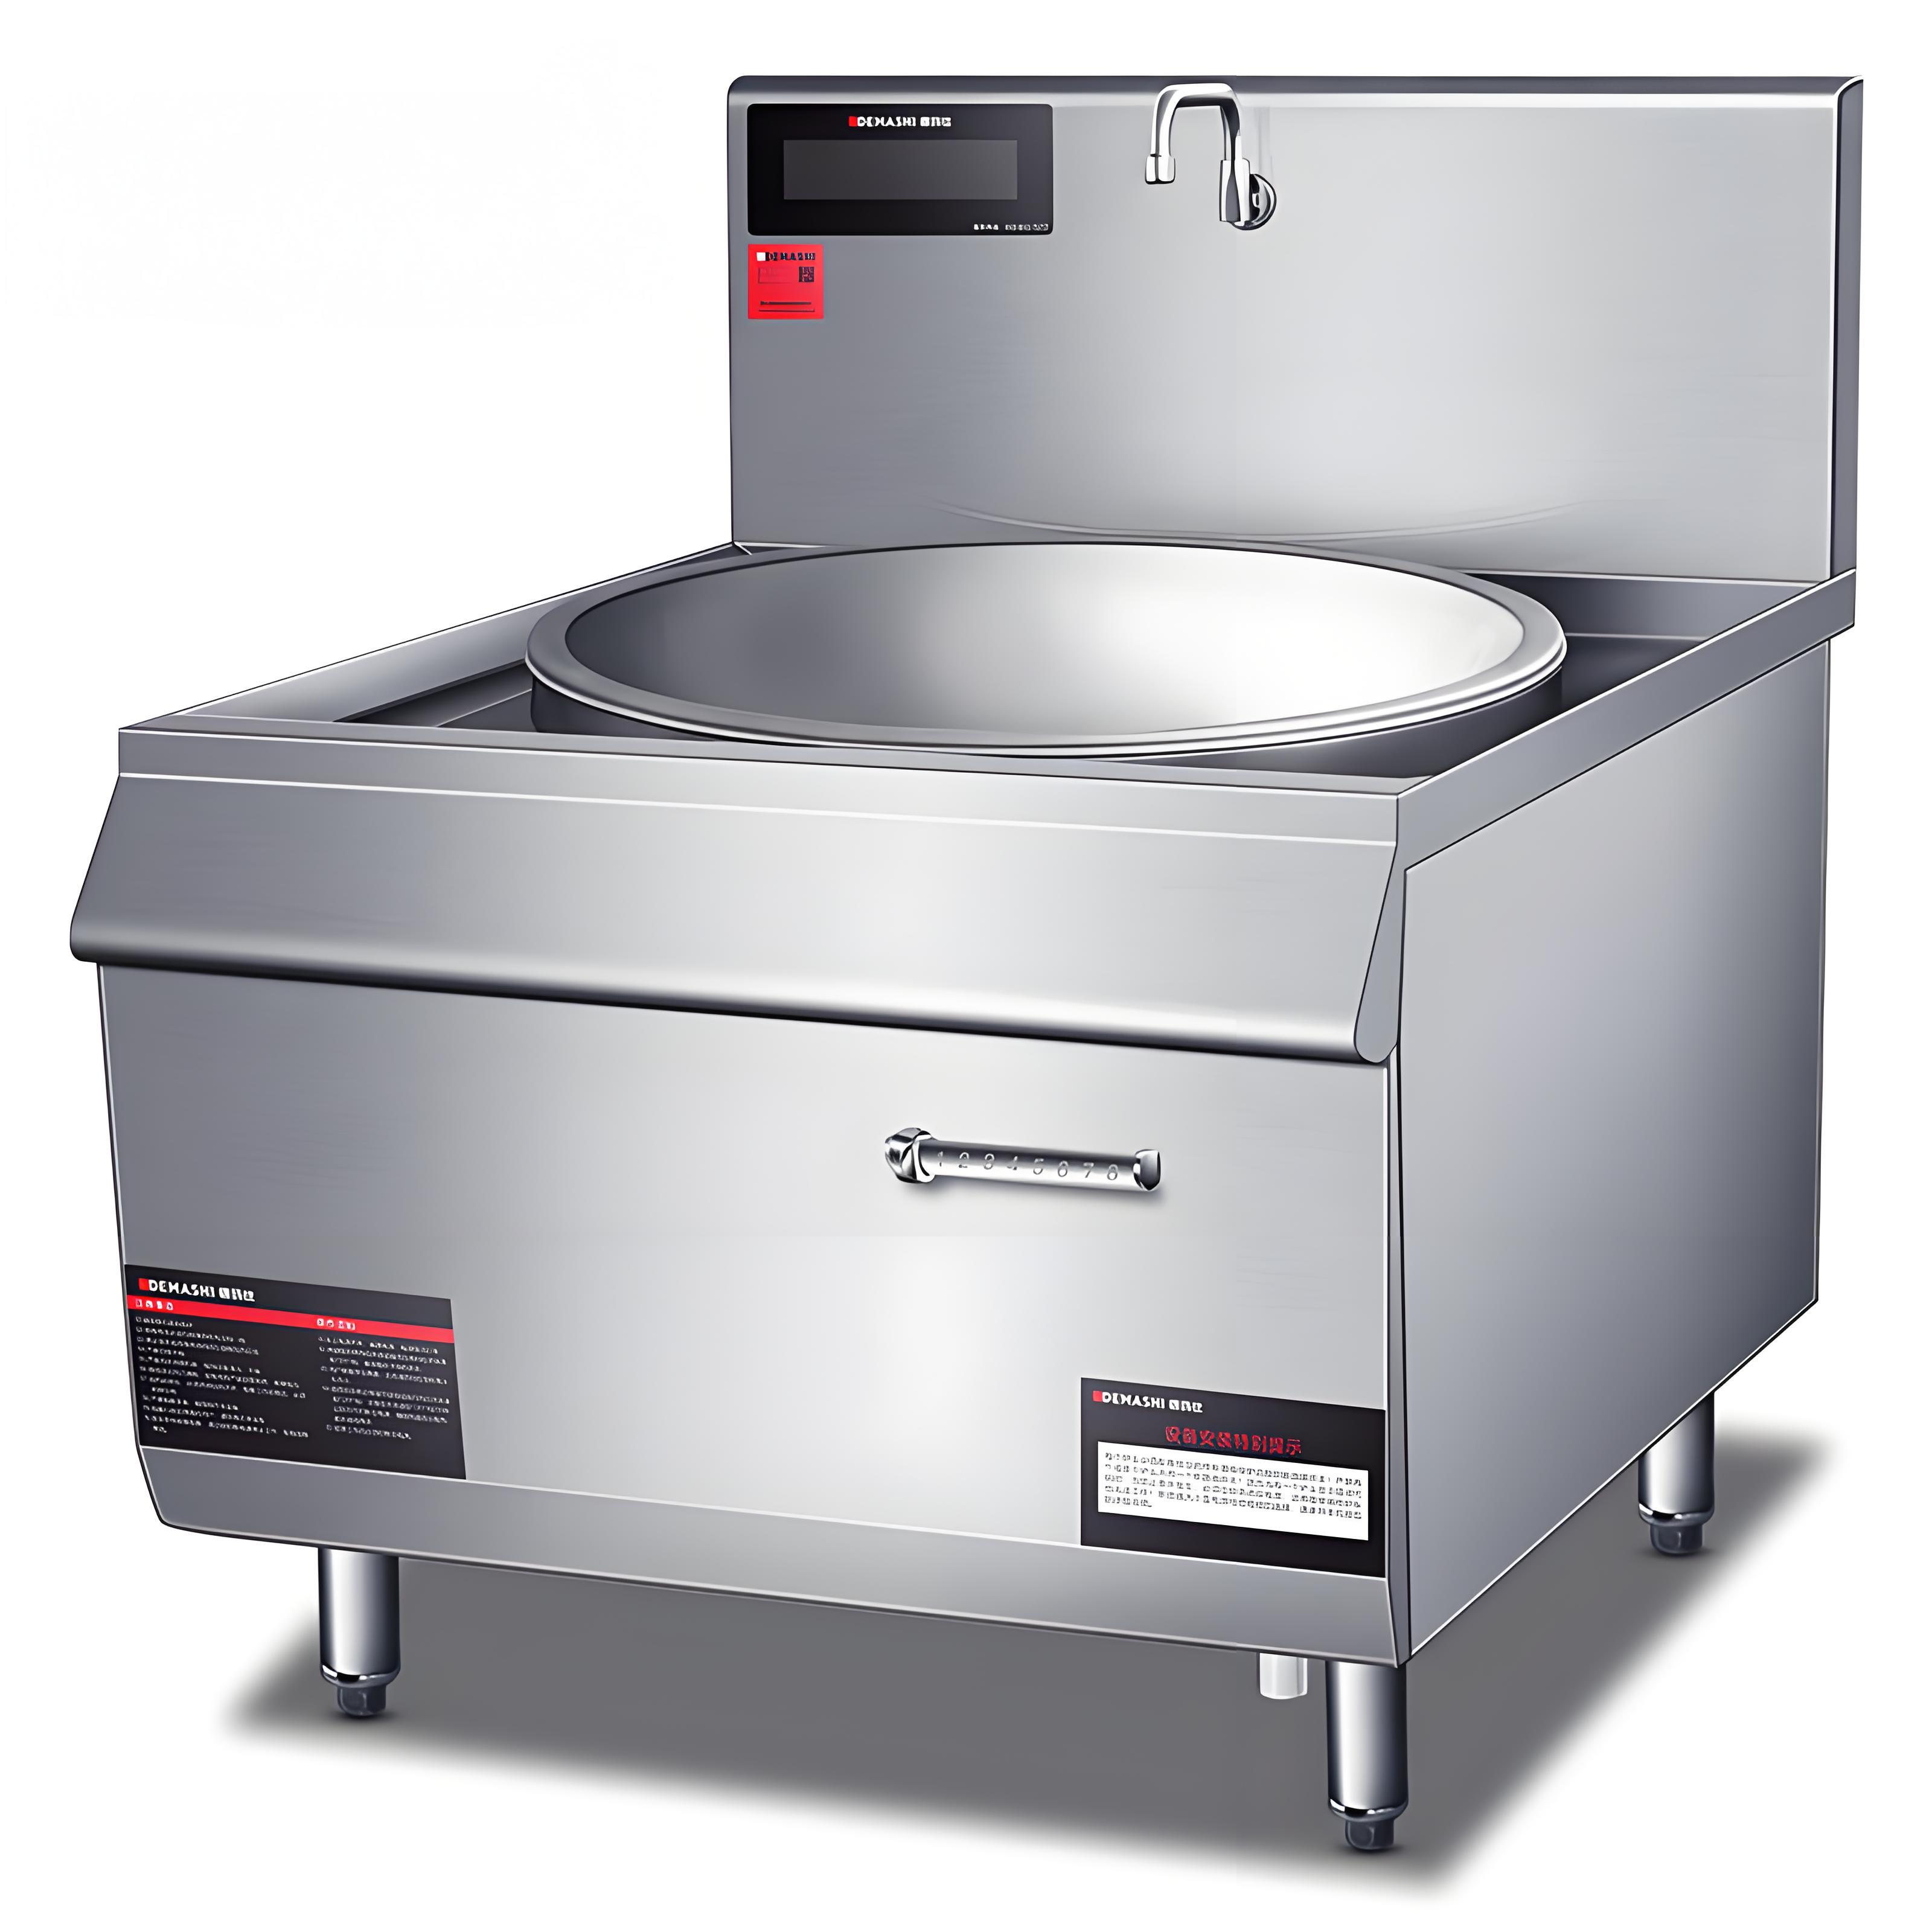
(2) Wiring for Large Cookers (e.g., Claypot Stoves, Wok Stoves, Soup Pots)
380V:
(A) Red wire: Live
(B) Blue wire: Live
(C) Green wire: Live
(N) Yellow-Green wire: Ground (Note: For claypot stoves, this is the neutral wire)
Important: Before wiring, install an RCD with an appropriate current rating and ensure the ground wire is properly connected. It is recommended to use standard copper wires for the power supply. Improper installation may lead to hazards—users assume all risks if wiring is incorrect.
3. Operating Instructions for Commercial Induction Cookers
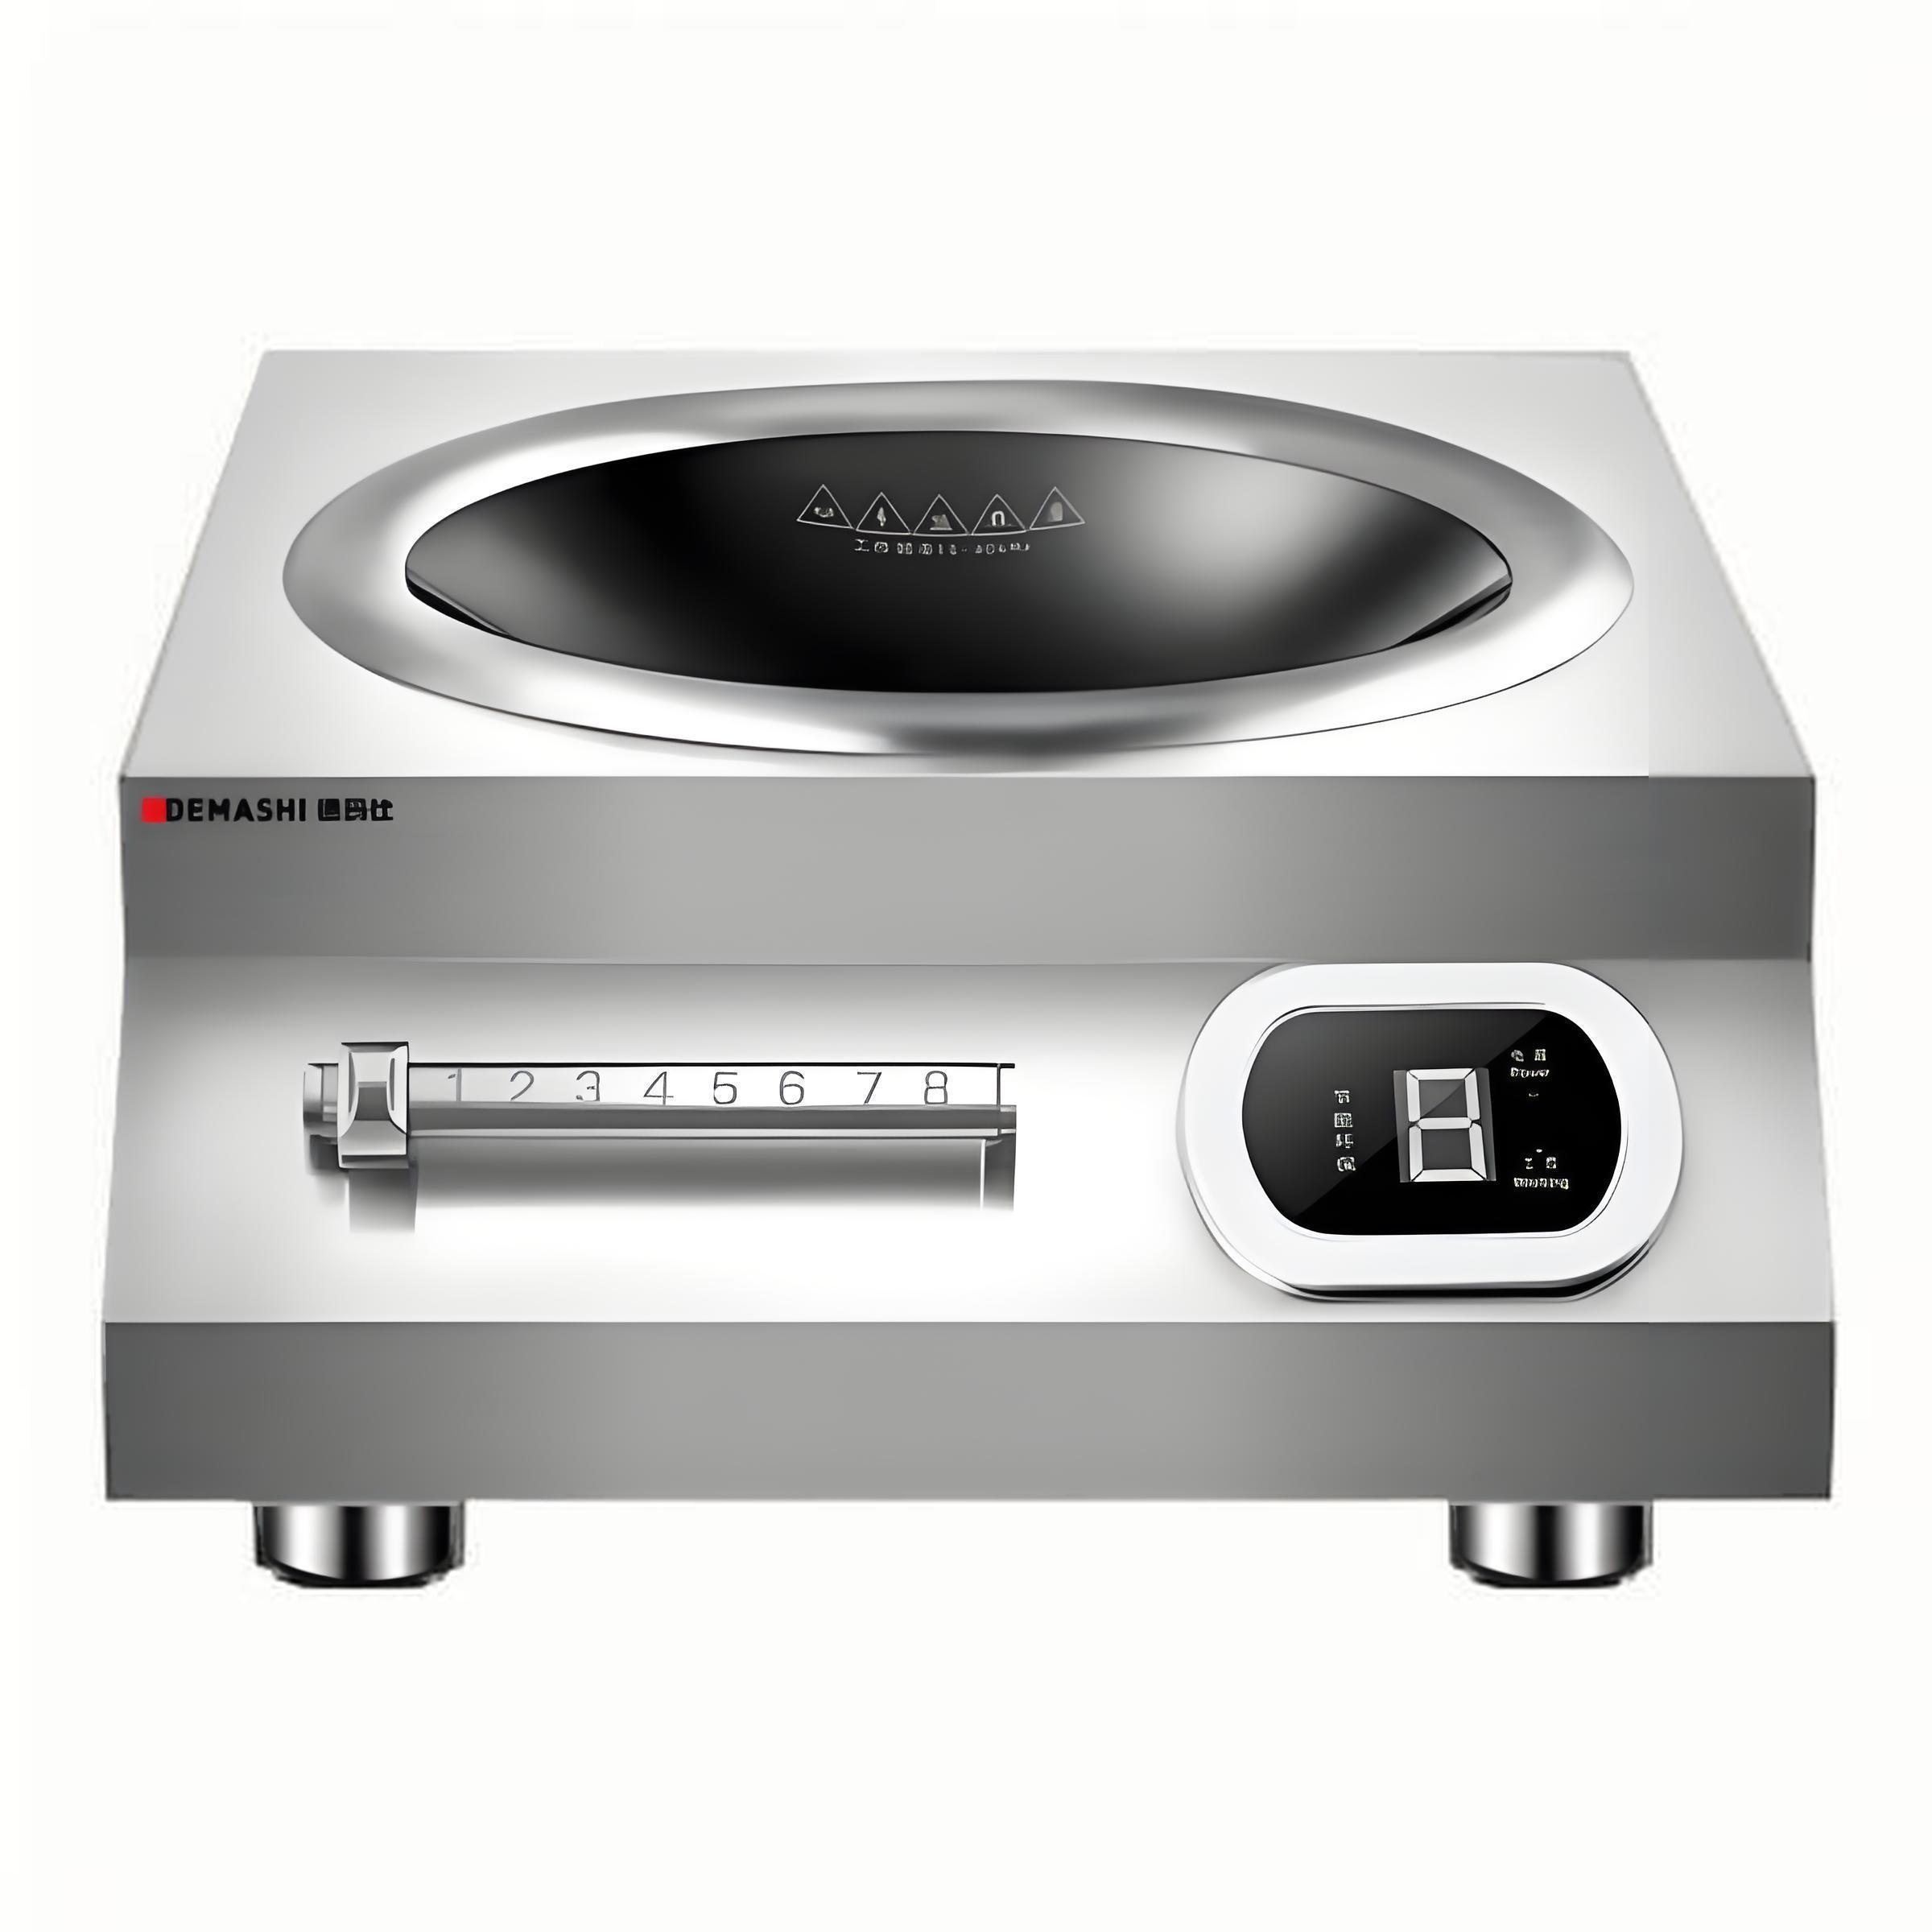
(1) Desktop Induction Cooker
Before turning on: Place a cookware on the cooker (the cooker will not operate without cookware).
Power connection: Upon connecting the power, the cooker will emit a “B” sound, the power indicator light will turn on, and all digital displays and indicator lights will flash briefly. After one second, the digital display will show the power level, and the working indicator light will illuminate.
Power adjustment: Press the power button—the default power is 3500W. Press “+” or “-” to increase or decrease the power gradually, with the display showing the current power level. Each press produces a “B” sound. The power can be adjusted between 500W and 5000W. (Some models have a rotary switch—the display shows the power level instead of watts).
Keep-warm function:
500W–1300W: Intermittent heating
1600W–5000W: Continuous heating
Shutdown: Press the power button to turn off the cooker. The digital display will show a horizontal line, and the fan will continue running for one minute before stopping automatically. Confirm the fan has stopped before unplugging the power.
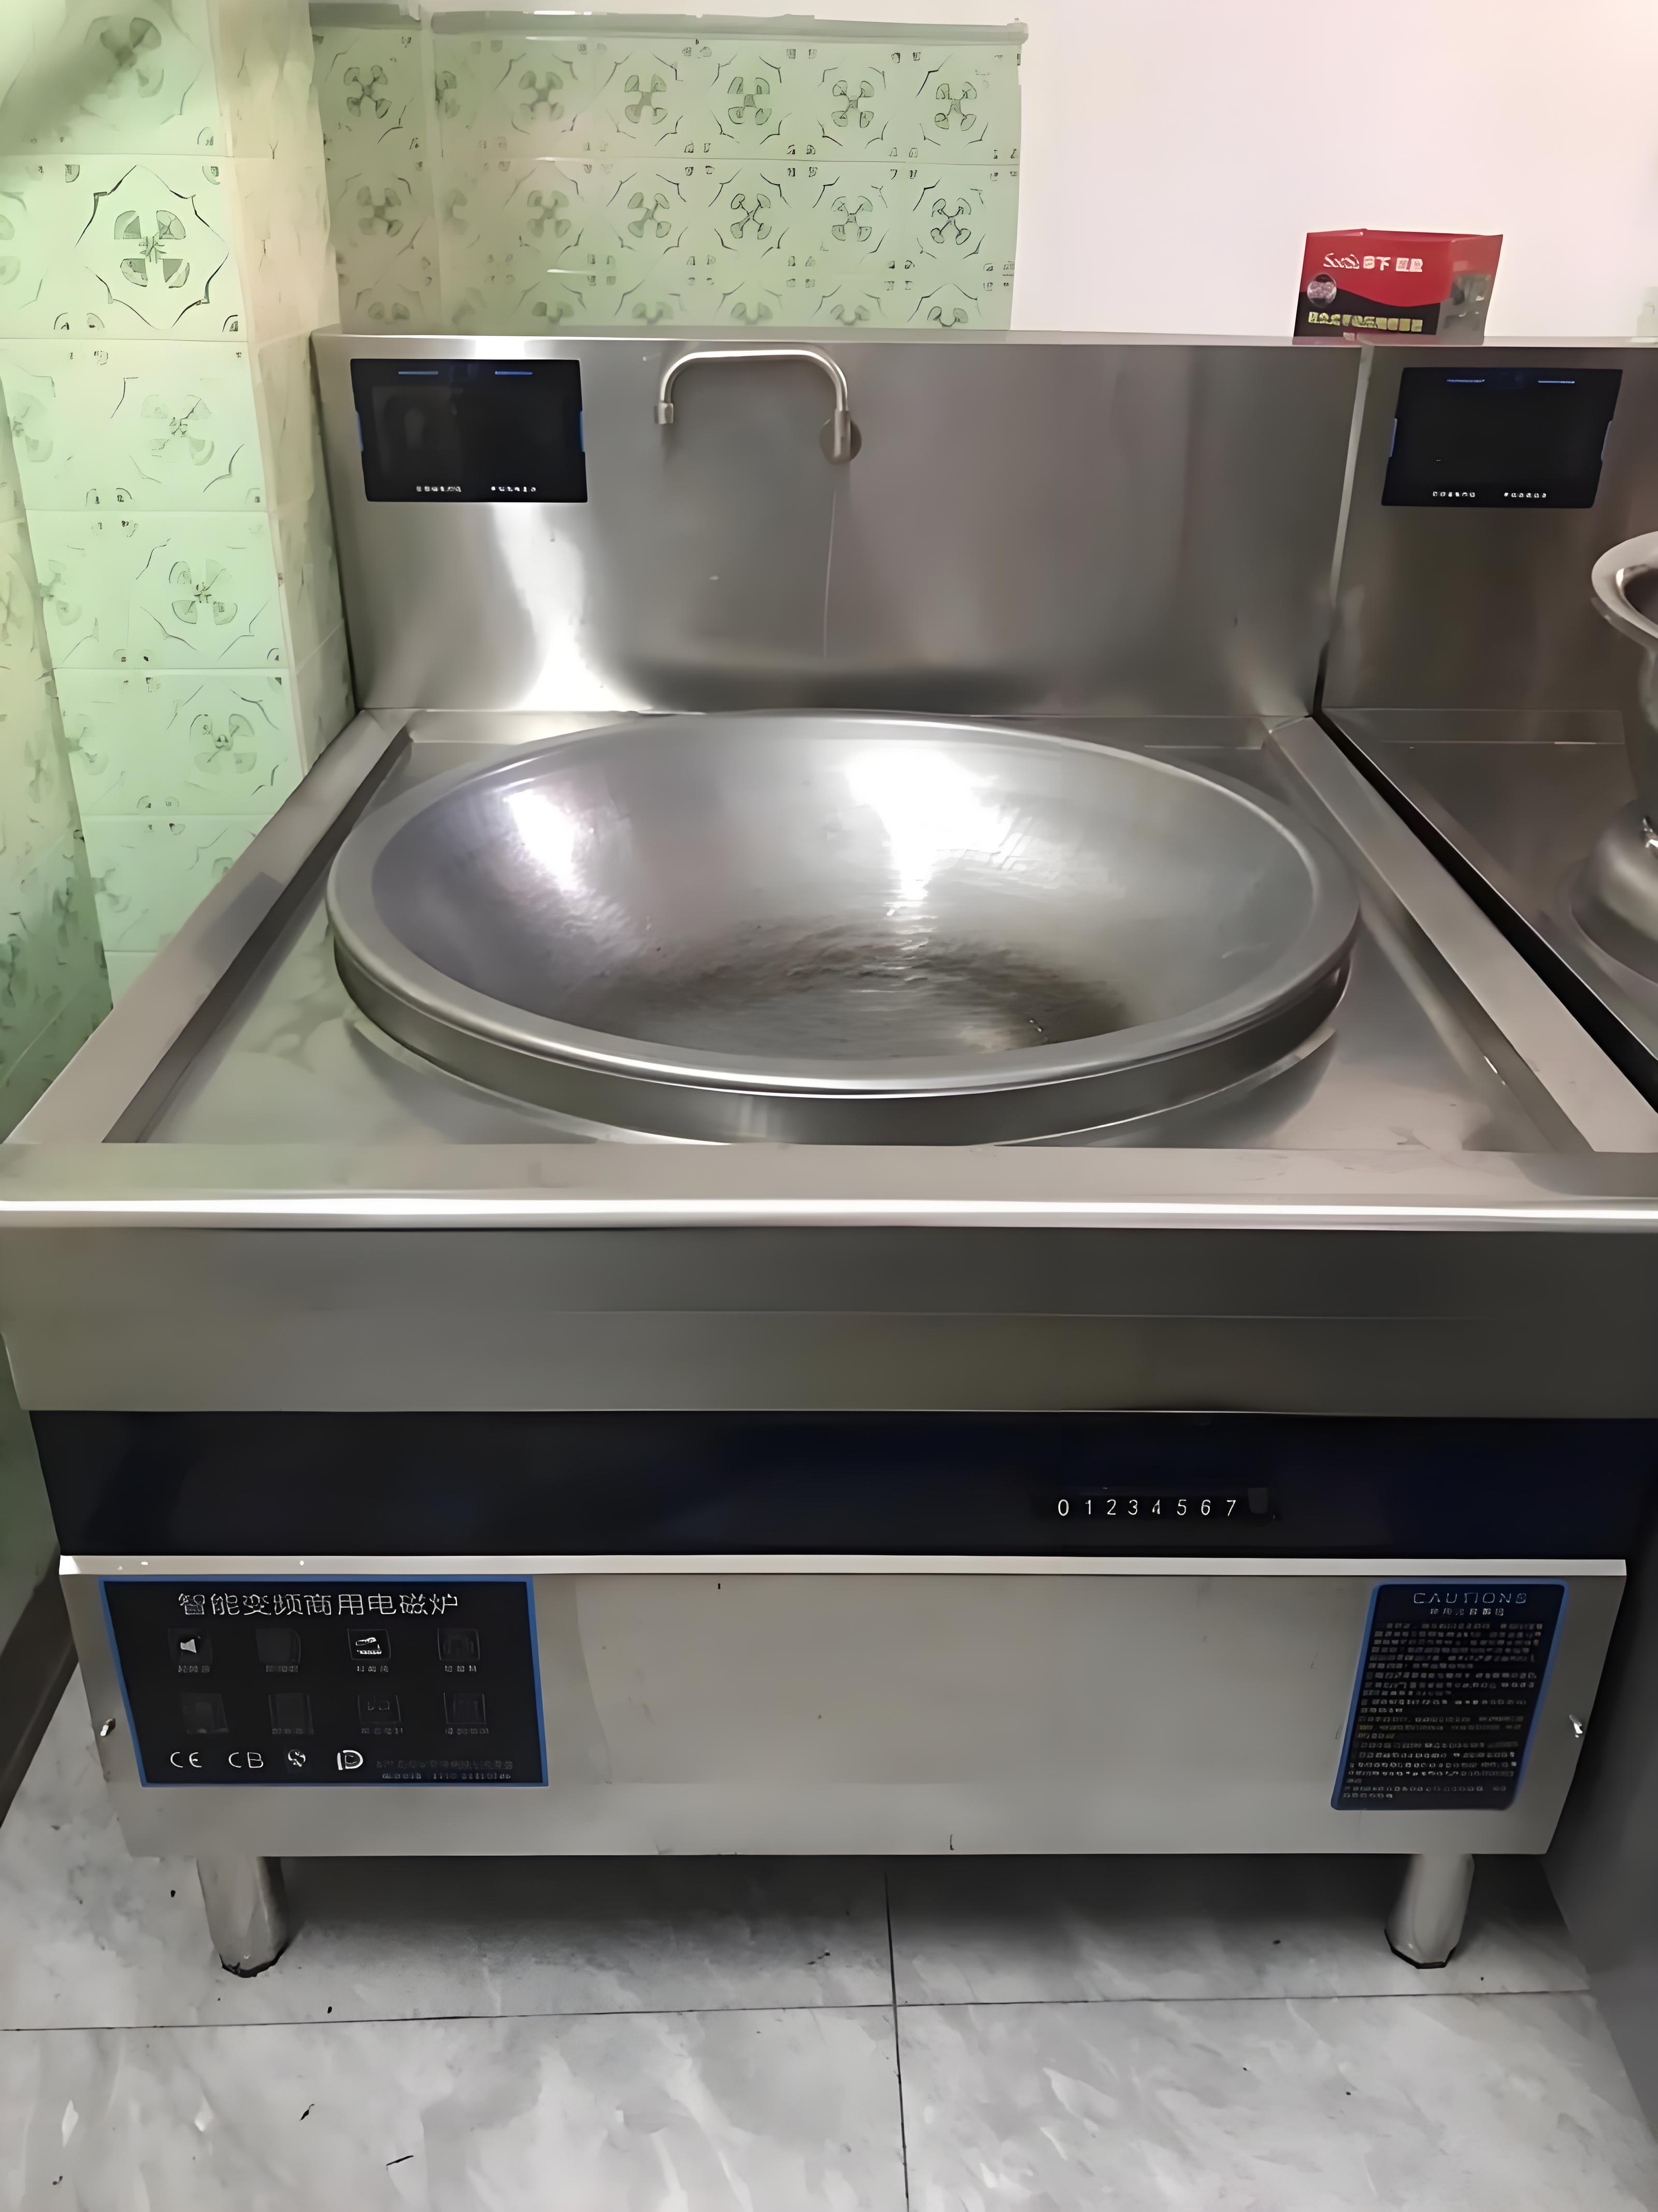
(2) Claypot Stoves, Wok Stoves, Soup Pots, etc.
Before turning on: Set the cooker’s switch to the “off” position, then turn on the main power switch. You will hear a “B” sound, and all digital displays and indicator lights will flash briefly. After one second, the power indicator light (red) will blink, and the working indicator light (blue) will remain off.
Power adjustment: Rotate the switch—the power indicator light and working indicator light will stay on, and the cooling fan will start running. The display will show “1,” indicating the cooker is in the first power level. Further rotation increases the power level, with the display showing the current setting. Each adjustment produces a “B” sound. The power can be adjusted between 1–8 levels (or 1–5 levels, depending on the model).
Power levels: Each level corresponds to a specific power output. Adjust according to cooking needs (e.g., stir-frying).
Shutdown: Rotate the switch to the “off” position—the digital display will show a horizontal line, the power indicator light will blink, and the working light will turn off. The fan will continue running for one minute before stopping.
Final step: After the fan stops, turn off the main power switch.
This manual ensures safe and efficient operation of your commercial induction cooker. Follow these guidelines to maximize performance and longevity.