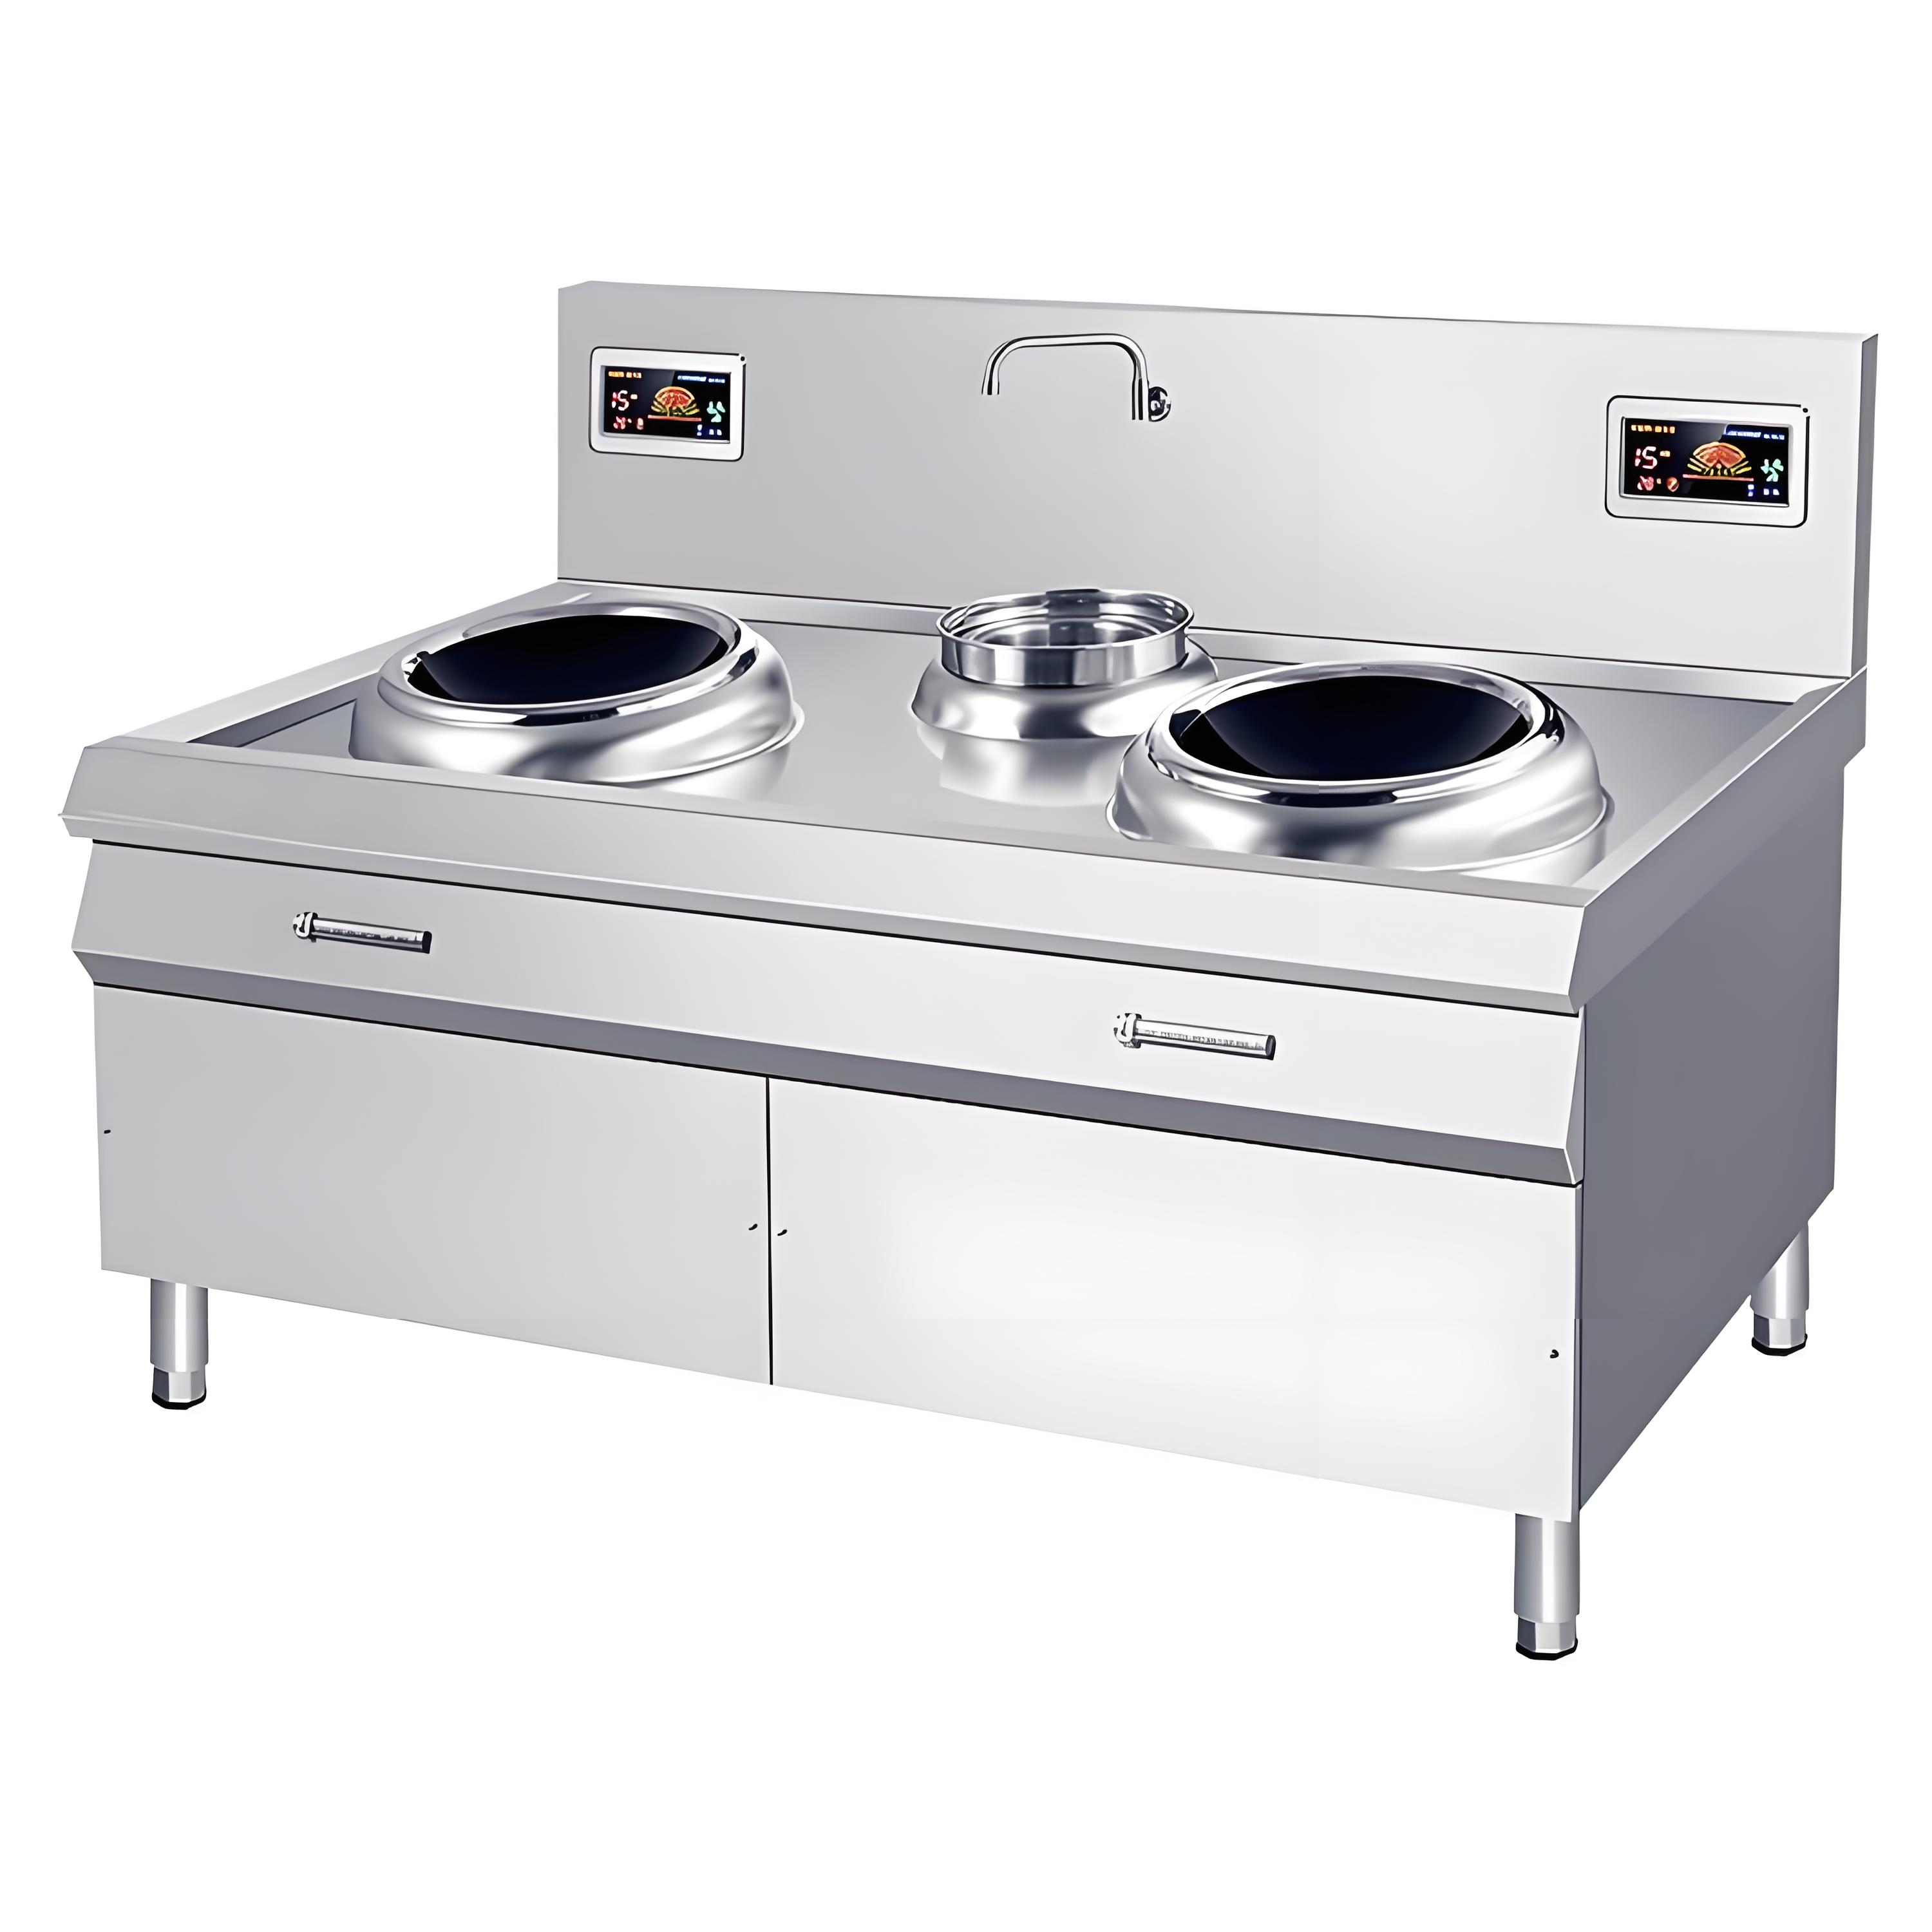
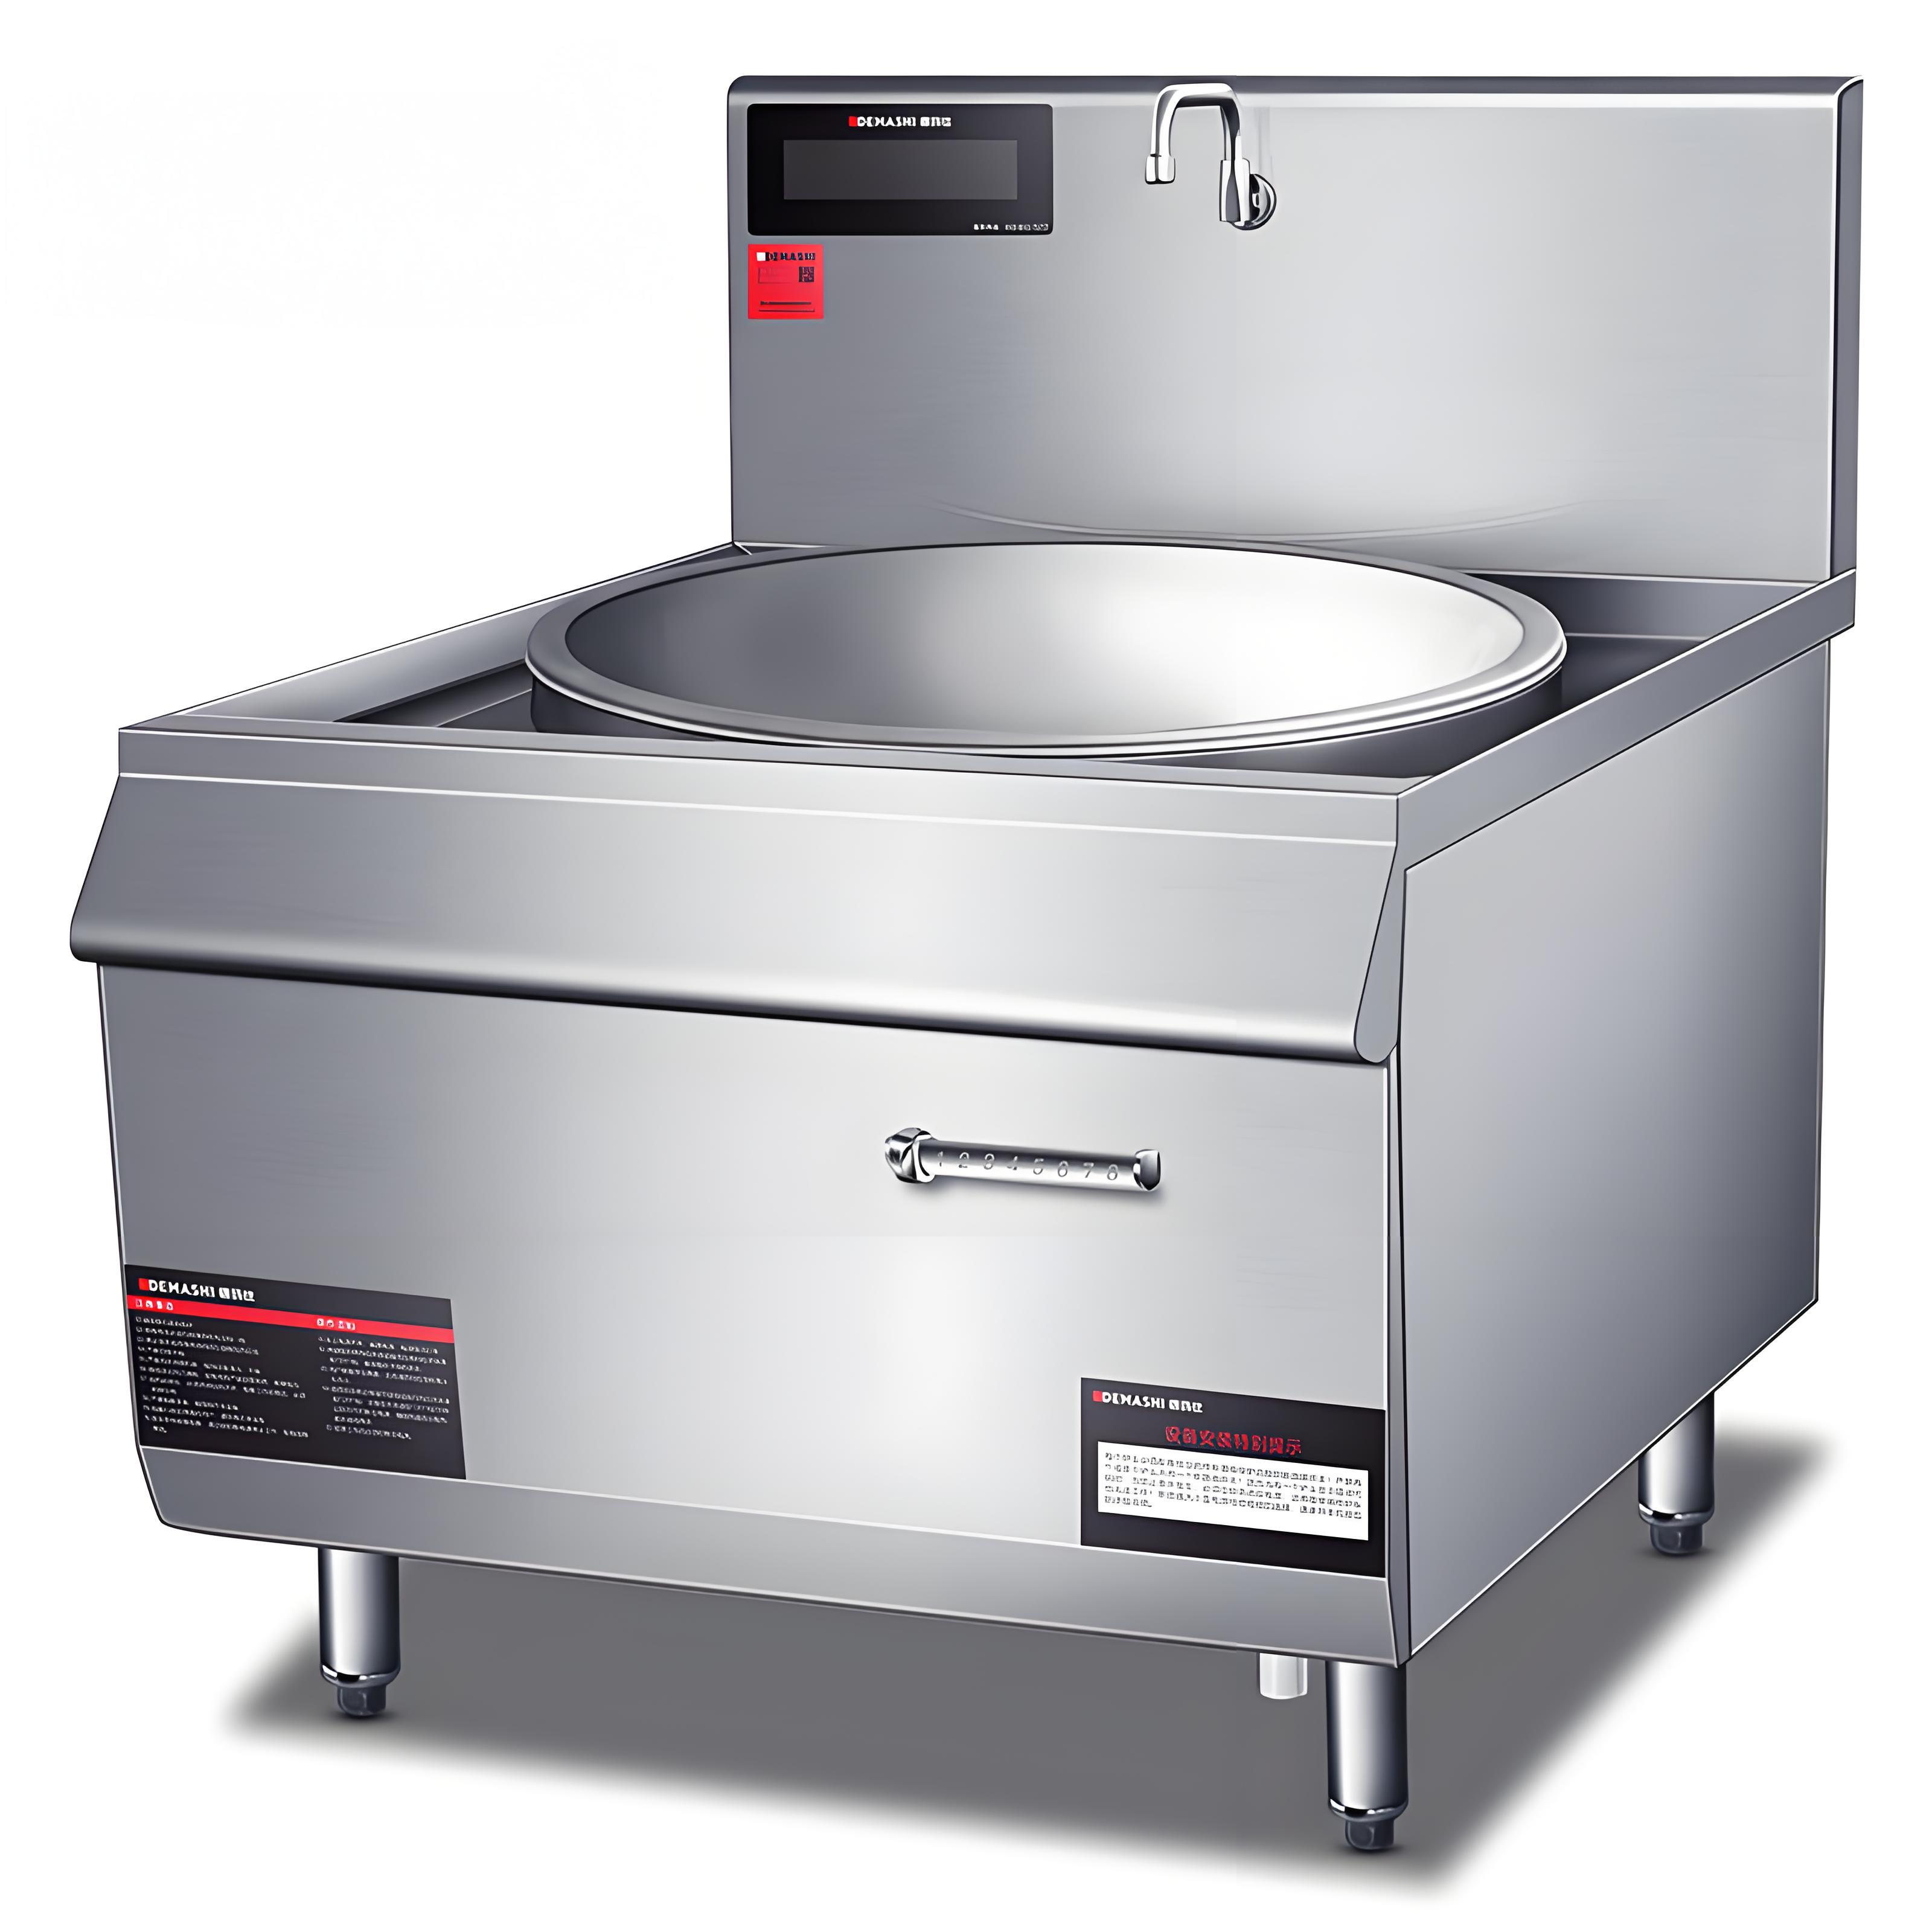
Having spent over a decade in the appliance repair industry, I’ve tackled all sorts of issues with induction cooktops. These devices, loved for their efficiency, energy savings, and convenience, are a staple in many modern kitchens. But when something goes wrong—like a damaged coil—people often wonder: Can it be fixed? Is it worth repairing, or should I just replace it? Can I do it myself? Today, I’ll draw on my years of hands-on experience to answer whether a damaged induction cooktop coil can be repaired, walking you through the repair process, key considerations, and practical tips to help you make an informed decision.

What Happens When an Induction Cooktop Coil Fails?
Before we dive into repairs, let’s clarify the role of the coil and the signs of damage. The coil (also called the electromagnetic coil or heating coil) is a core component of an induction cooktop. It generates a high-frequency alternating magnetic field to heat the cookware. When the coil fails, you might notice:
No heating: The cooktop powers on, the fan runs, but the cookware doesn’t heat up.
Intermittent heating: The cooktop heats sporadically, with unstable temperatures.
Error codes: The display shows fault codes (e.g., E0, E1, depending on the brand).
Unusual noises: You hear buzzing or crackling sounds, or even detect a burnt smell.
Visible damage: Upon opening the unit, the coil may show burn marks or broken wires.
Common causes of coil damage include:
Prolonged overloading: Running the cooktop at high power for extended periods, causing overheating.
Aging wiring: Long-term use leading to worn or cracked insulation.
Short circuits or leaks: Faulty circuit boards or other components damaging the coil.
External factors: Water ingress, moisture, or physical impact.
With this in mind, let’s address the main question: Can a damaged coil be repaired?
The answer: Yes, it can be repaired, but whether it’s worth fixing depends on the extent of the damage, repair costs, and the cooktop’s overall condition.
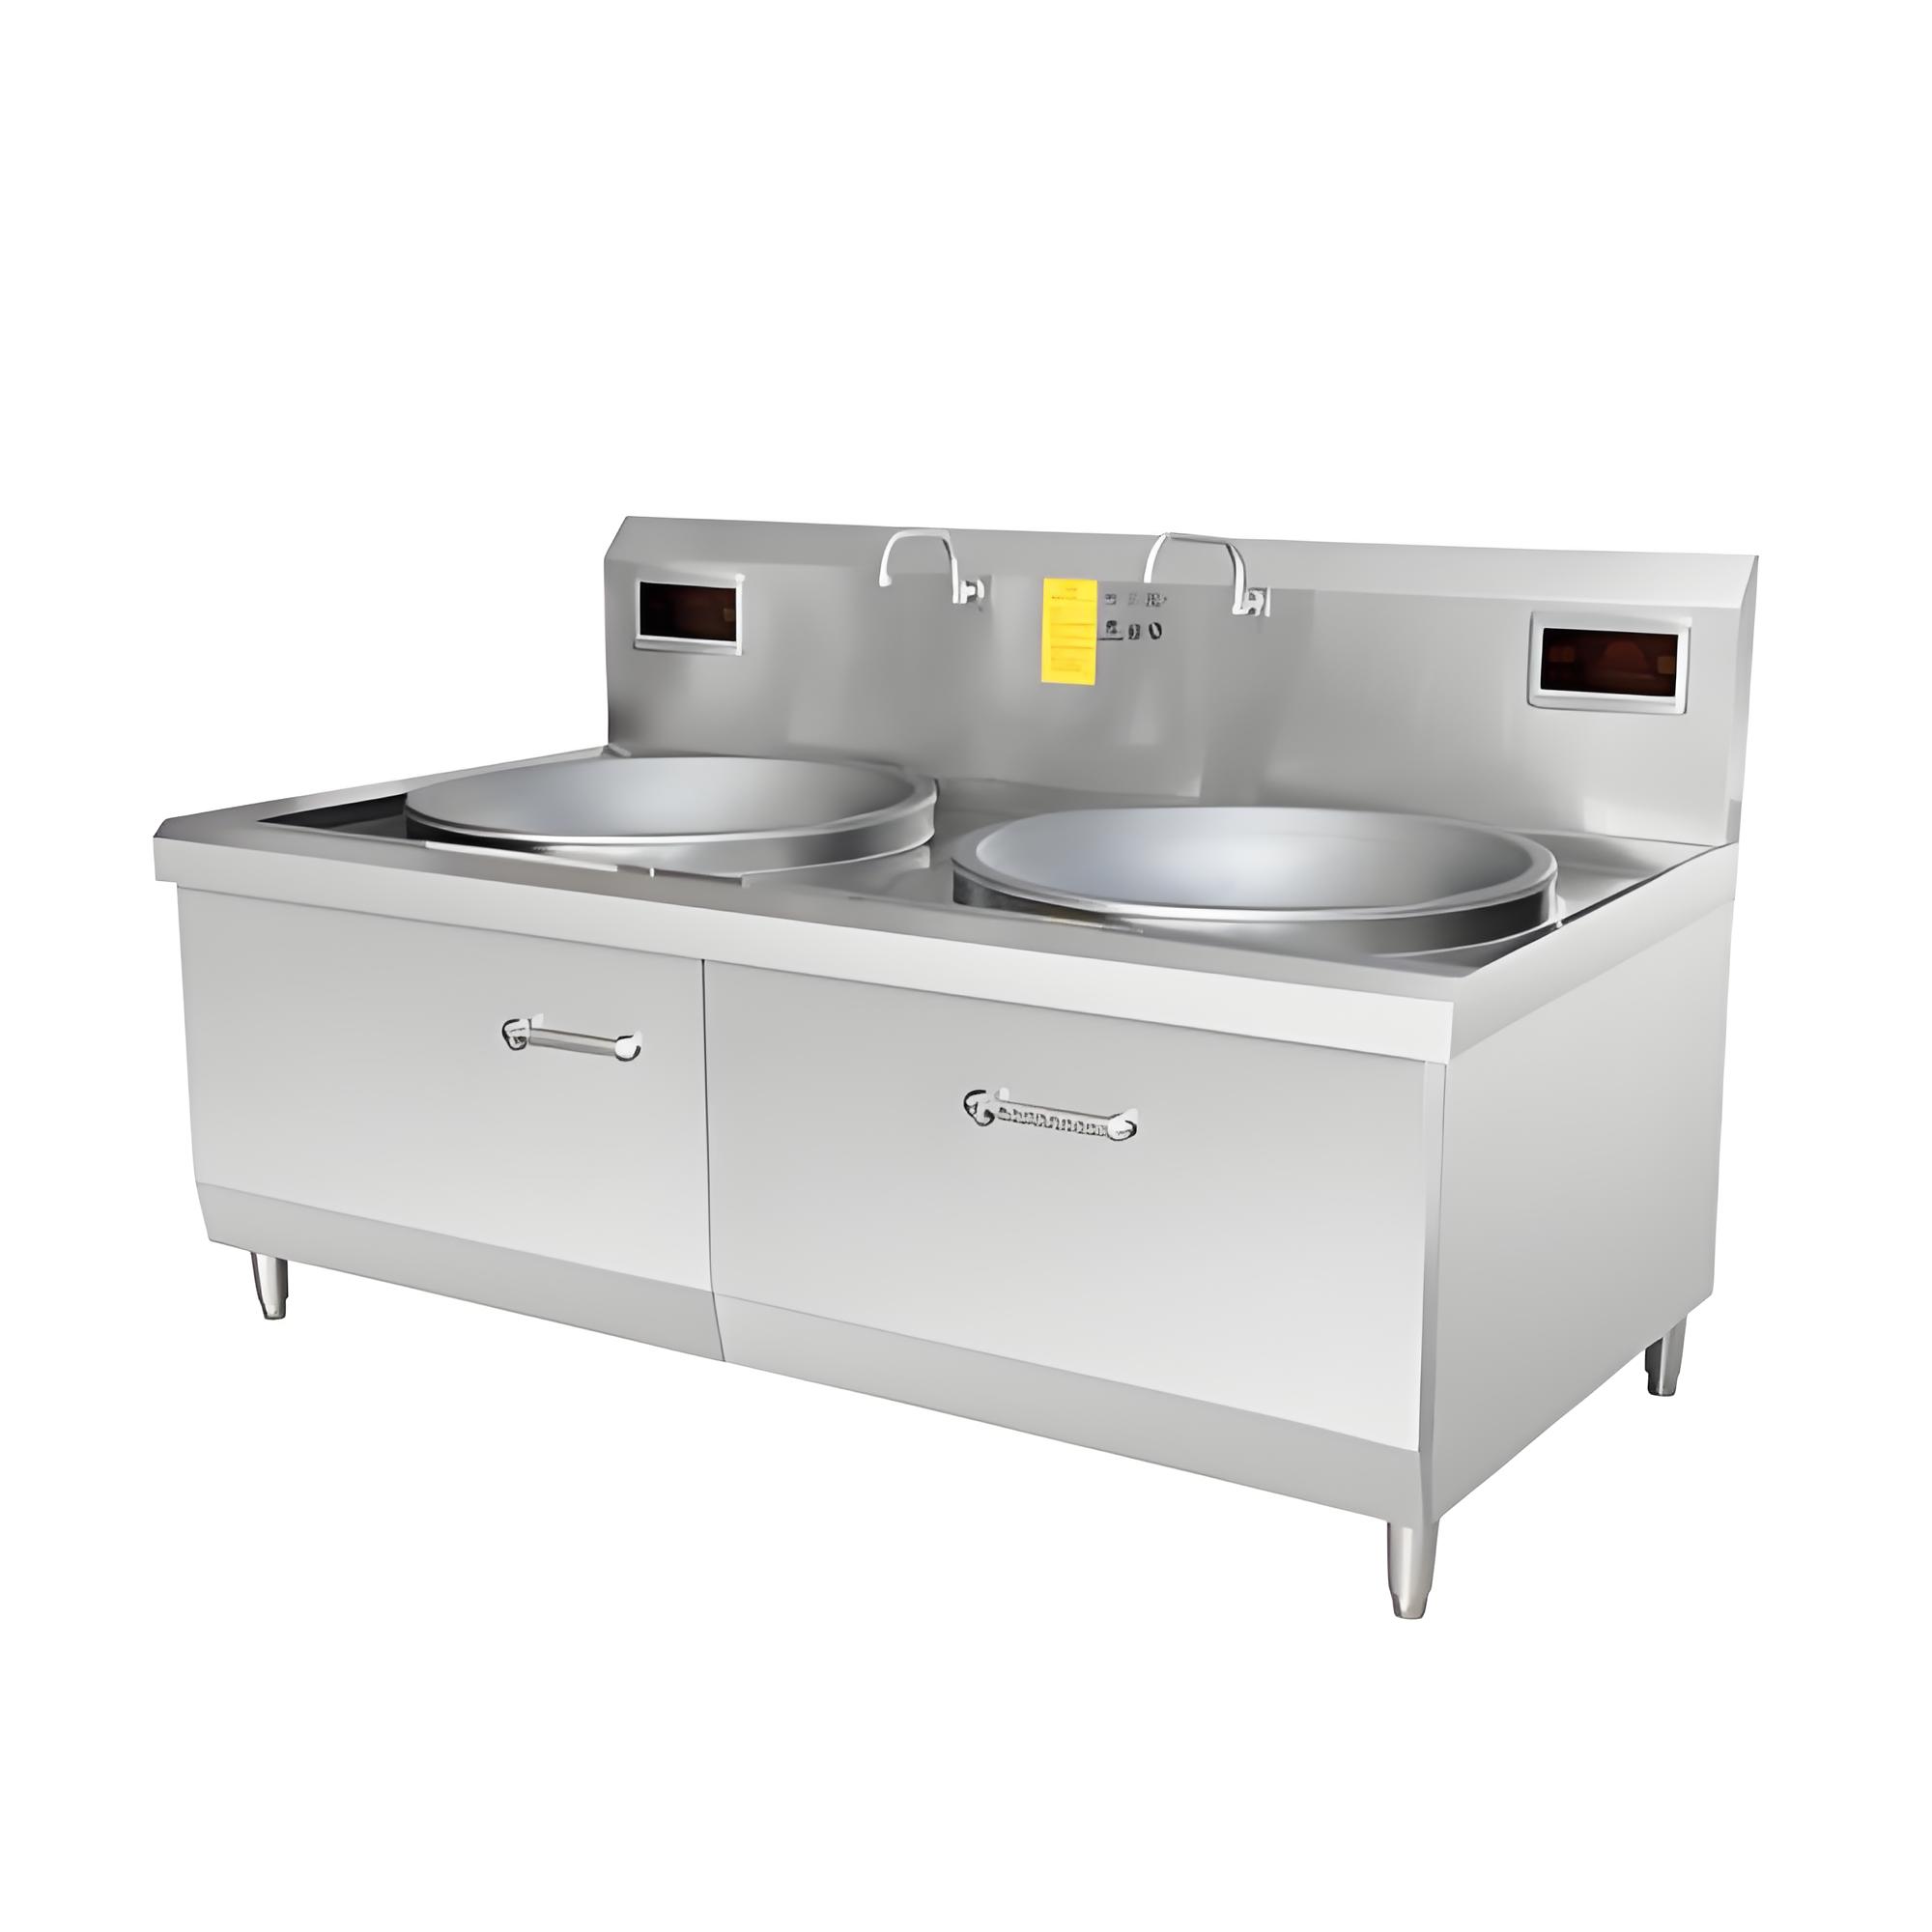
Can You Repair an Induction Cooktop Coil? How Hard Is It?
The feasibility of repairing a coil depends on the type and severity of the damage. Let’s break it down:
1. Types of Coil Damage
Coil issues typically fall into these categories:
| Damage Type | Symptoms | Repair Feasibility | Difficulty |
|---|---|---|---|
| Localized Burnout | Partial burn marks or broken wires | Repairable, replace damaged section | Moderate |
| Complete Burnout | Extensive burn damage or melted coil | Requires full coil replacement | High |
| Insulation Deterioration | Peeling or cracked insulation | Can be reinsulated or replaced | Low |
| Loose Terminal | Poor contact at connection points | Can be resecured or rewelded | Easy |
Localized burnout or loose terminals are relatively straightforward to fix, often requiring minor repairs or rewiring. Complete burnout, however, necessitates replacing the entire coil, which is more complex and costly. If your cooktop is a high-end model or relatively new, repair is often worthwhile; for older or budget models, replacing the unit might be more practical.
2. Cost Considerations
Repair costs typically include:
Materials: A new coil costs $10-$40, depending on the brand and model.
Labor: Professional repair fees range from $10-$30, varying by region and complexity.
Other components: If the coil failure damaged the circuit board or IGBT (insulated-gate bipolar transistor), costs could double.
For example, I once repaired a Midea induction cooktop with a partially burnt coil. Replacing the coil cost $16, with $10 in labor, totaling $26—far less than a new unit ($80). But if the circuit board is also damaged, repairs could climb to $60, making replacement a better option in some cases.
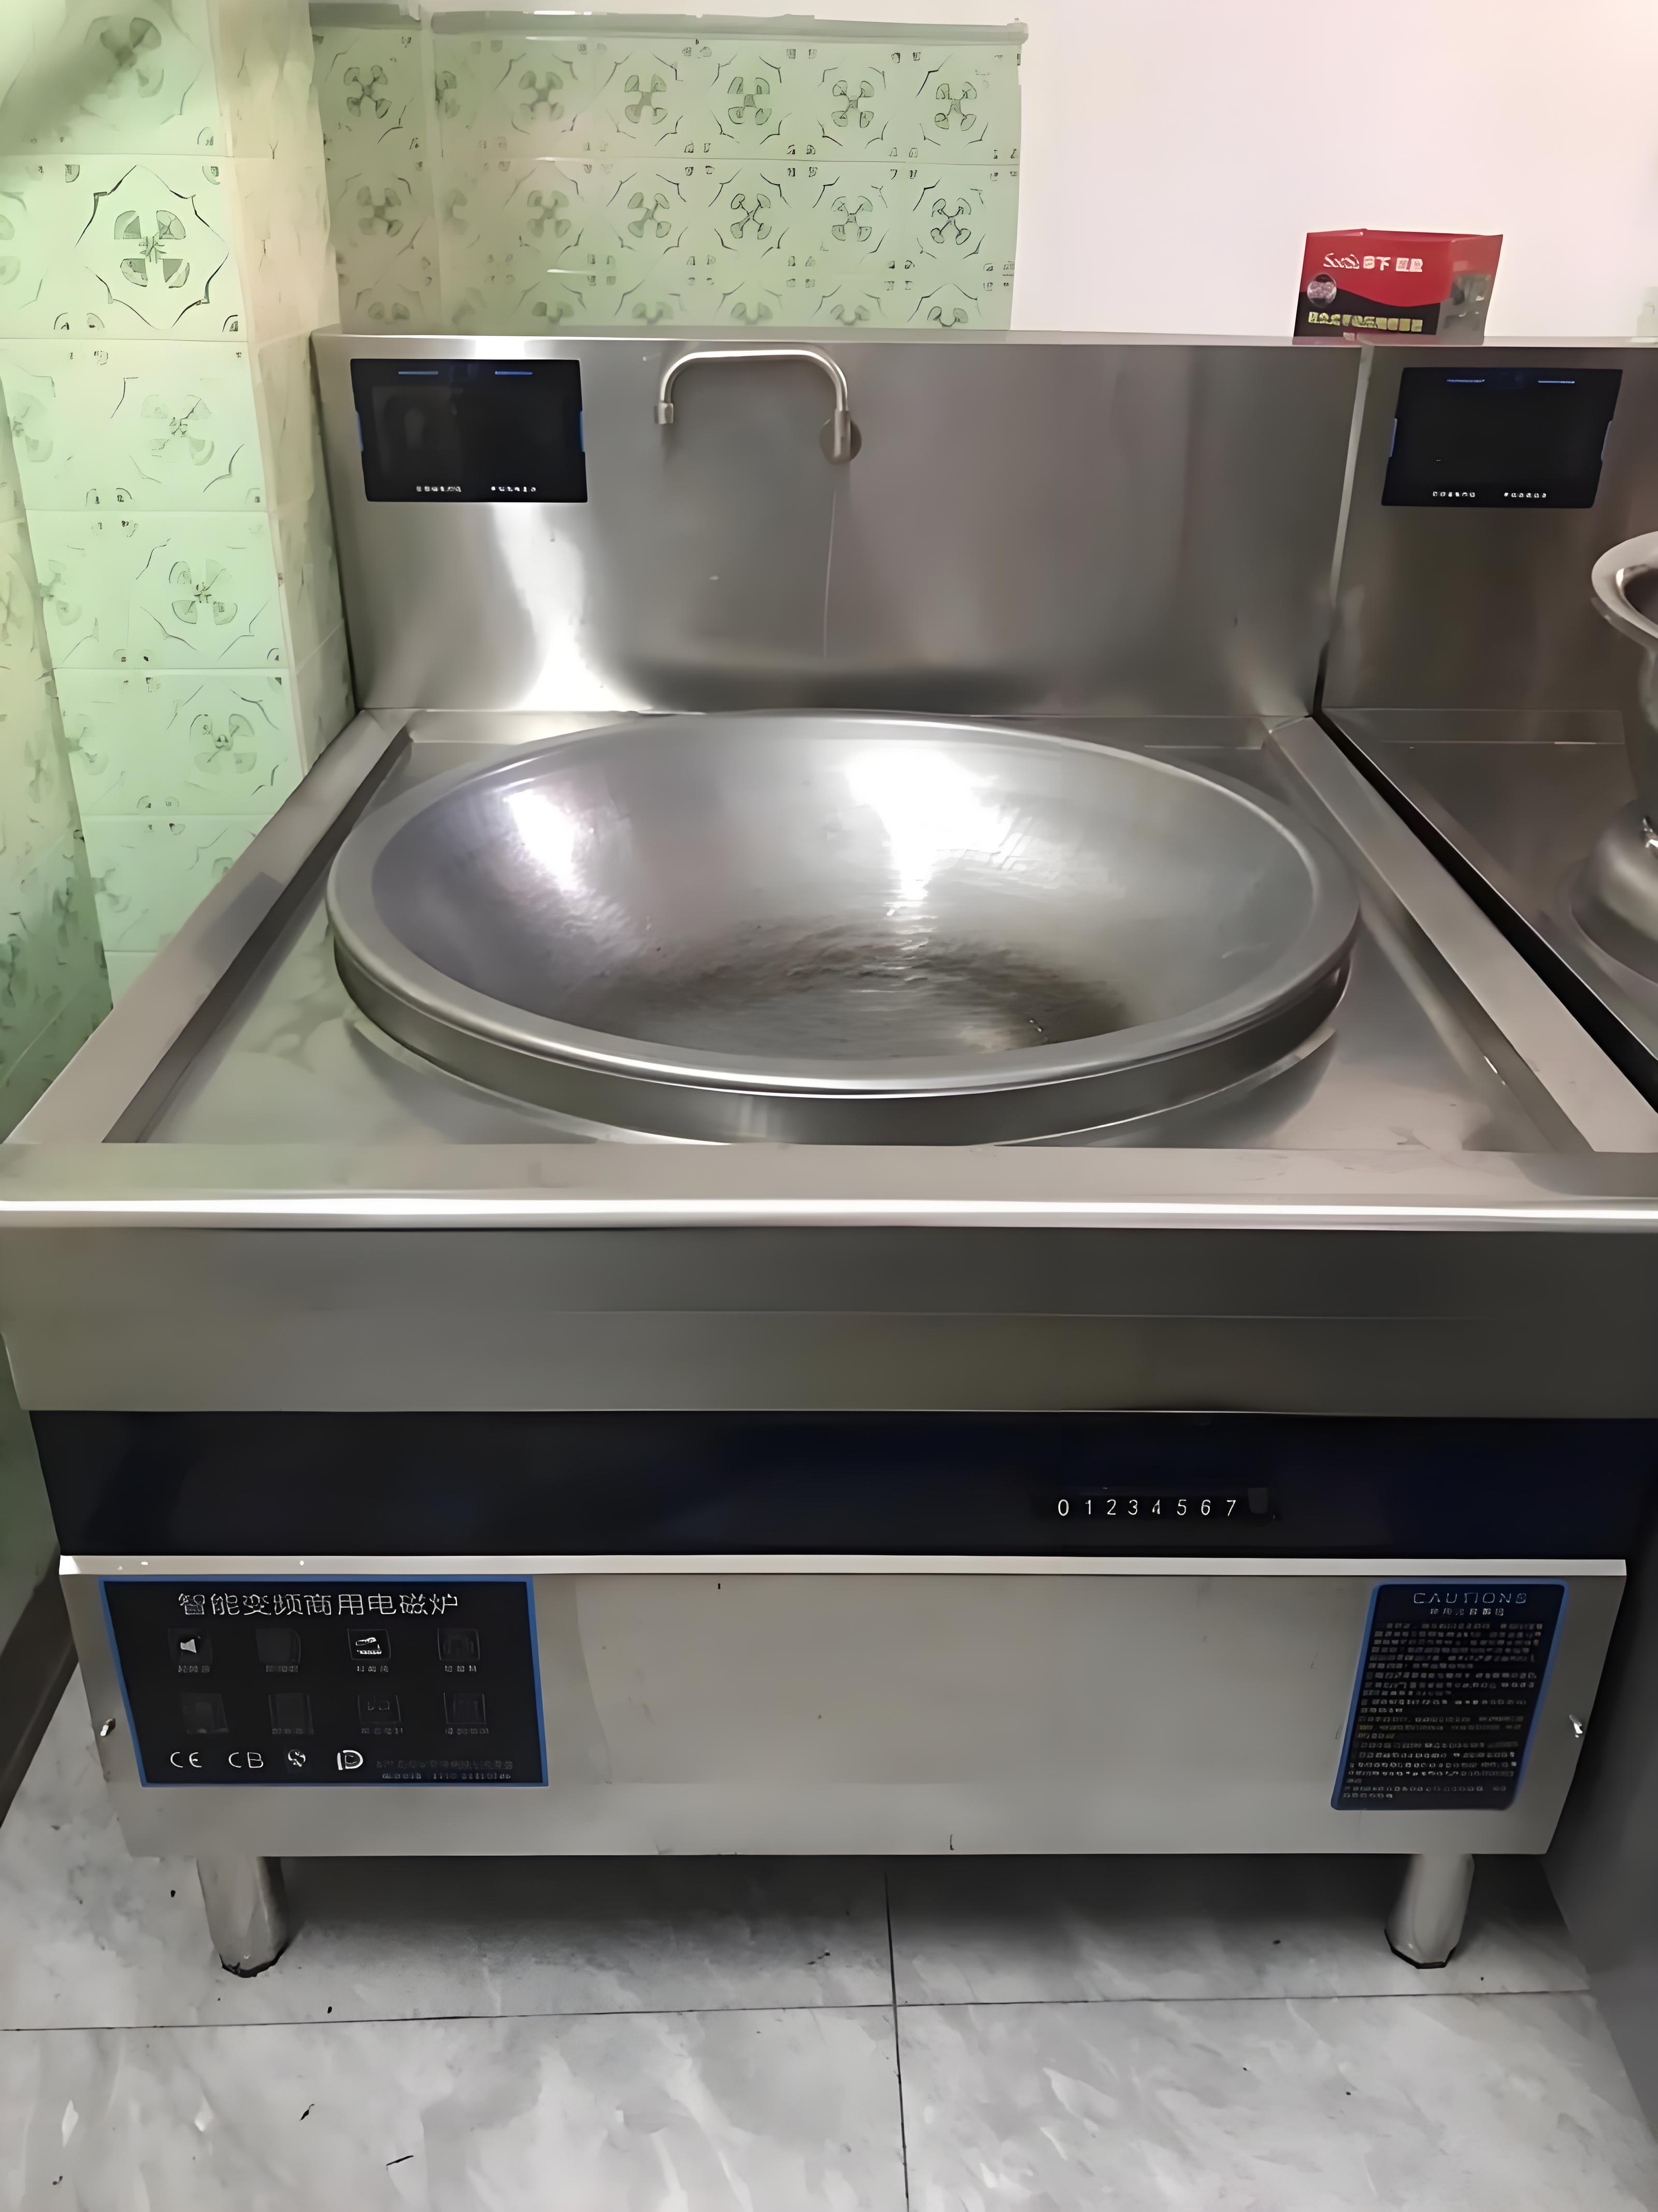
3. DIY vs. Professional Repair
If you have basic electrical repair skills, you might attempt the fix yourself. However, if you’re inexperienced, it’s safer to hire a professional to avoid further damage or safety risks. Below, I’ll outline the repair process for those interested in trying.
Step-by-Step Guide to Repairing an Induction Cooktop Coil
Critical Warning: Induction cooktops involve high-voltage components. Always disconnect the power, wear insulated gloves, and proceed with caution. If you’re unsure, contact a professional technician.
1. Diagnosing Coil Damage
Start with a thorough inspection:
Visual Check: Open the cooktop (typically with a screwdriver) and look for burn marks, broken wires, or a burnt smell on the coil.
Electrical Test: Use a multimeter to measure the coil’s resistance, which should be in the tens to hundreds of ohms (check the manual for specifics). Infinite resistance indicates an open circuit; near-zero suggests a short.
Inspect Other Components: Coil issues may stem from a faulty circuit board or IGBT, so check these too.
My Experience: A client once brought me a cooktop showing an E1 error code, initially pointing to a coil issue. Upon inspection, the coil was fine, but a burnt capacitor on the circuit board was the culprit. Replacing it fixed the problem, saving the cost of a new coil. Always check beyond the coil to avoid misdiagnosis.
2. Tools and Materials Needed
Prepare the following:
Tools: Phillips/flathead screwdriver, multimeter, soldering iron, solder sucker, tweezers, insulating tape.
Materials: Replacement coil (must match the brand and model), solder, flux, insulating varnish (optional).
Safety Gear: Insulated gloves, safety goggles.
Coil Purchase Tip: Buy original coils from official after-sales services or trusted platforms like Amazon or eBay. Avoid cheap, incompatible coils, which can reduce heating efficiency or fail quickly. Brands like Midea or Supor often have reliable spare parts.
3. Repair or Replacement Steps
Here’s the detailed process:
(1) Disassemble the Cooktop
Unplug the unit and remove the bottom screws to open the casing.
Carefully detach the fan and circuit board, avoiding damage to connecting wires.
Locate the coil, typically secured under the ceramic plate with screws or clips.
(2) Assess and Repair the Coil
For localized burnout, identify the damaged section, cut out the affected wires, and solder new copper wire (matching the original specs). Apply insulating varnish if needed.
For complete burnout, replace the entire coil. Note the original wiring positions (take photos), remove the old coil, install the new one, and solder the terminals.
For loose terminals, re-solder or tighten the connections to ensure solid contact.
(3) Test and Reassemble
After repair, use a multimeter to verify the coil’s resistance and continuity.
Reassemble the cooktop, power it on, and test the heating function. Listen for abnormal noises or check for error codes.
If everything works, secure the casing and complete the repair.
Tips:
Ensure good ventilation during soldering to avoid inhaling flux fumes.
Confirm the coil sits flush against the ceramic plate; gaps reduce heating efficiency.
Test at low power first, then gradually increase to ensure stability.
4. Checking Related Components
Coil damage often ties to other issues, so inspect:
Circuit Board: Look for burnt capacitors, resistors, or IGBTs.
Sensors: Temperature sensors under the coil can fail, causing heating issues.
Power Cord: Aging or loose cords may cause shorts.
I once fixed a cooktop where the coil seemed fine, but a failed IGBT was preventing heating. Replacing the IGBT resolved the issue, saving the cost of a new coil.
Repair or Replace? Making the Decision
Weigh these factors to decide:
| Factor | Favors Repair | Favors Replacement |
|---|---|---|
| Cooktop Price | High-end models ($100+) | Budget models (under $40) |
| Age | 1-3 years old | Over 5 years old |
| Damage Extent | Minor, low-cost fix | Multiple damaged parts |
| Repair Access | Reliable parts/repair services | Hard-to-find parts |
My Advice:
Repair if the cooktop is a premium brand, relatively new, and repair costs are less than 50% of a new unit’s price.
Replace if it’s an old or budget model, parts are scarce, or repair costs approach a new cooktop’s price.
For instance, I repaired a Supor cooktop with a $24 coil replacement and $16 labor, totaling $40—cheaper than a $70 new unit. Repair was the clear choice.
Preventing Coil Damage: Daily Use Tips
To extend your coil’s lifespan, follow these tips:
Avoid Prolonged High-Power Use: If using maximum power for over 2 hours, let the unit rest for 10-15 minutes.
Keep It Ventilated and Dry: Ensure the cooktop’s base has airflow and avoid moisture exposure.
Use Suitable Cookware: Choose flat-bottomed, magnetic cookware (e.g., stainless steel or cast iron) and avoid dry heating.
Regular Cleaning: Clear dust from the fan and vents to maintain cooling efficiency.
Real Example: A client used their cooktop for long stewing sessions with an uneven pot, leading to coil overheating. After switching to a flat-bottomed pot and taking hourly breaks, their cooktop ran trouble-free for two years.

Common Repair Mistakes to Avoid
I’ve seen beginners make these errors:
Ignoring Safety: Opening the unit without unplugging risks electric shock.
Using Wrong Parts: Non-original coils may cause inefficiency or incompatibility.
Overlooking Other Issues: Fixing only the coil without checking the circuit board often leads to repeat failures.
Poor Soldering: Weak or improper soldering causes unreliable connections.
My Story: I once helped a friend fix a cooktop that still wouldn’t heat after a coil replacement. The issue was a loose temperature sensor. Securing it fixed the problem, highlighting the need for thorough checks.
Conclusion: Coils Can Be Fixed, But Weigh Your Options
In summary, a damaged induction cooktop coil can be repaired, but success depends on the damage, cost, and your cooktop’s condition. With some skill, you can tackle the repair yourself; otherwise, a professional is the safer bet. I hope this guide empowers you to restore your煮top or make a smart replacement decision. Got more questions? I’m happy to help!
Related Questions and Answers
Q1: How do I know if my induction cooktop’s coil is damaged?
A: Look for no heating, intermittent heating, error codes (e.g., E0, E1), unusual noises, or a burnt smell. Opening the unit may reveal burn marks or broken wires.
Q2: Is it safe to repair the coil myself?
A: If you have electrical repair experience and follow safety precautions (unplugging the unit, using insulated gloves), it’s feasible. Otherwise, hire a professional to avoid risks.
Q3: When is it worth repairing the coil?
A: Repair is worthwhile for newer, pricier models with repair costs under 50% of a new unit’s price. For old or cheap models, replacement may be better.
Q4: How can I prevent coil damage in the future?
A: Avoid extended high-power use, ensure ventilation and dryness, use flat-bottomed magnetic cookware, and clean vents regularly to maintain cooling.
